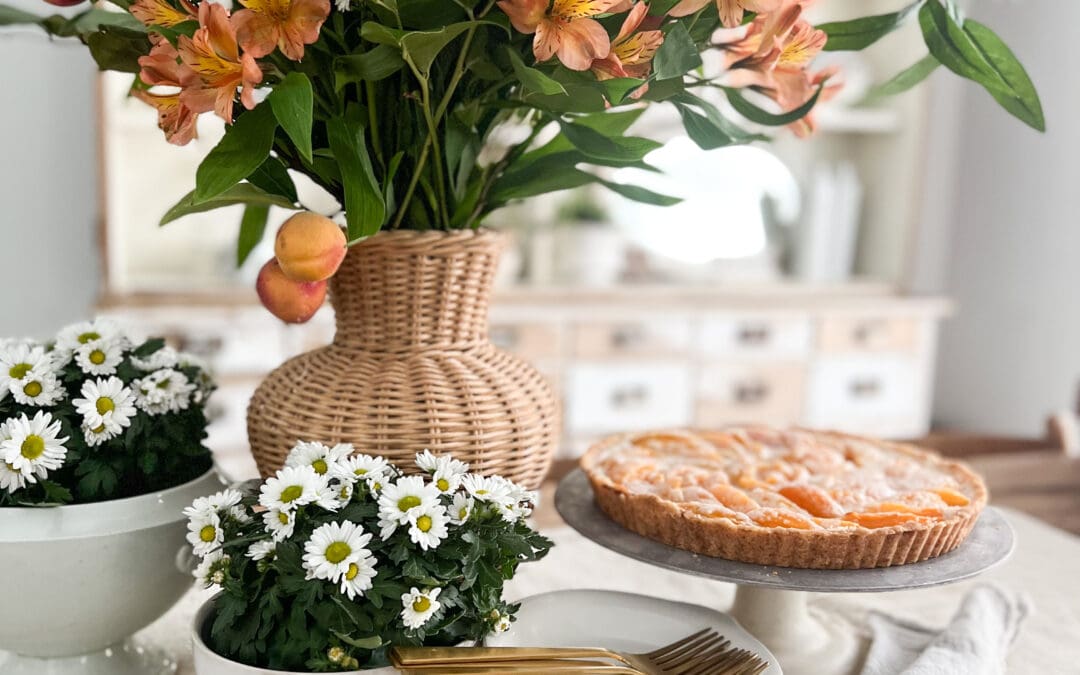
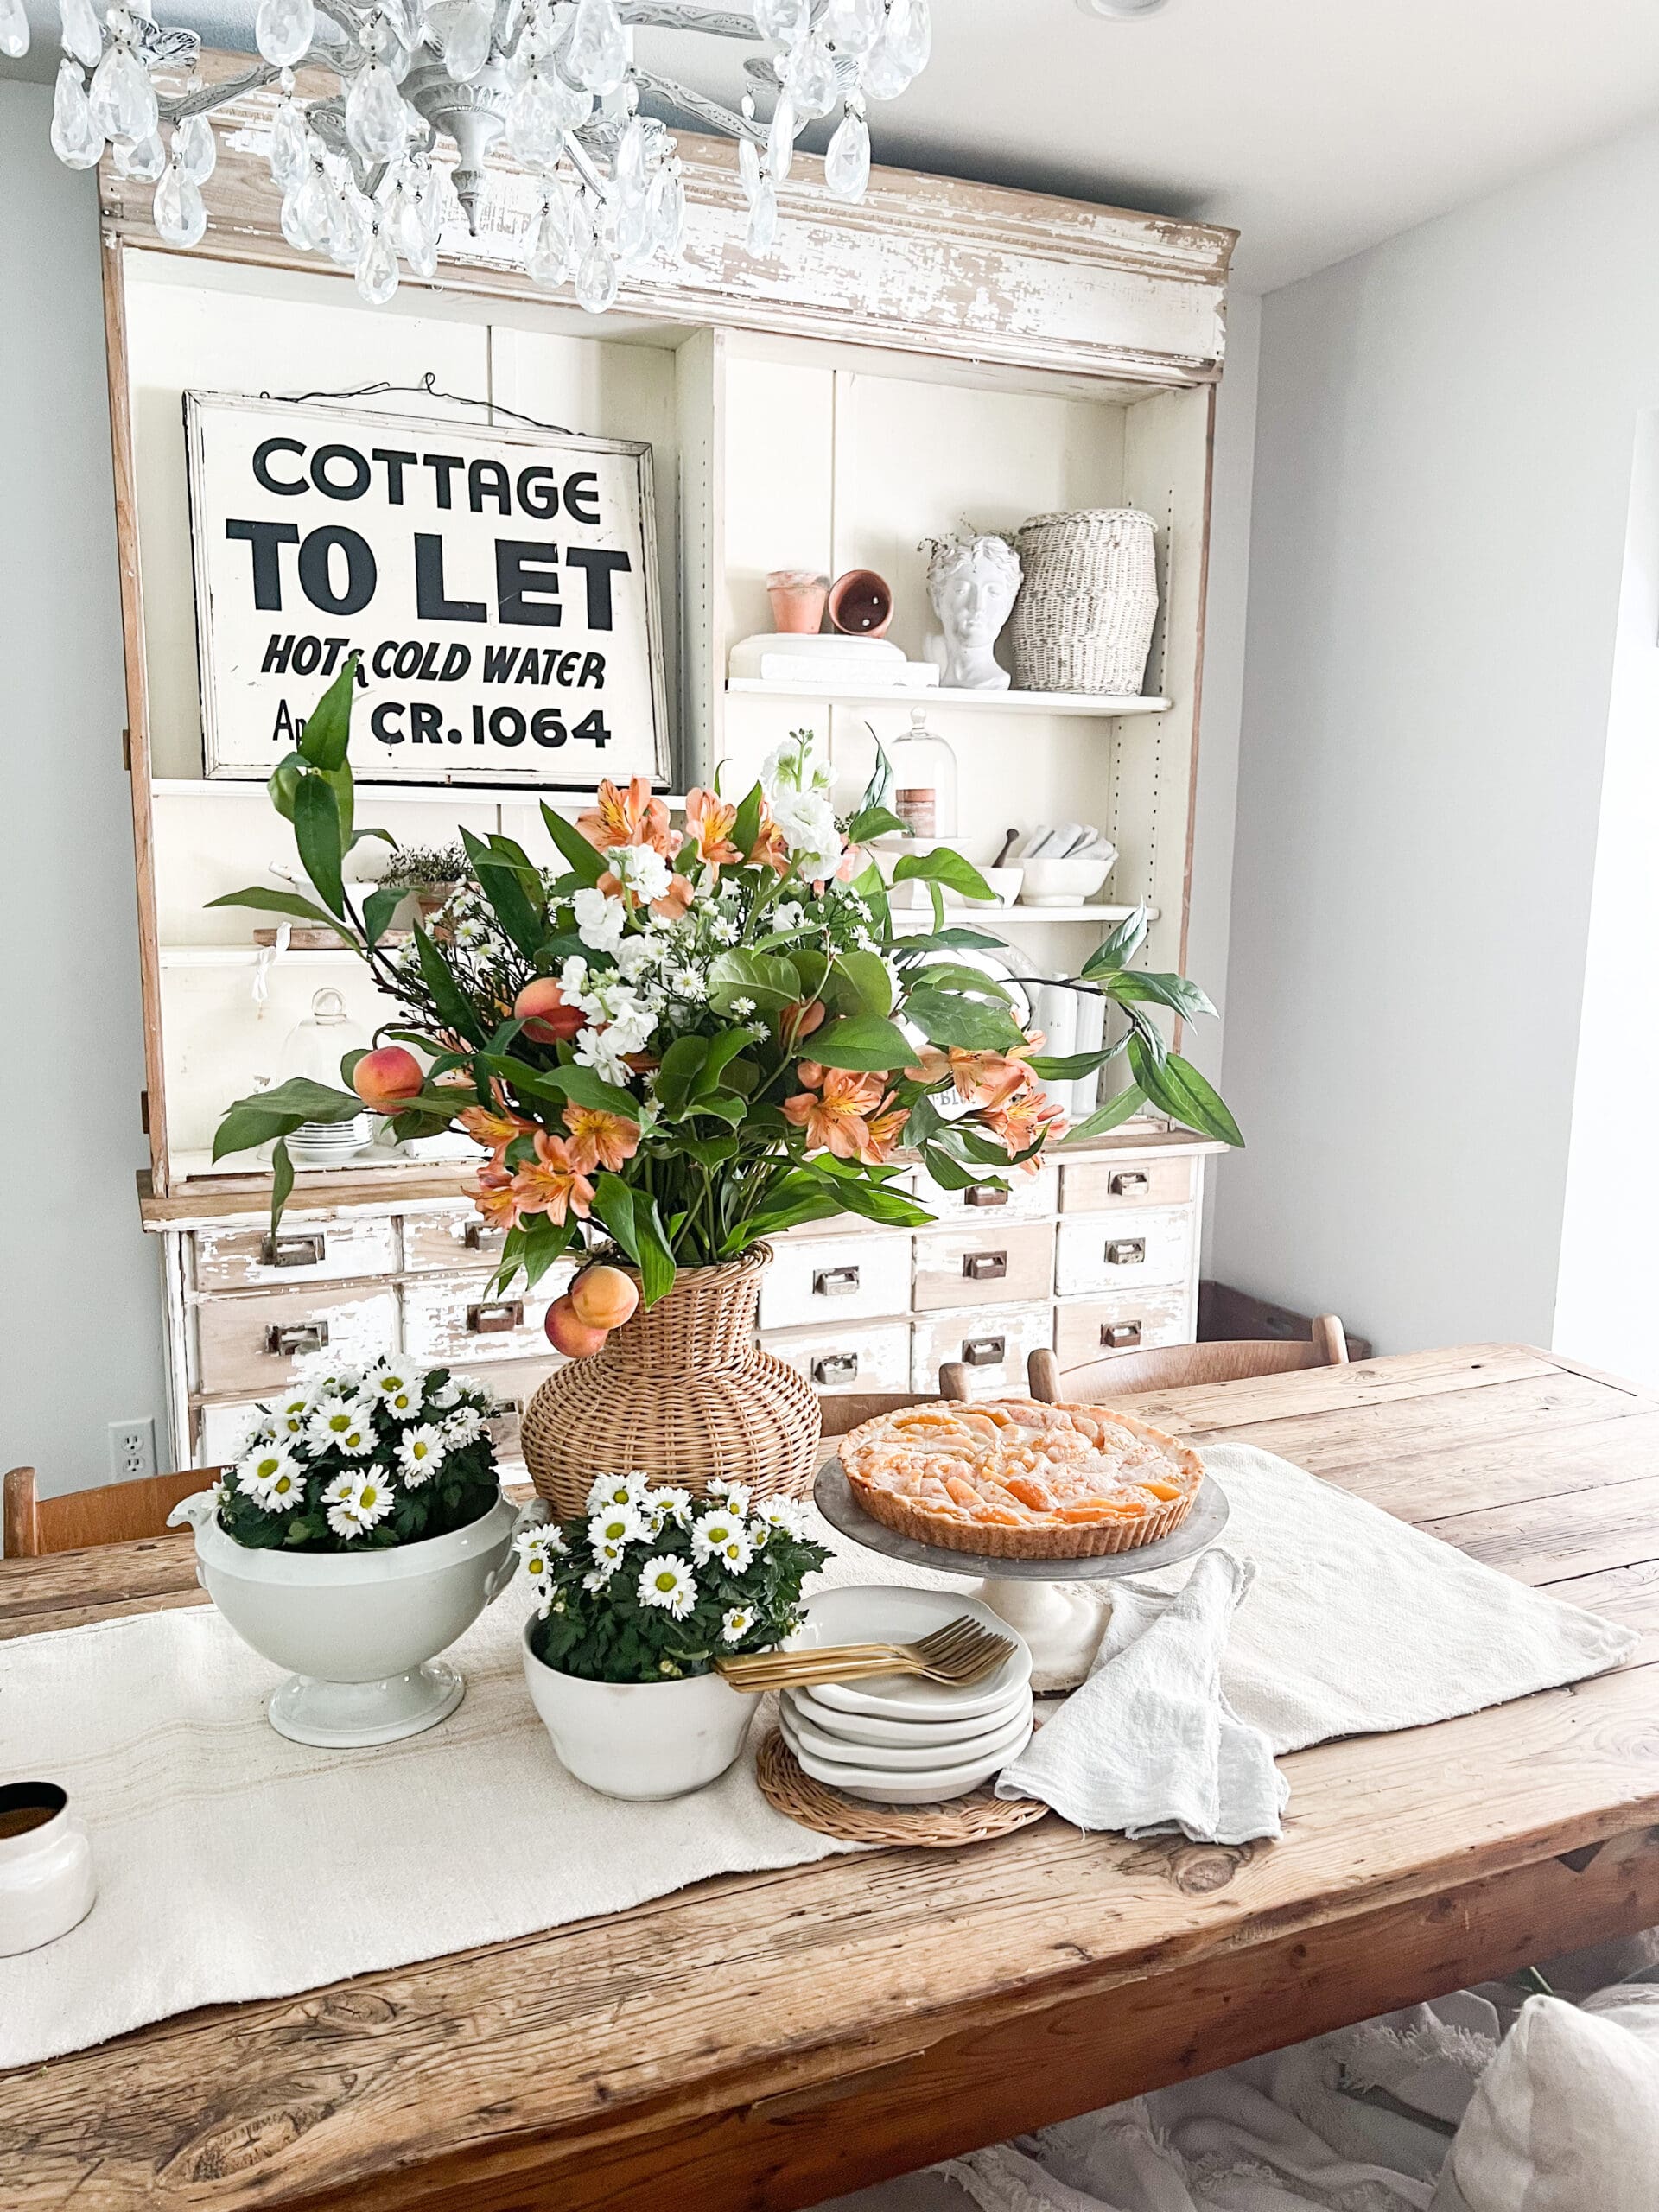
Easy and Tasty Summer Peach Tart
Easy and Tasty Summer Peach Tart
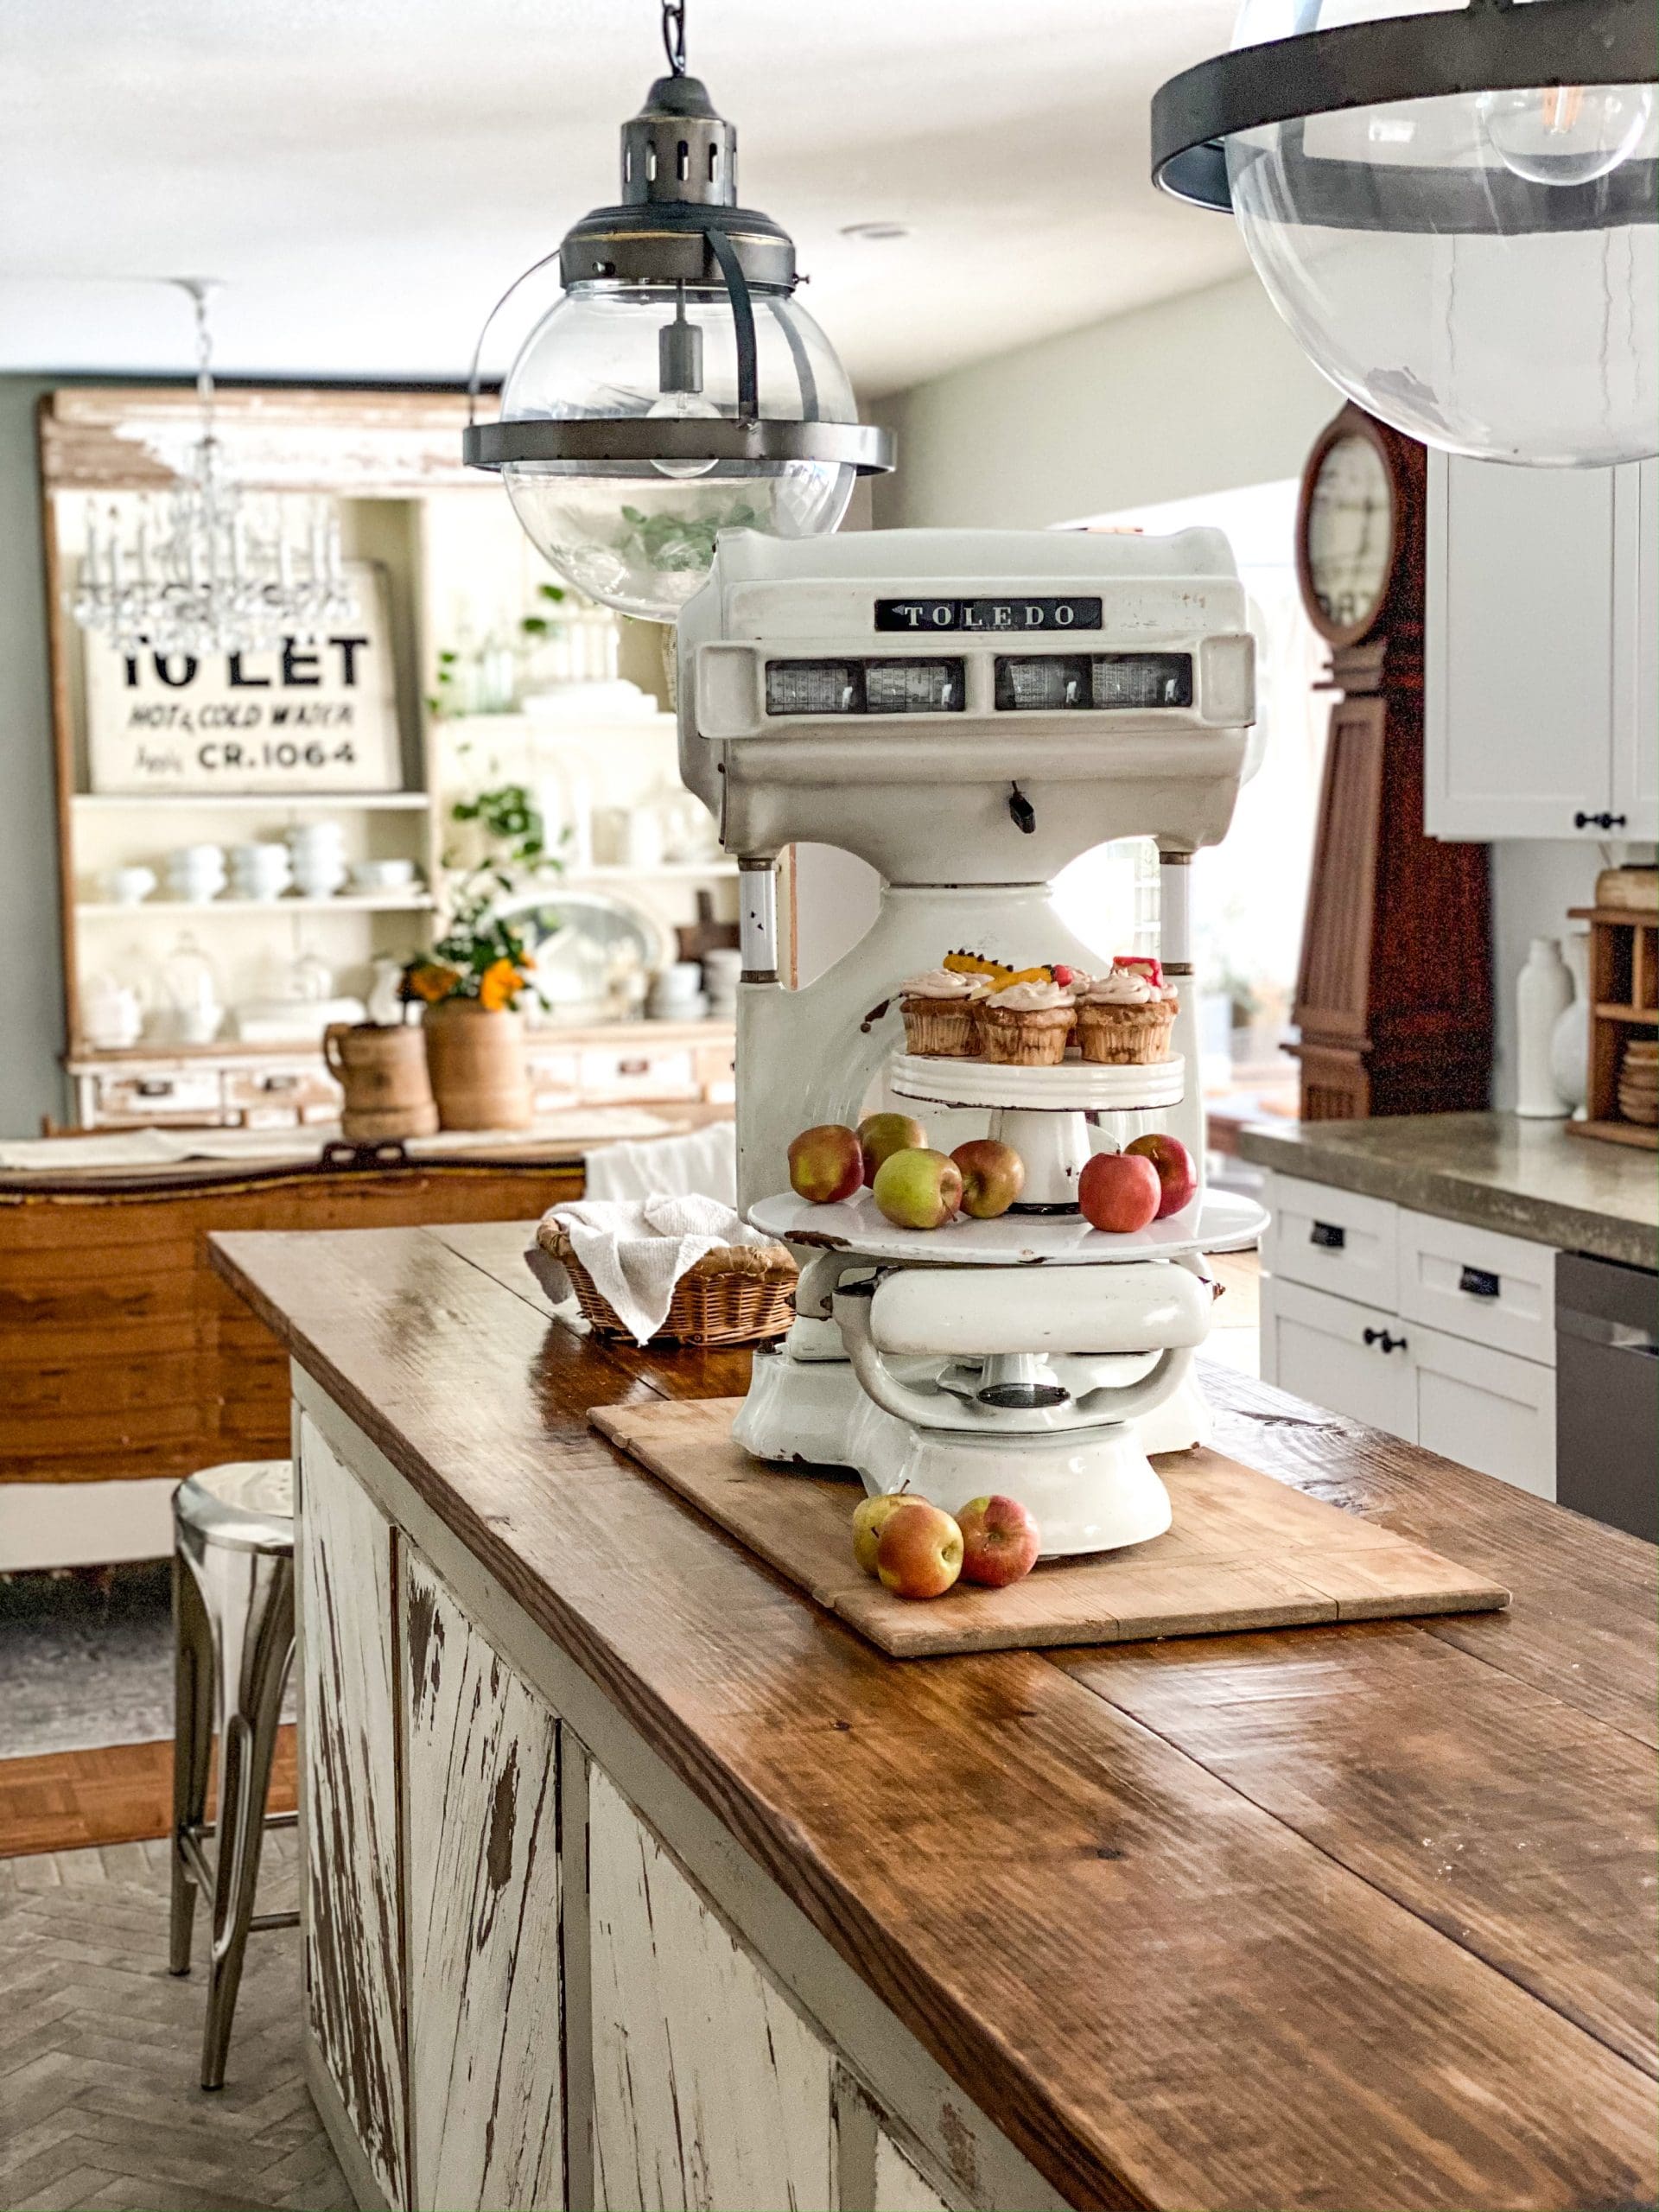
Robb & I are just getting back from the 127 (aka “World’s Longest Garage Sale”). We had a great time with lots of fun vintage finds!
Anytime we travel through Georgia in the summer, we always try to pick up some fresh peaches…which goes perfectly with the return of Payton’s Pastries post today. Payton took a little break this summer from posting, but this tart recipe is a can’t-miss!
I’m also happy to join a group of talented ladies sharing THEIR summer inspiration. If you’re coming here from Tater Tots & Jello, welcome! I know you enjoyed her creative twist on summer recipes!
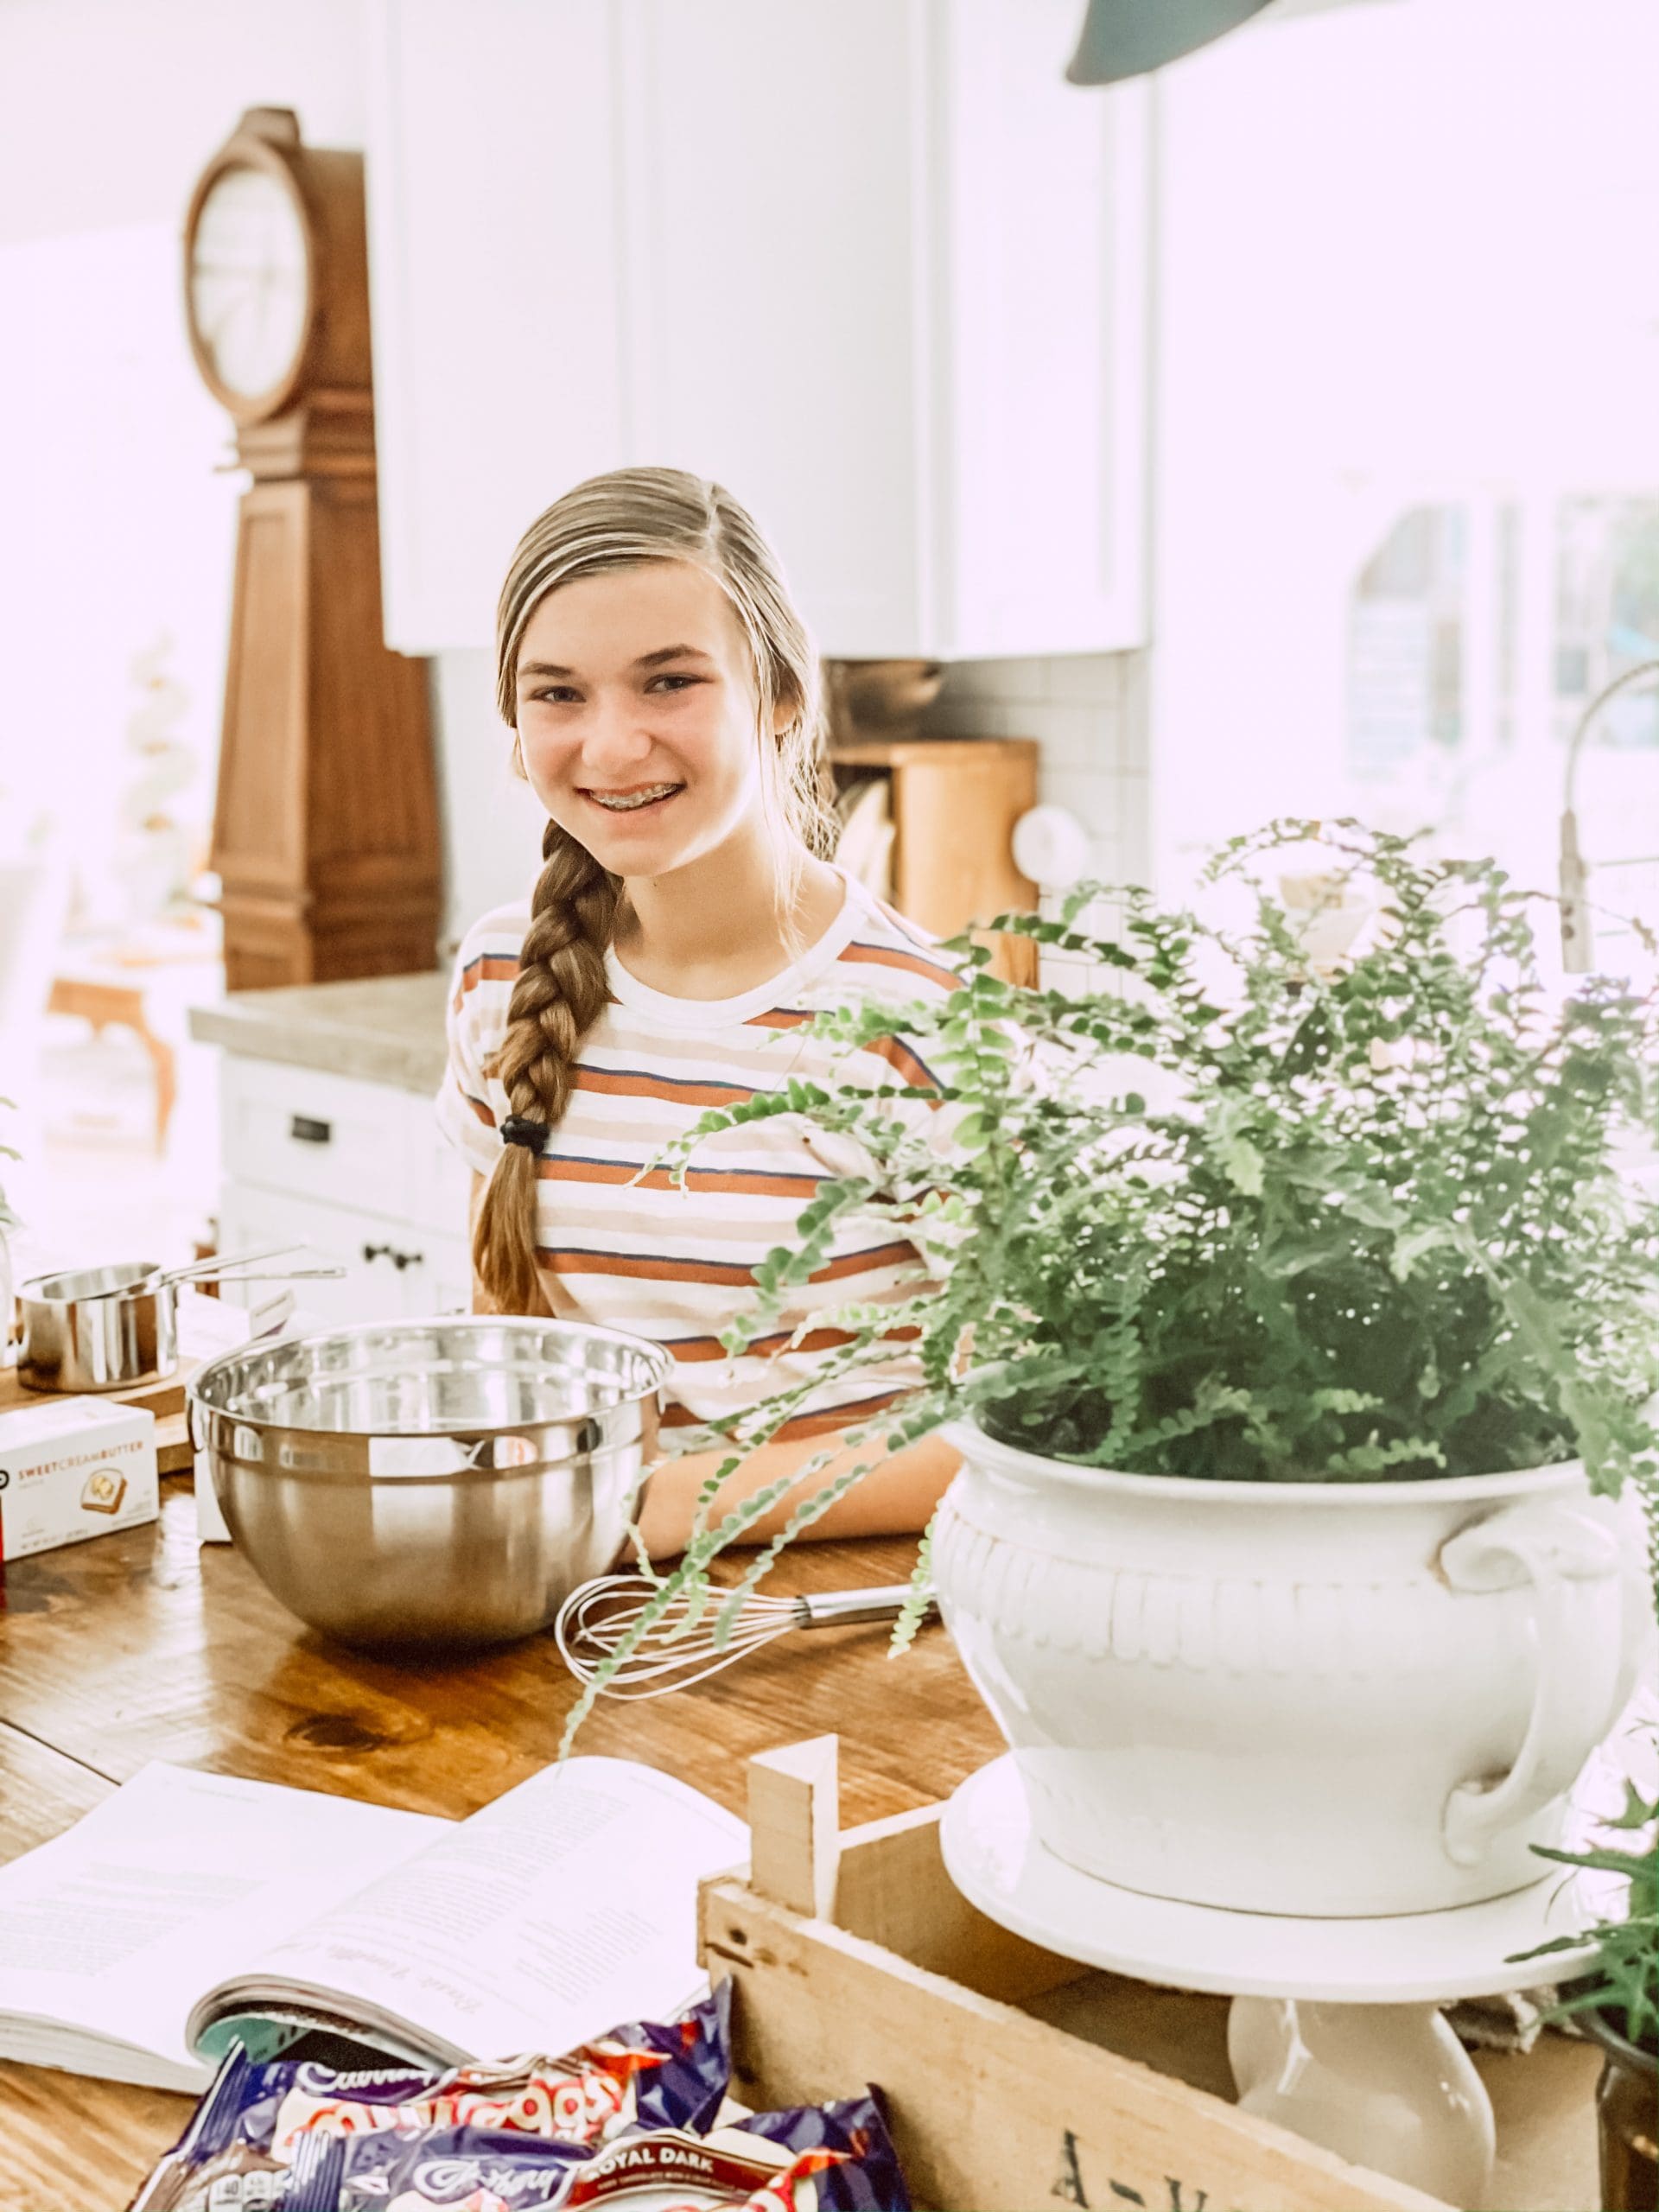
So, without further ado, here’s Payton to tell you all about her dessert!
Our summer has been pretty amazing so far. We’ve had countless pool days, lots of fun at the beach, and an amazing road trip out West. What would make any summer better, though, is this delicious peach tart that I experimented with.
It is absolutely one of my top fruit desserts that I have made!
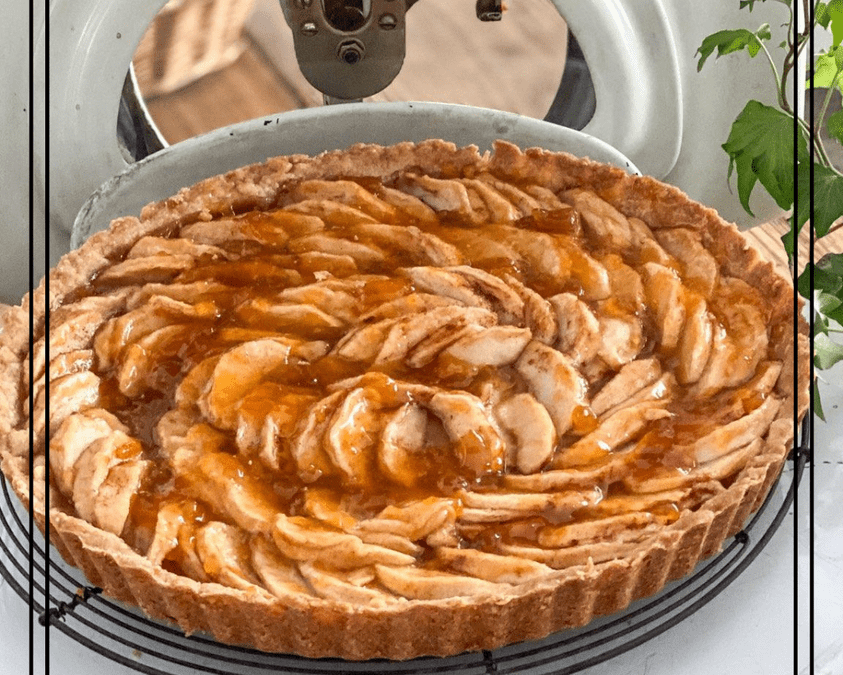
It is basically just a spin off of the apple tart recipe I shared with you in the fall, but substituting peaches for apples. This dessert is perfect for any summer occasion, whether it’s a family get together or the finale to a barbecue.

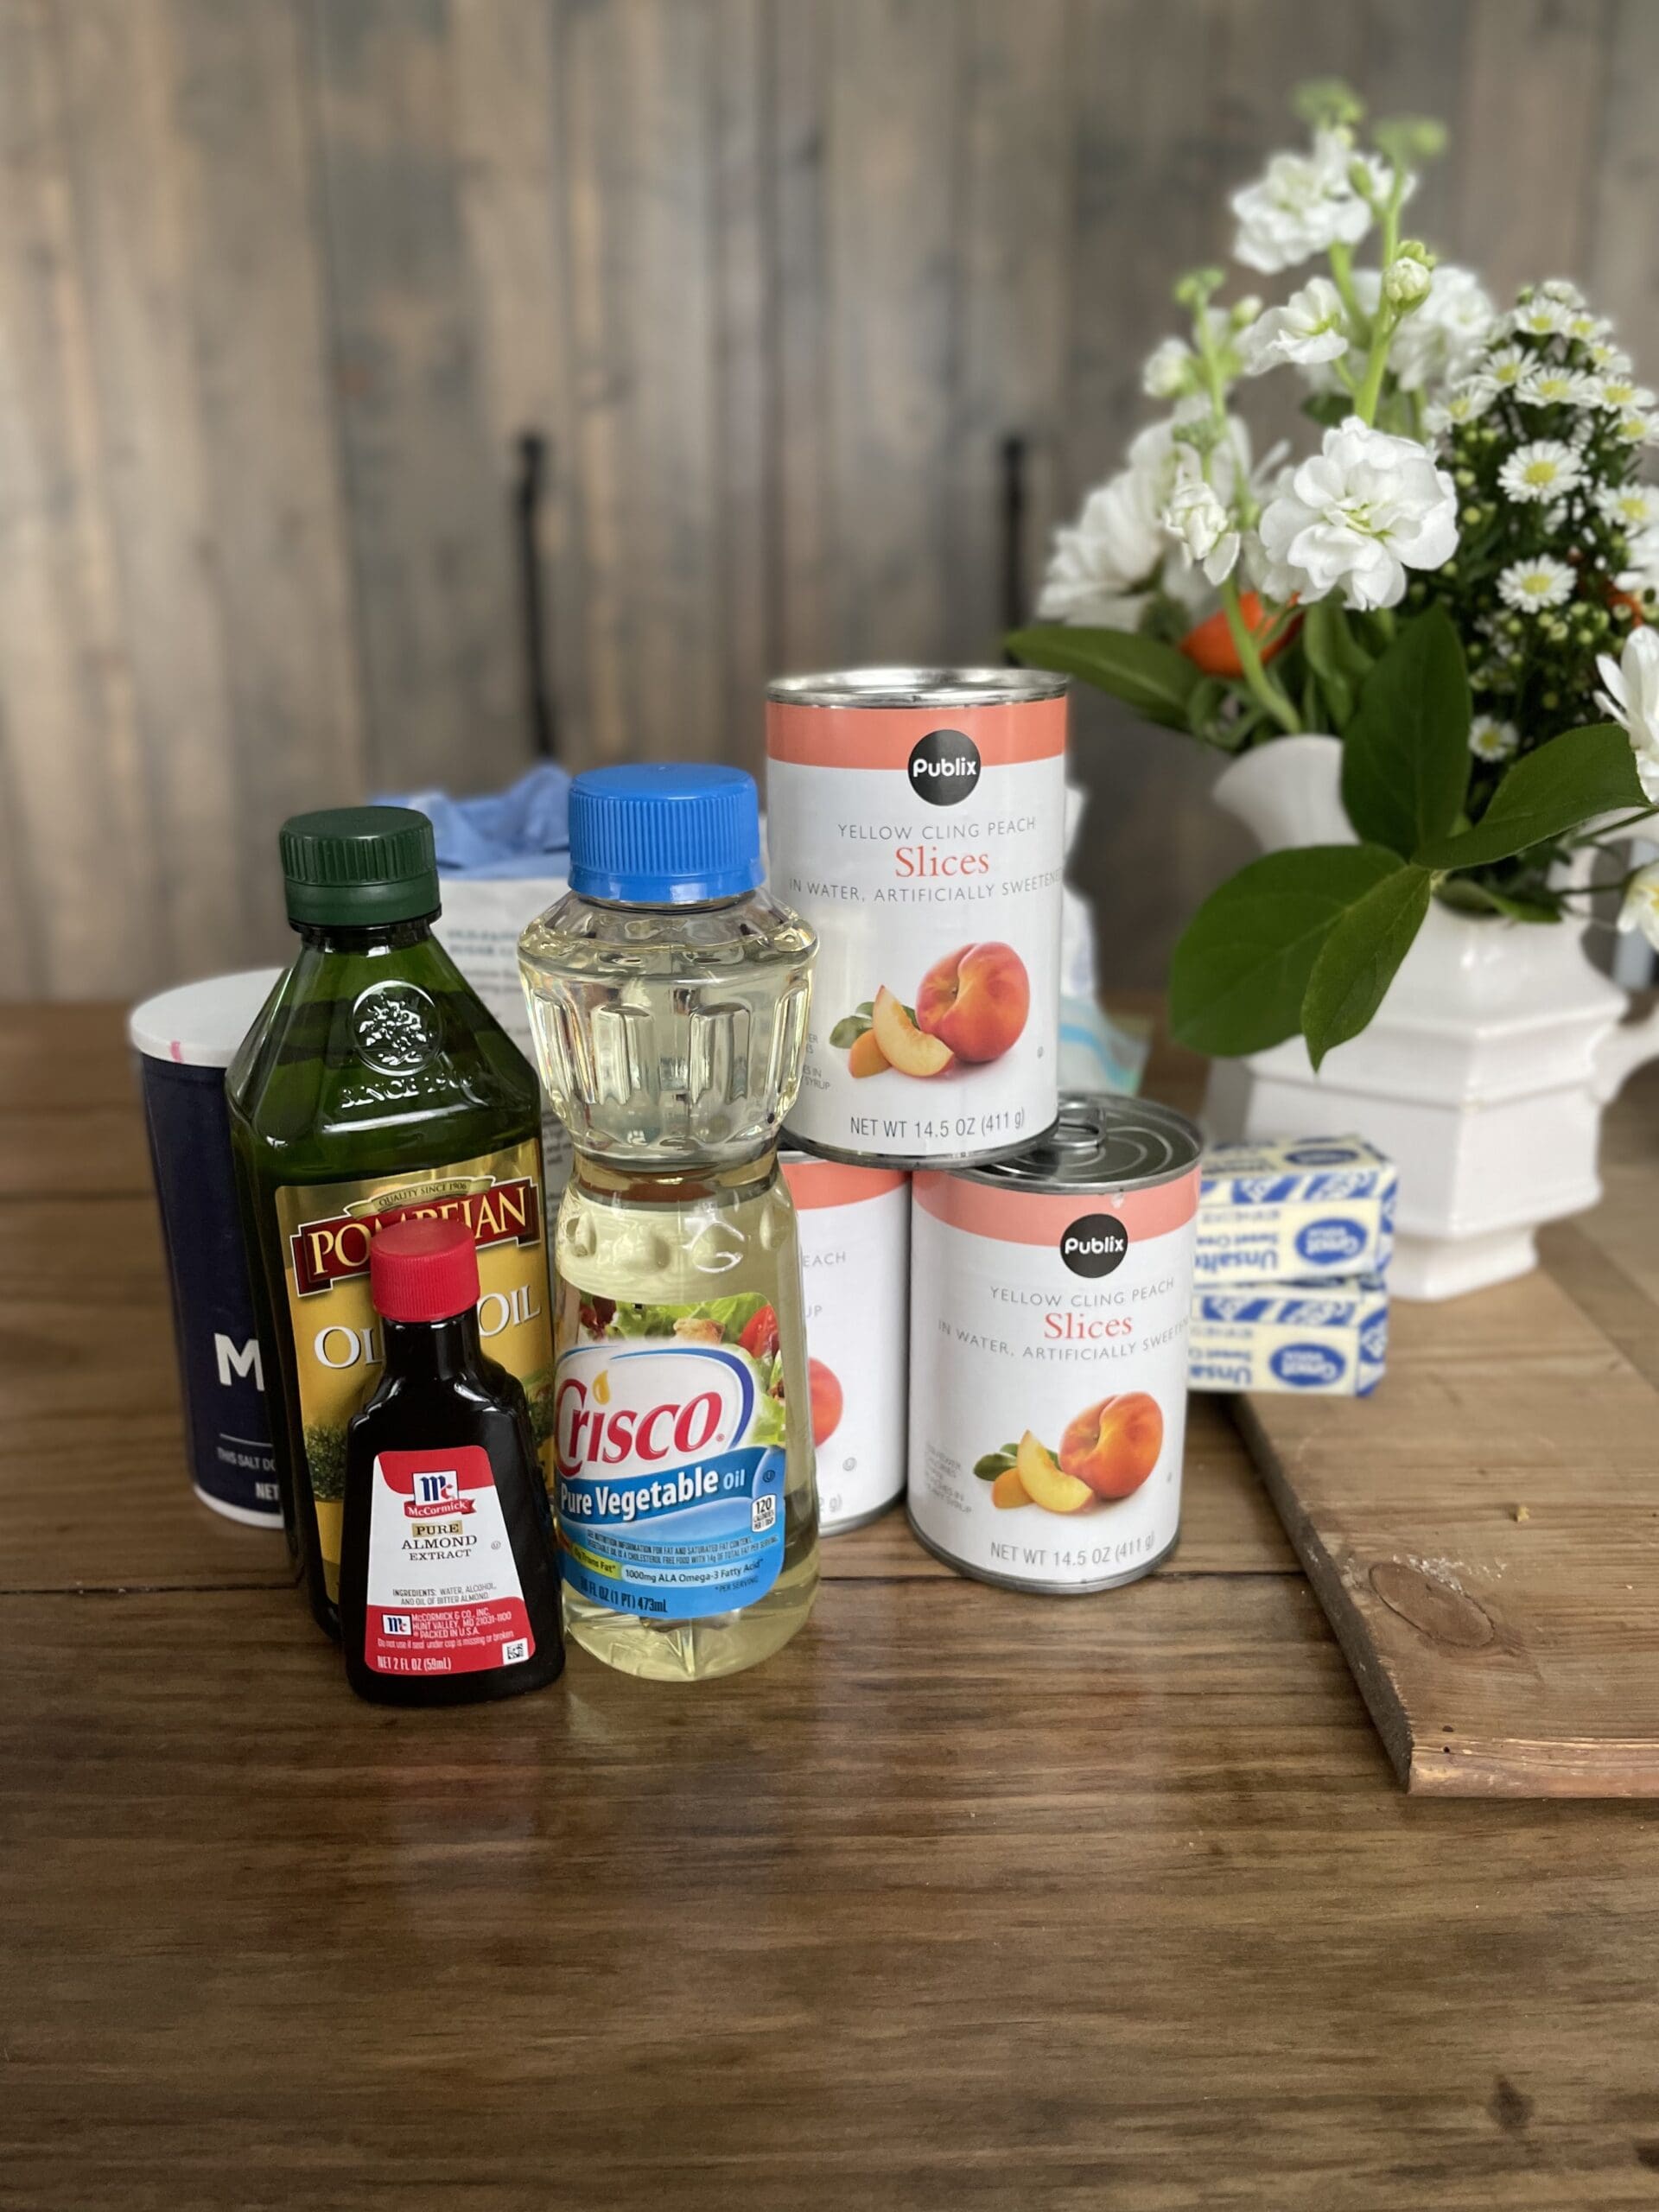
The best part about this peach tart is that you can make it all year round using canned peaches, like we did, or use some fresh peaches if you make it in season. The canned peaches were just as tasty, and they spared us the trouble of having to peel, pit, and slice up fresh peaches.
If you are an overachiever like me, you might just want to go through the extra work to get that fresh peach flavor, but it really is up to you.

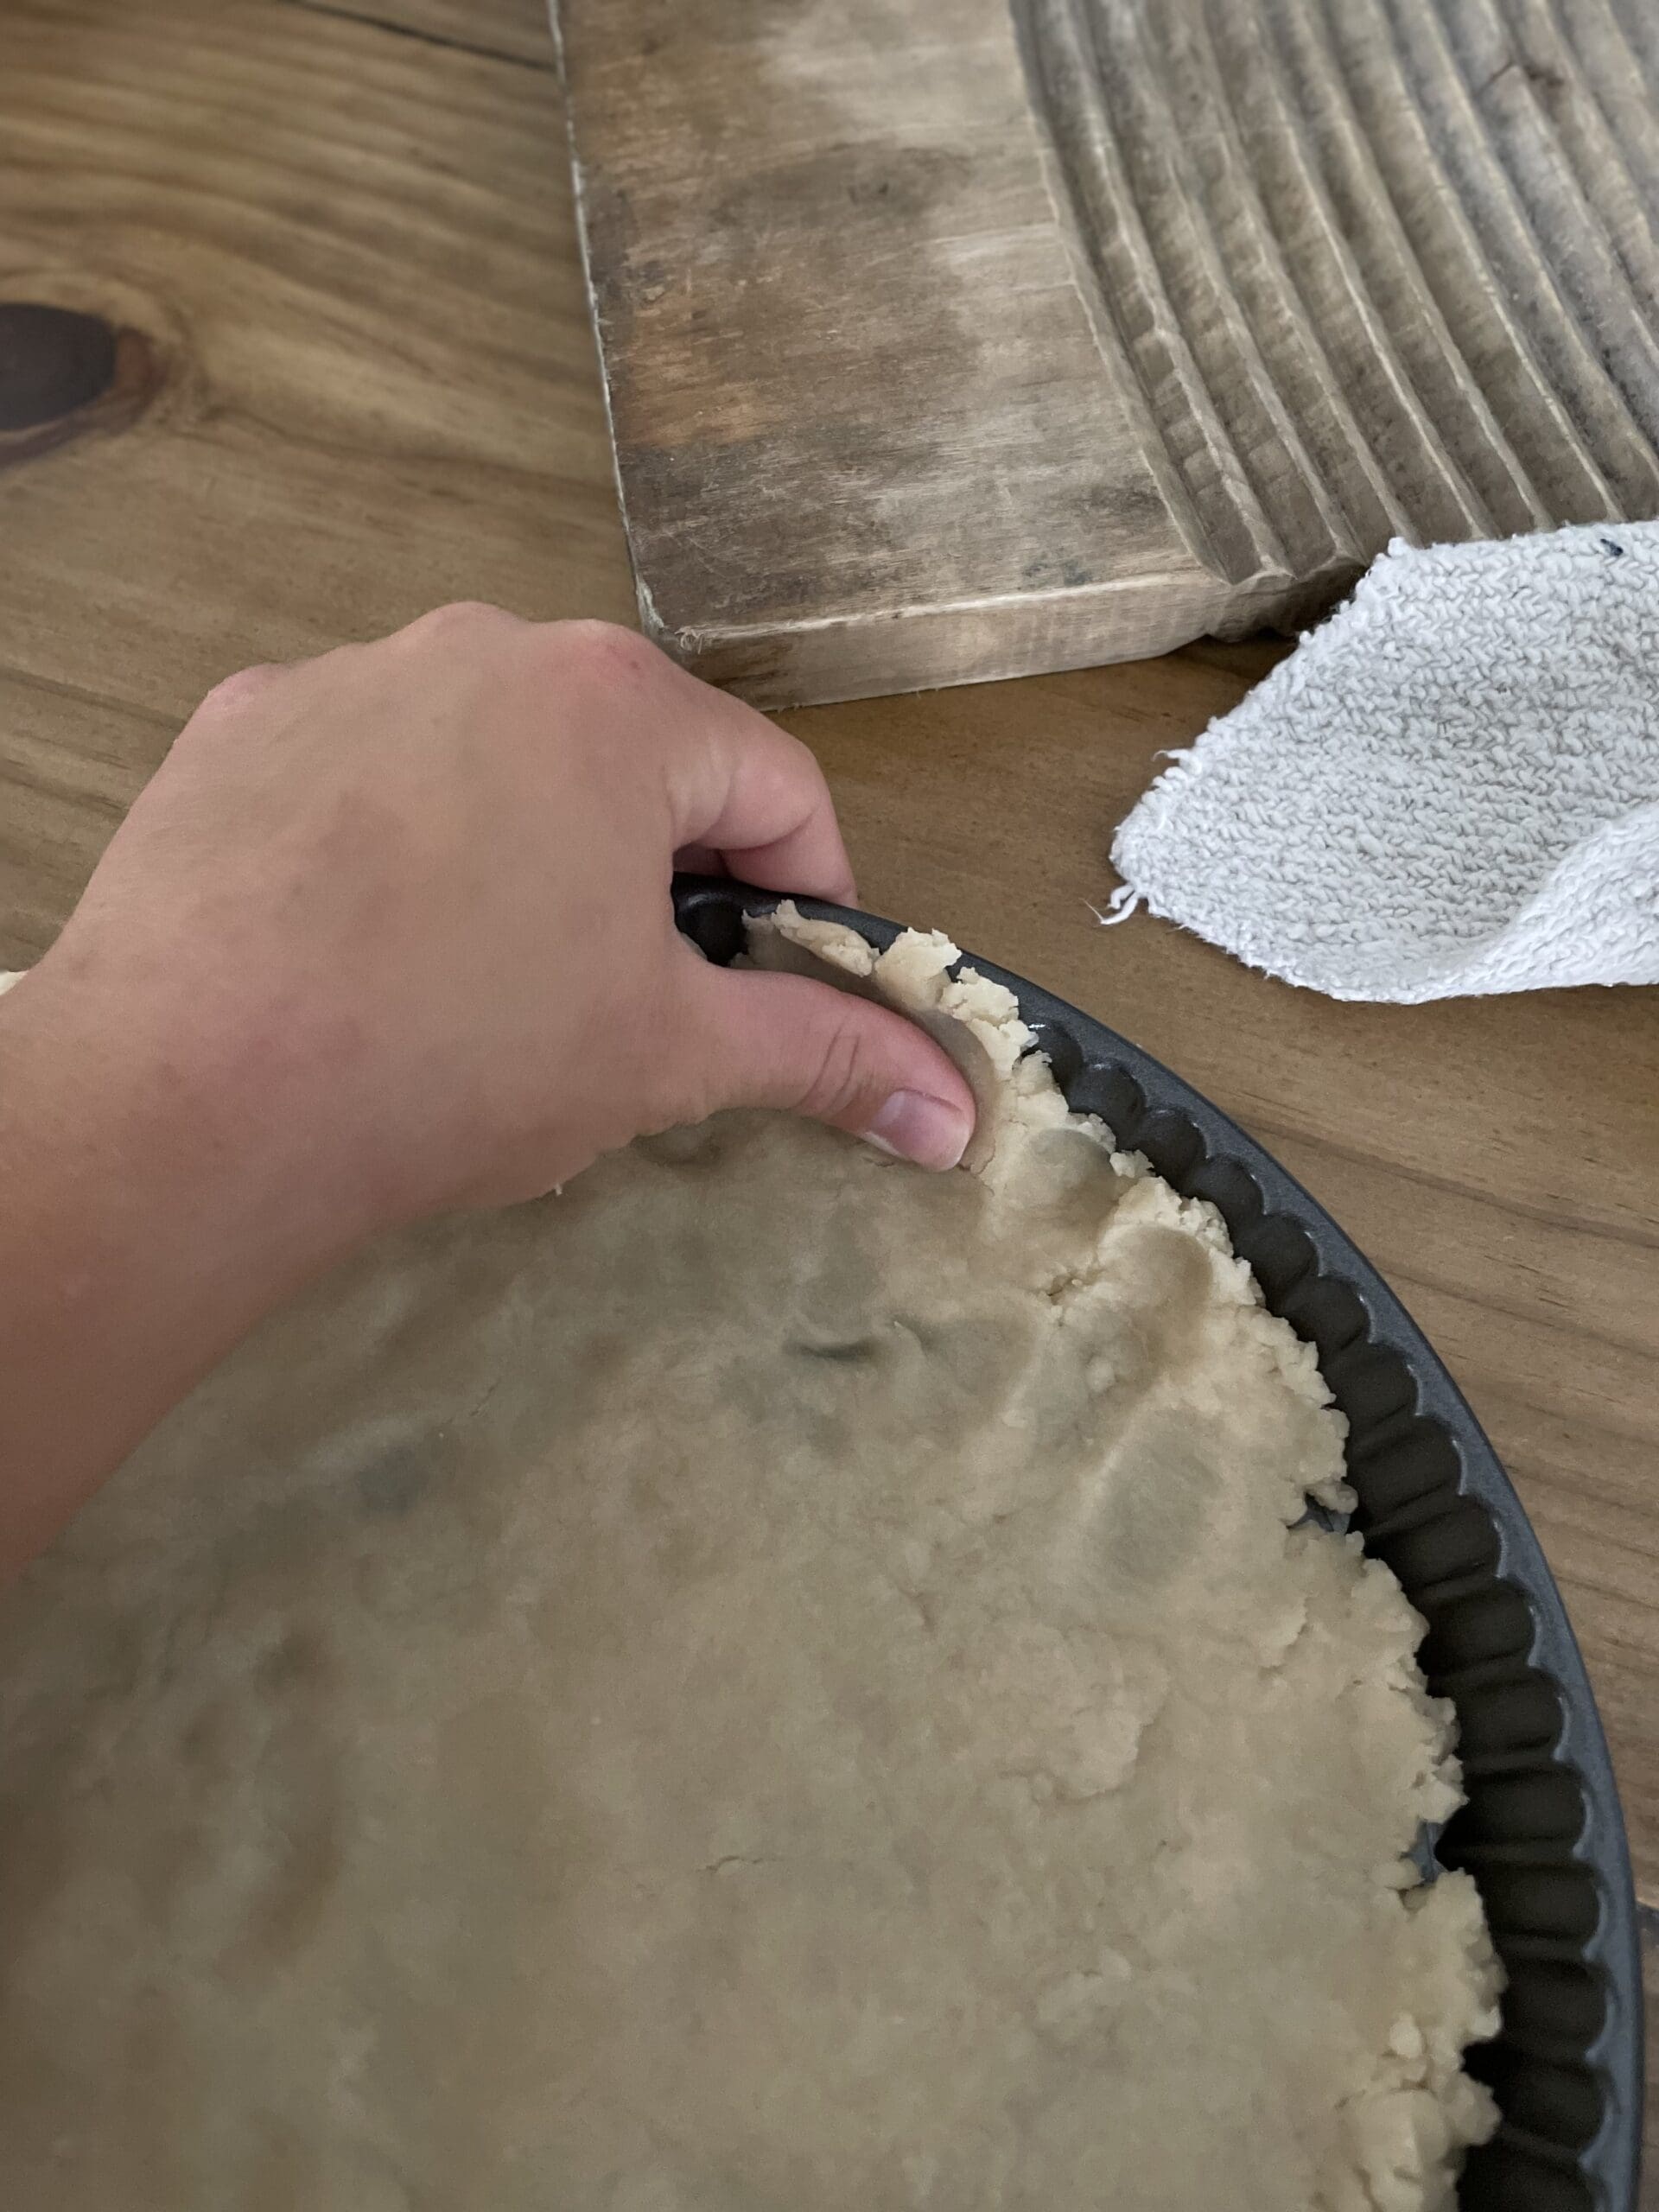
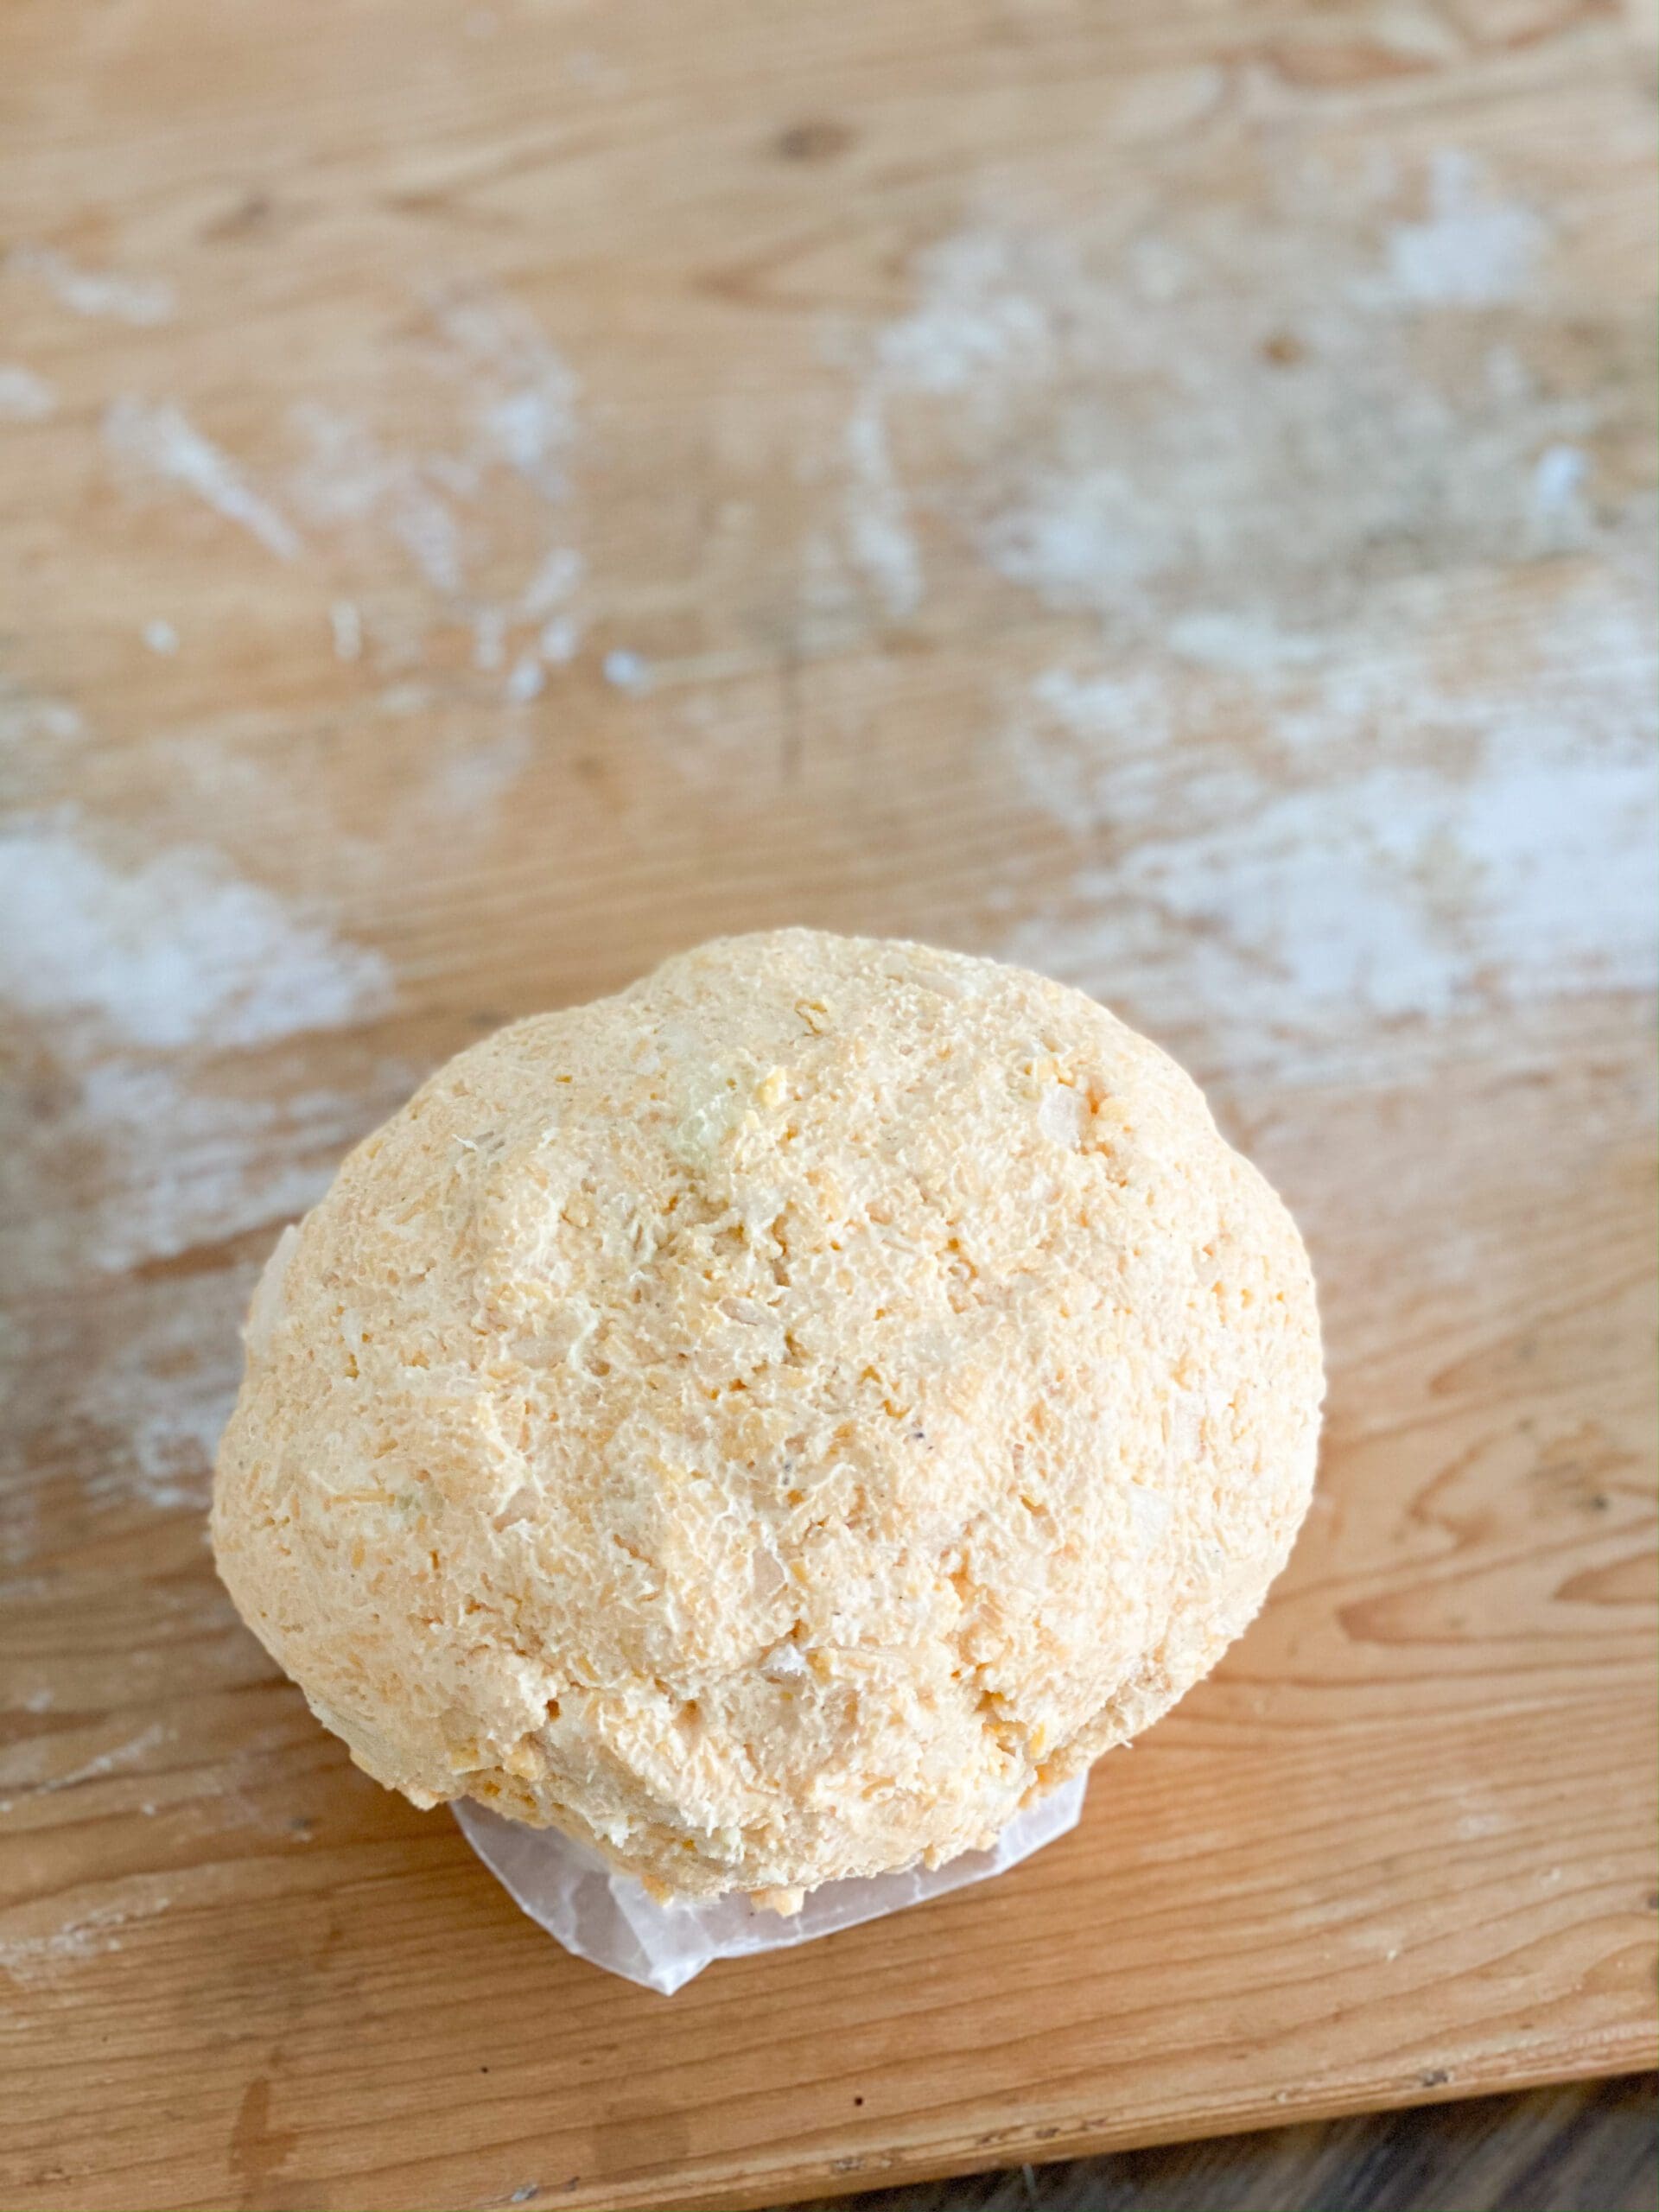
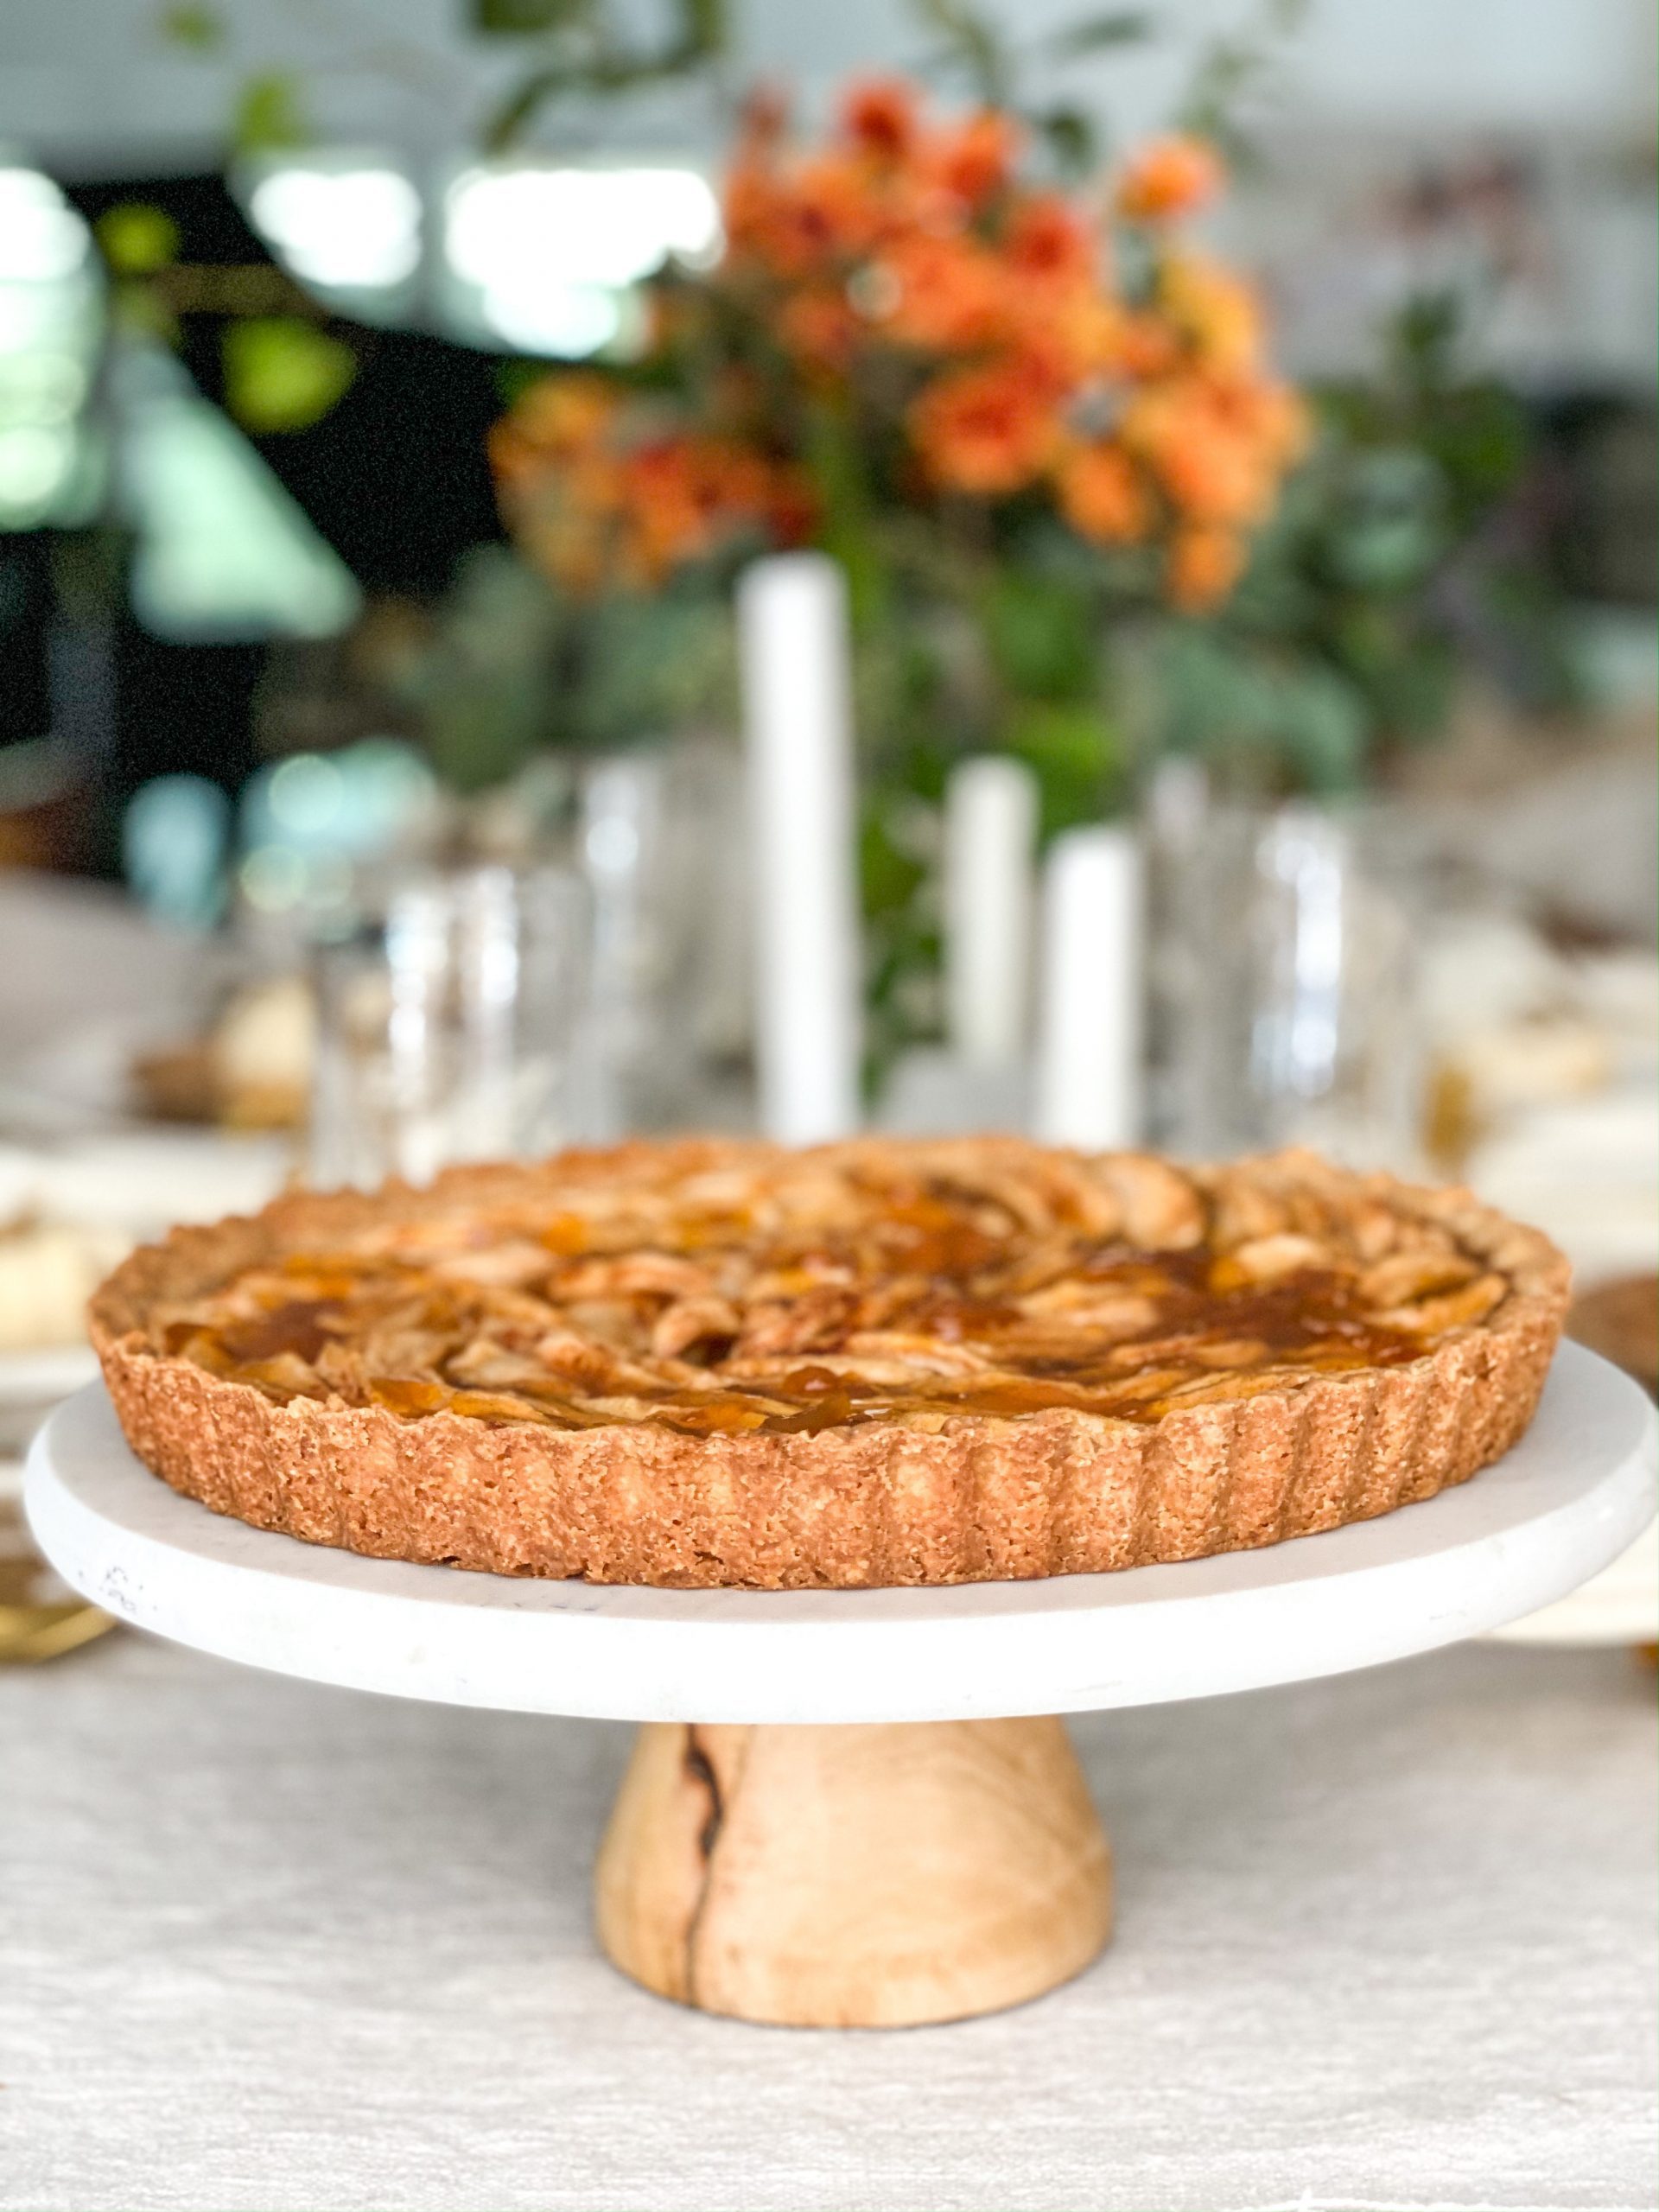
My first suggestion if you are wanting to make this tart is to make sure you have a tart pan with a REMOVABLE BOTTOM. It is going to be crucial for getting that smooth looking edge out of the tart pan without cracking or crumbling. This will save you in the long run when making any kind of tart.
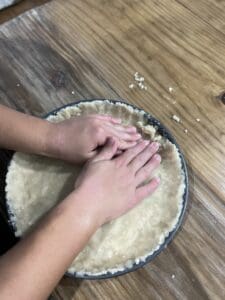
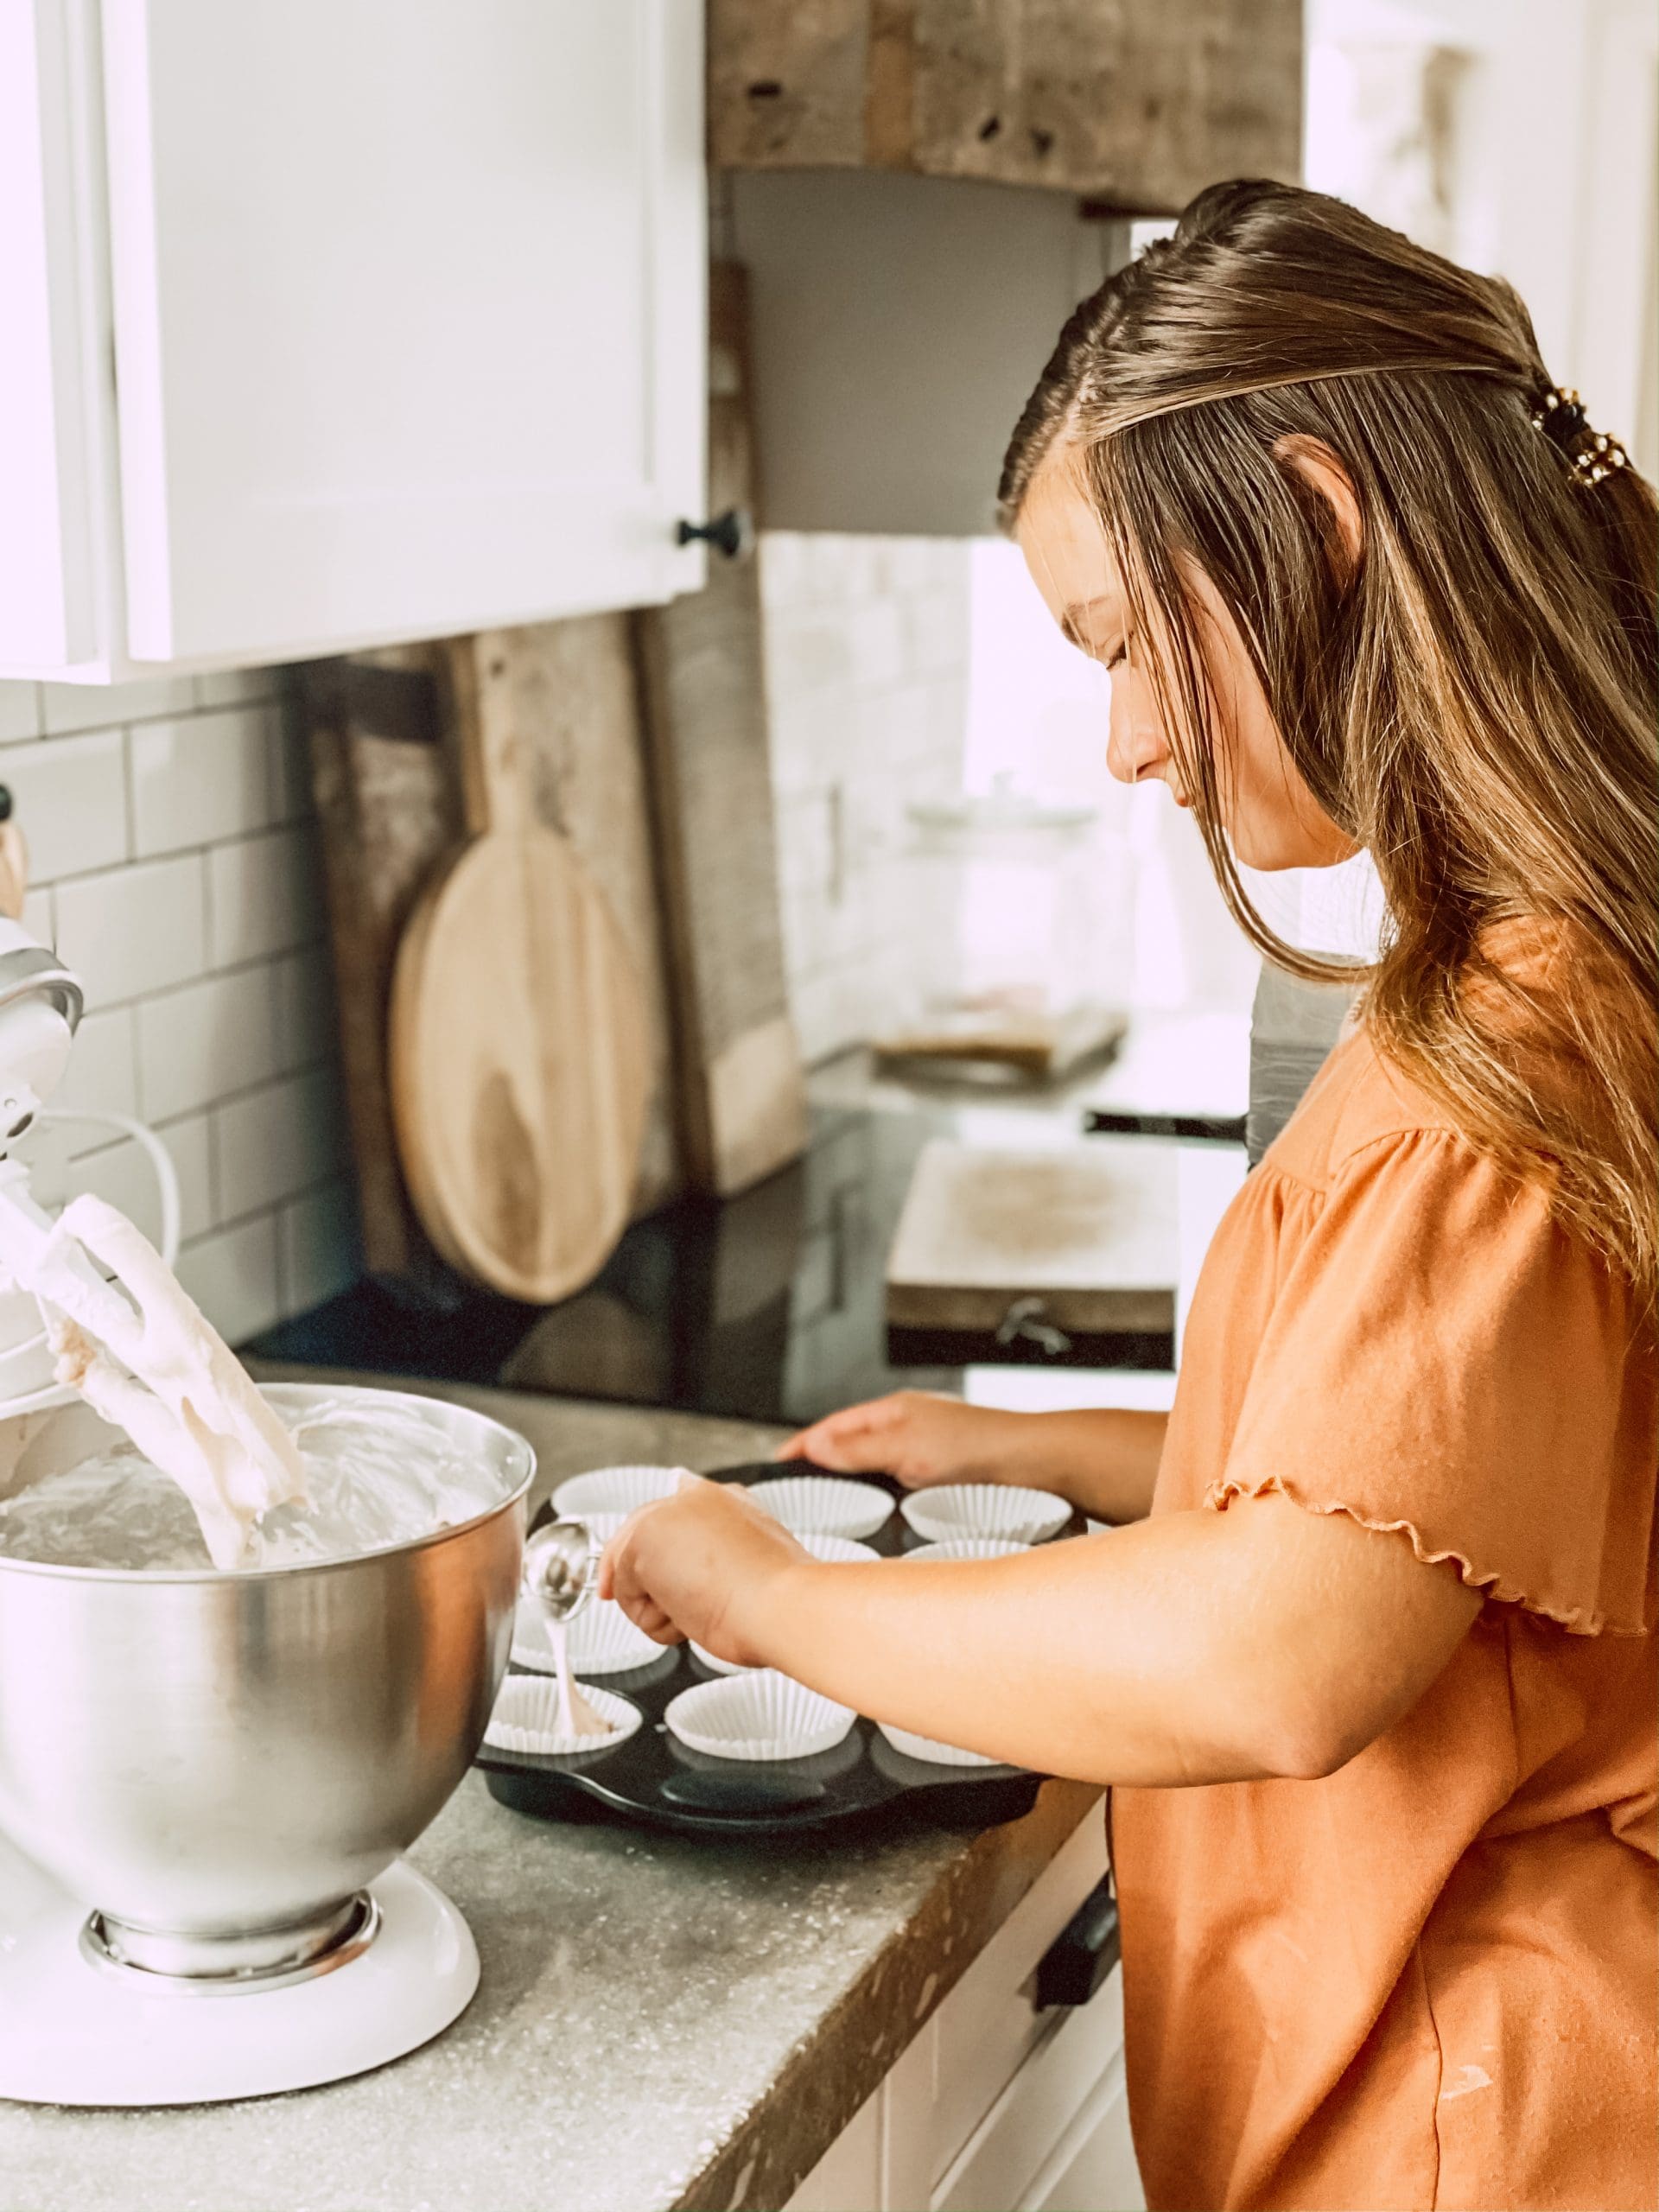
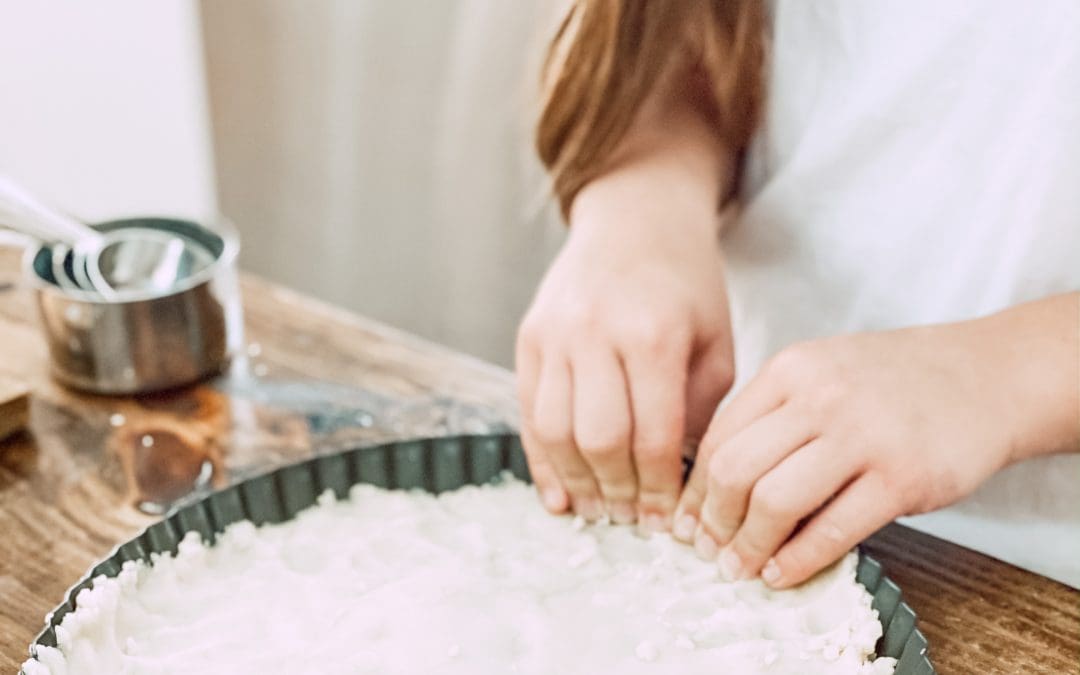
The second tip that I would want to let you in on, especially if you are wanting it to look pretty as well as taste good, is to make sure that you spread the dough out evenly across the entire pan. That way when you go to press the crust up onto the edges of the pan, you don’t run out of dough in certain spots.


Here is the printable Recipe & Instructions:

Peach Tart for Summer
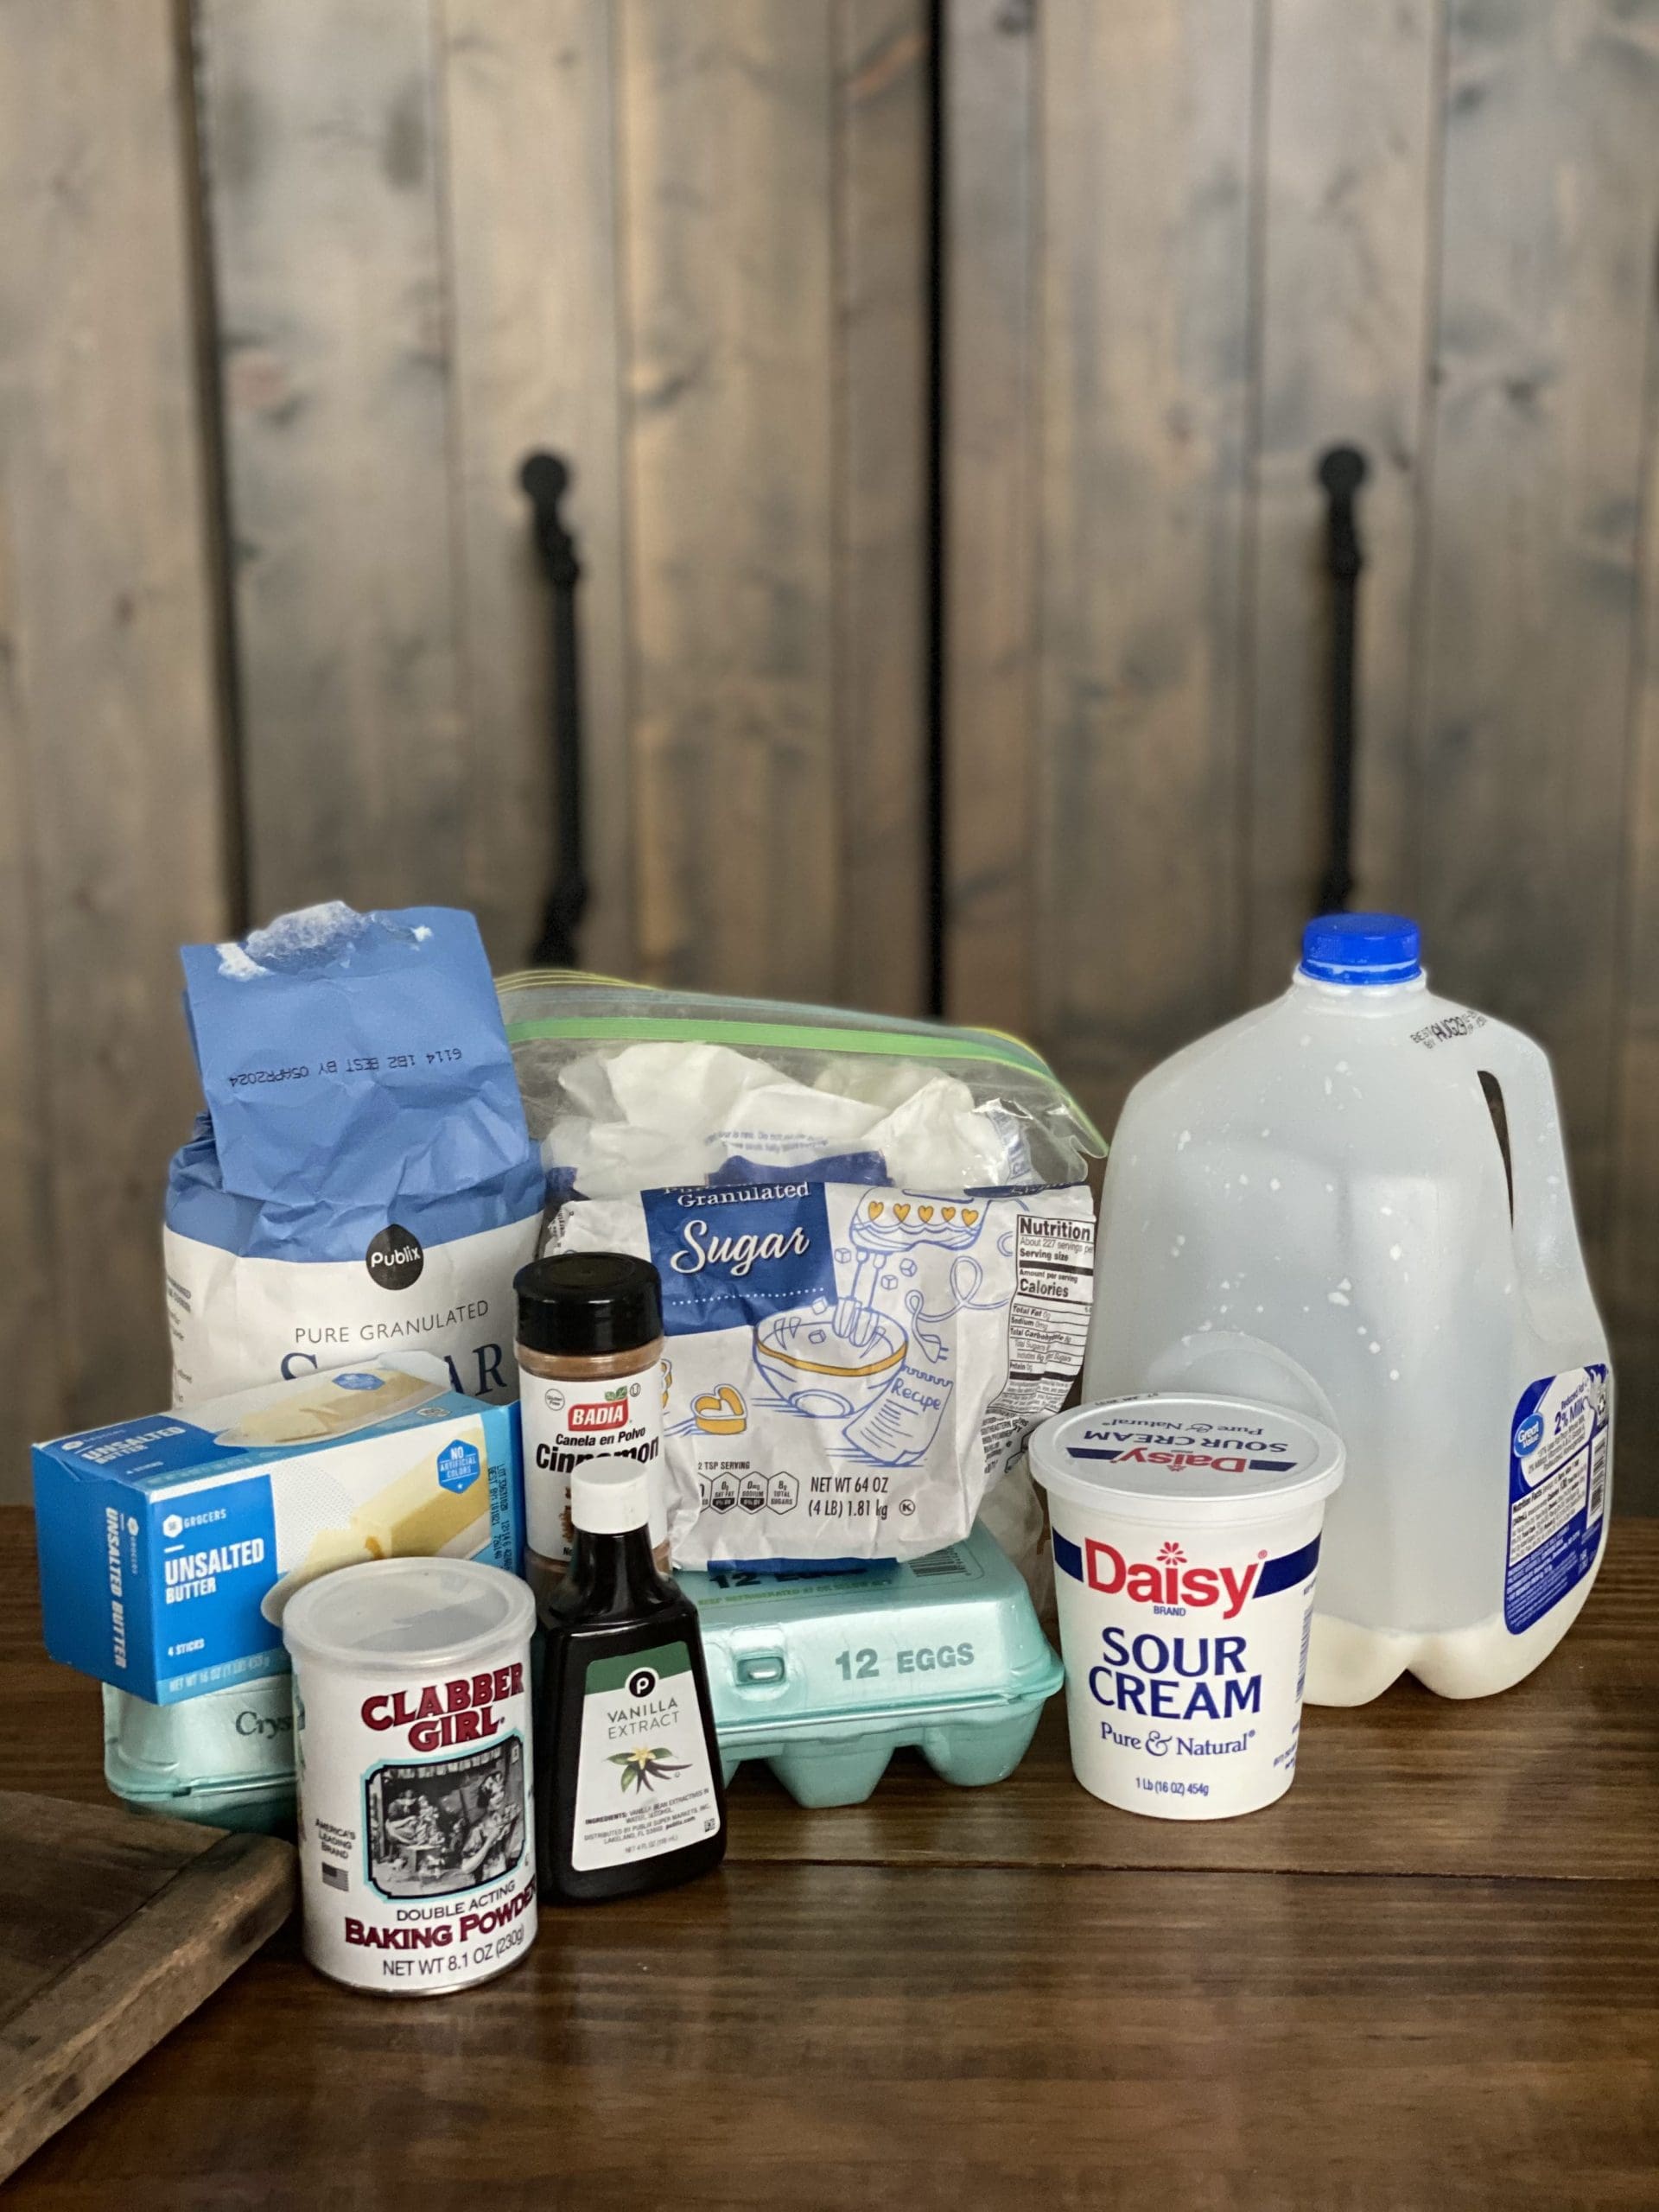
Ingredients
Filling
- 3 Cans Peach Slices, drained OR
- 5 Peaches, peeled, pitted and sliced If NOT using canned Peaches
- 1/3 Cup Granulated Sugar
- 1/2 Lemon Juiced
- 1 Tsp Pure Vanilla Extract
Crust
- 1 1/3 Cup All Purpose Flour
- 1/4 Cup Granulated Sugar
- 1/2 Tsp Salt
- 10 Tbsp Butter, melted
- 1 Tbsp Granulated Sugar
- 2 Tbsp Butter, cut into small cubes
- 1 Melted Apricot Preserves
Instructions
- Preheat Oven to 350 degrees.
- In a large bowl, toss peaches, lemon juice, & and Vanilla together.
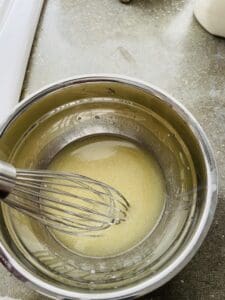
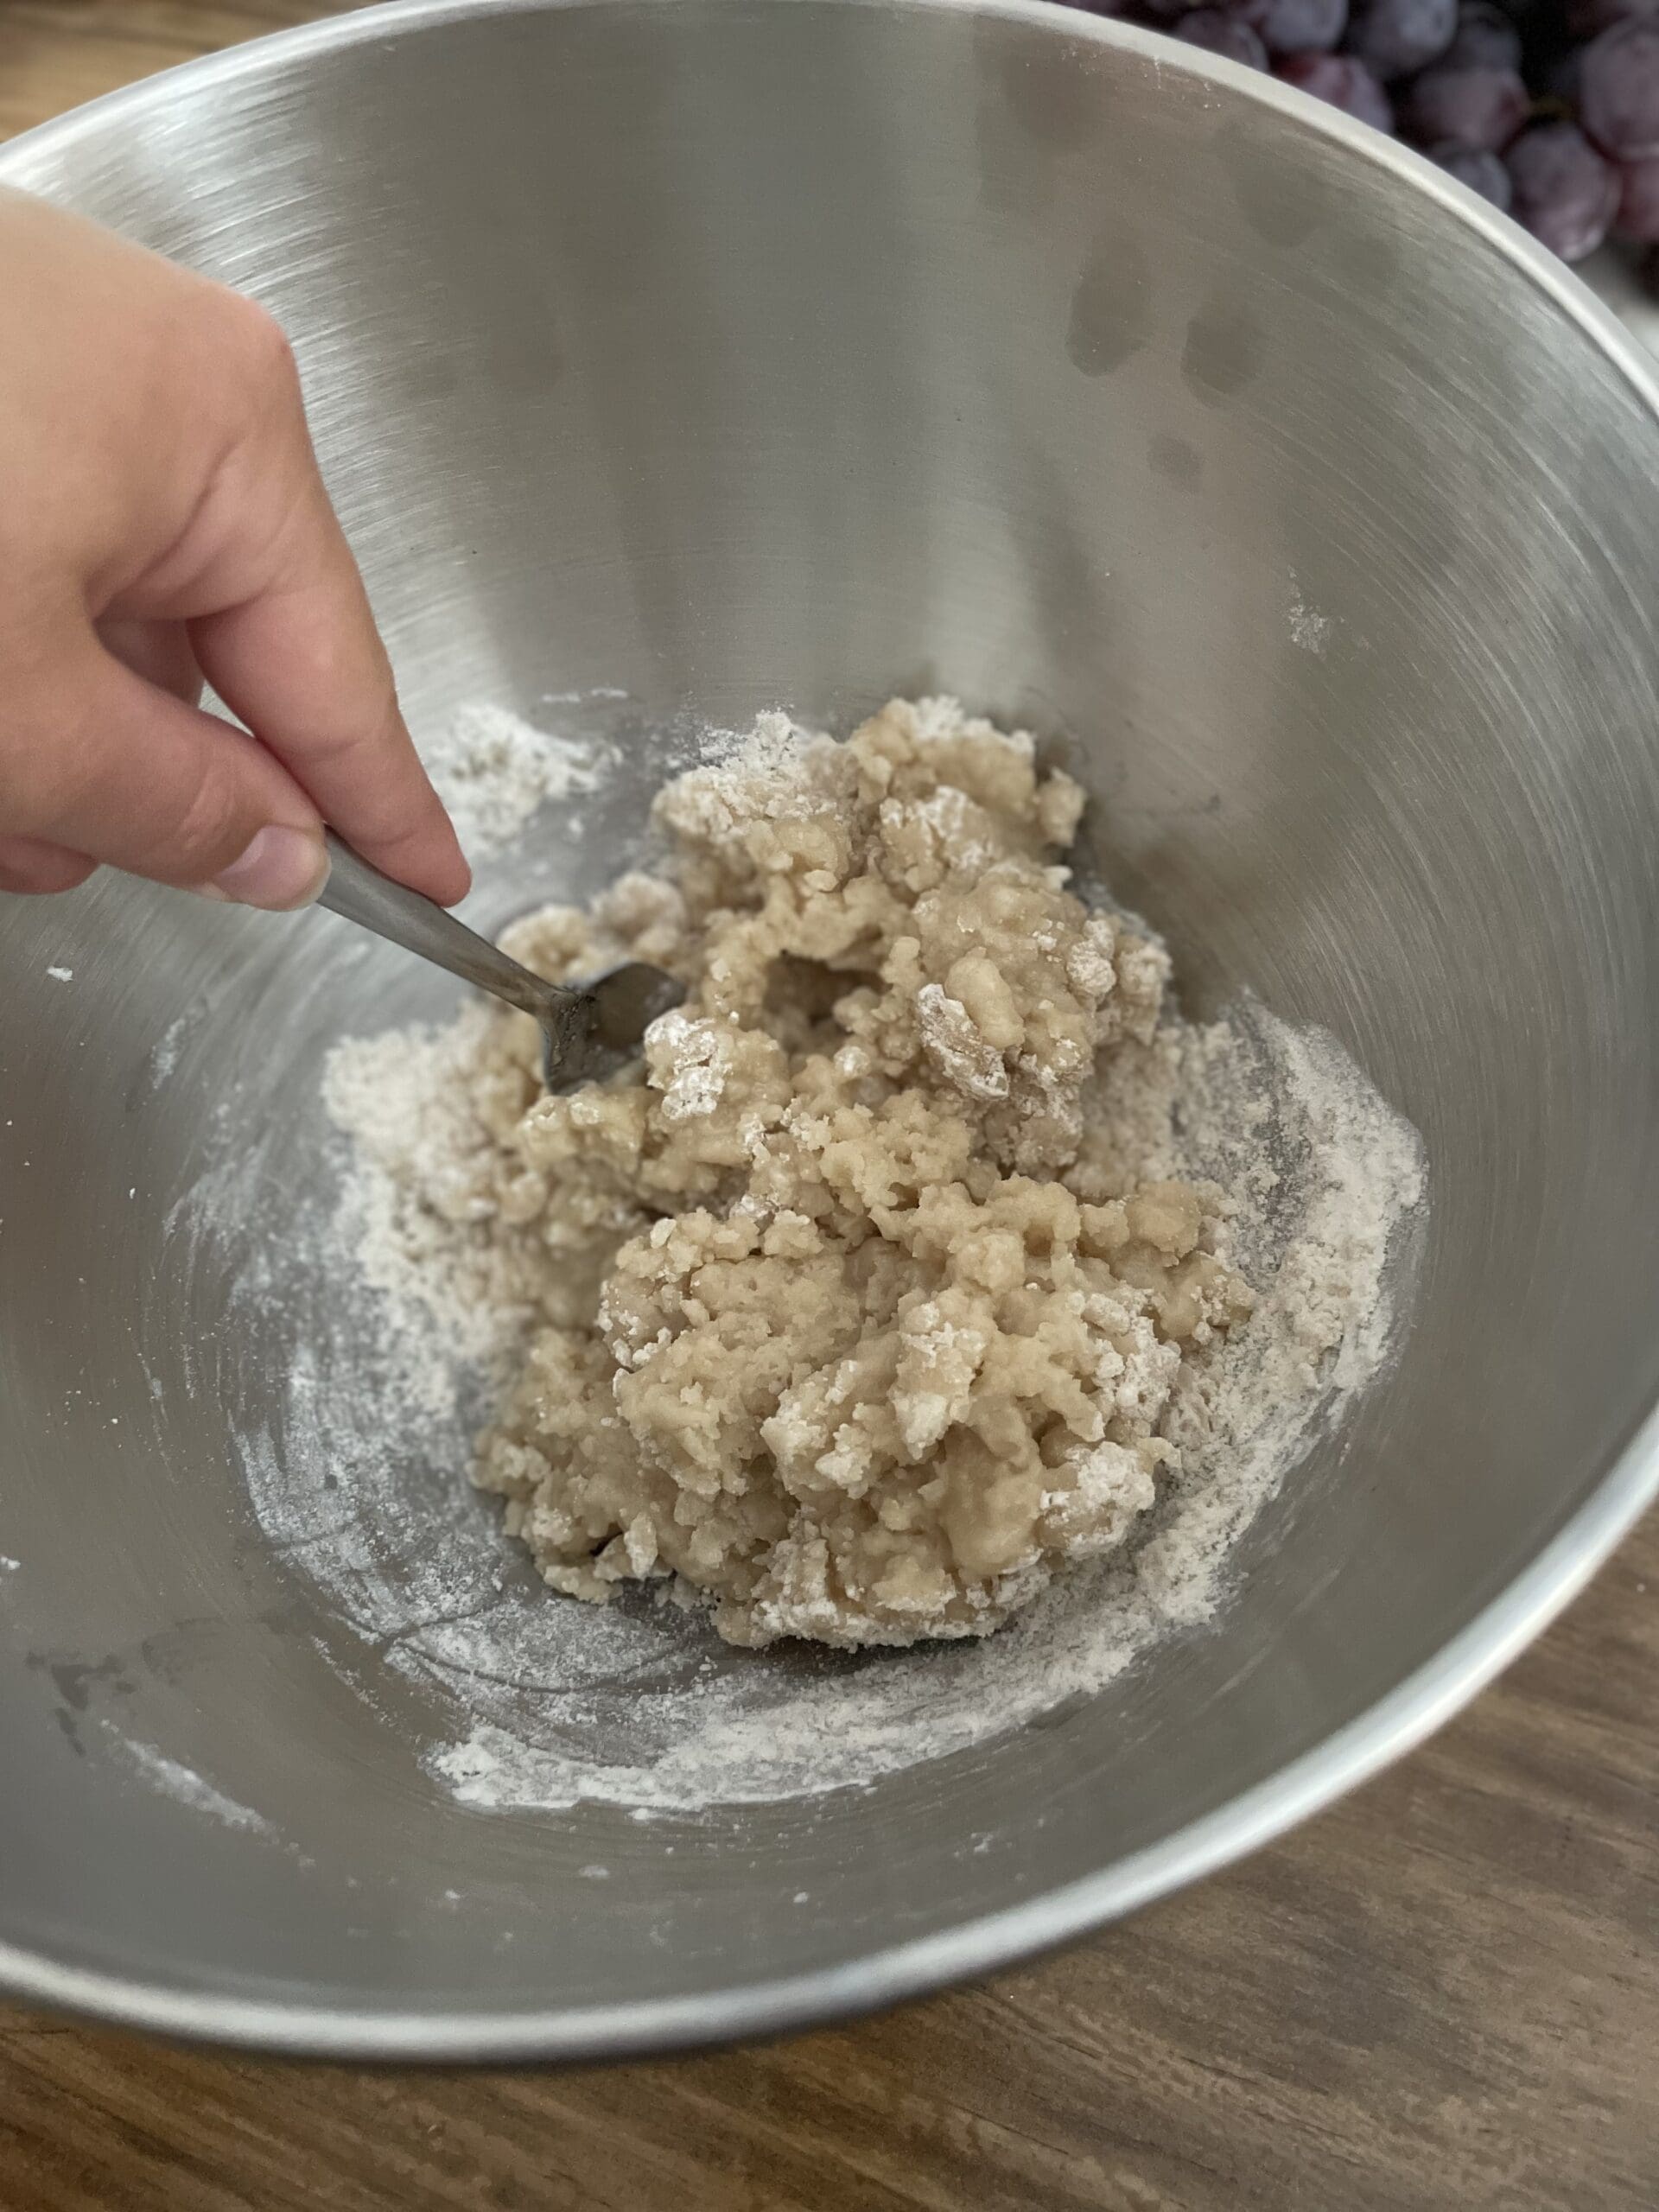
- In another large bowl, whisk together flour, sugar, sale, and cinnamon. Add melted butter and stir utnil dough forms.

- Press mixture into a 10 or 11 inch tart pan with a removal bottom, pressing until dough is smooth.
- Arrange peaches over crust, sprinkle with granulated sugar and dot top with butter.
- Bake until crust is golden and peaches are tender (about 1 hr).
- Brush with melted apricot preserves and let cool slightly before slicing & serving.


This recipe is the perfect summer dessert and delicious for all year round. I hope you enjoy this dessert and have fun making this.
One of the best things about baking is that it can bring joy not only to those that you bless with your developing skill in the kitchen, but it also provides joy for you. So enjoy yourself, experiment, and be creative!
Happy Baking,
Payton
Robyn here again. I can say from personal experience: This peach tart tastes amazing!
Now I hope you’ll head on over to Annie with Most Lovely Things. You’ll love her summer recipe! Or, click on any of the links below. They’re all amazing!
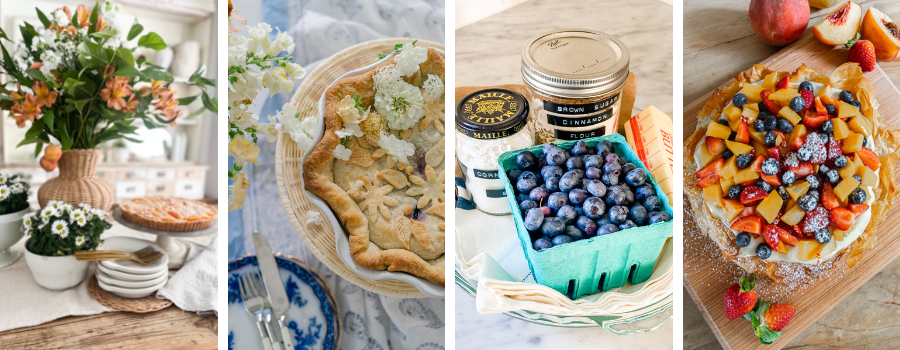
Easy and Tasty Summer Peach Tart // Robyn’s French Nest
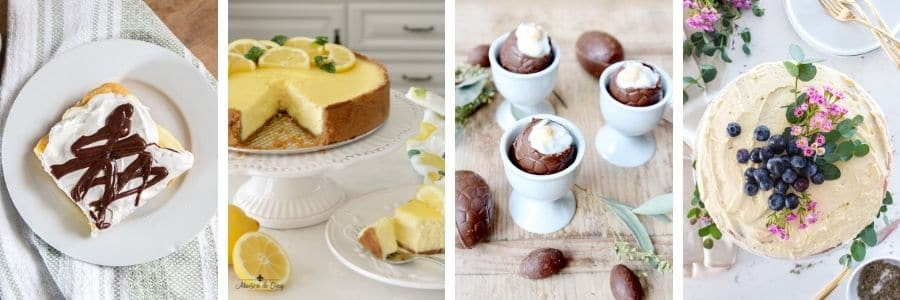
Wild Maine Blueberry Pie // Finding Lovely
Bluberry Crumble Kit for Overnight/Weekend Stays // Most Lovely Things
Simple Summer Fruit Crostata With Lemon Cream Cheese Filling // Twelve On Main
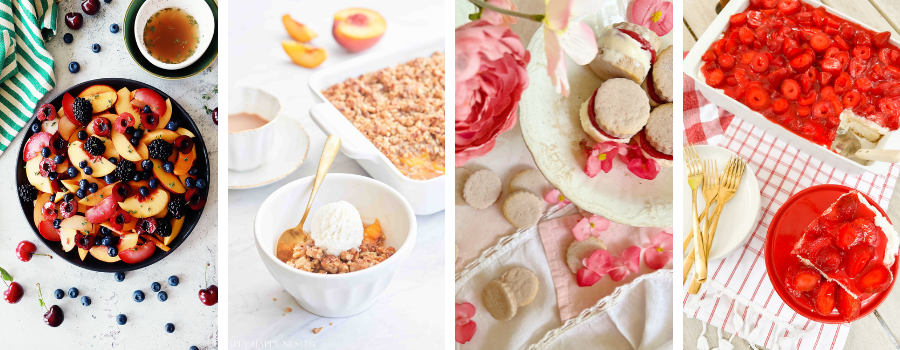
Summer Peach Salad // Paint Me Pink
Peach Crisp with Fresh Peaches // Happy Happy Nester
Raspberry Strawberry Shortbread Cookies // My 100 Year Old Home
Fresh Strawberrry Cream Cheese Cake // Tatertots & Jello
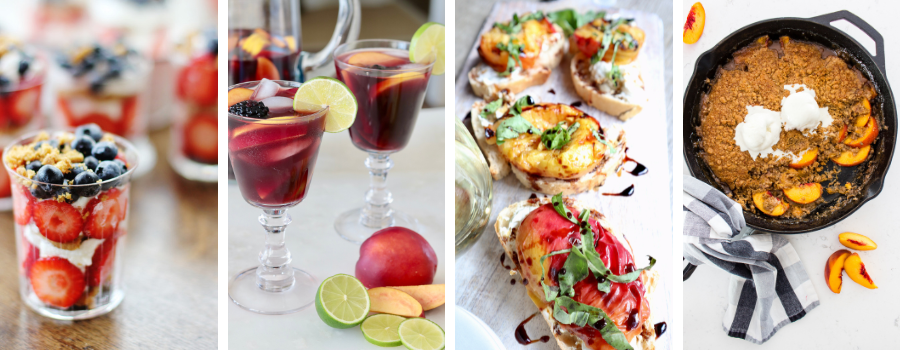
Mini Tri Berry Trifle // Thistlewood Farms
Easy & Delicious Red Wine Sangria // Maison de Cinq
grilled stone fruit and cheese pairings // My Sweet Savannah
Easy Skillet Peach Crumble // Inspiration For Moms
Blessings,


Gallery


")
")

")
")
")
")
")


")
")
")
")
")
")
")

")
")


")
")
")
")
")
")
")
")
")
")
")
")
")


")
")
")
")
")
")
")
")
")
")
")
")
")

")

")
")
")
")
")
")
")
")

")
")
")
")
")
")
")
")
")
")
")
")
")
")
")
")
")
")
")
")
")
")
")

")
")
")
")
")
")
")

")
")
")
")
")
")
")

Recent Comments