8 Tips for Christmas Organization
")
This post may contain affiliate links where I earn a small commission on your purchases, at no additional cost to you. Thank you for supporting our small business.
It’s an amazing thing. On the days leading up to Christmas, I just can’t imagine feeling ready to take it all down. And every, single year…a few days after Christmas…I start getting the itch to refresh, restyle, and get the hard work of organizing it all for next year done! Sometimes it doesn’t happen until after New Year’s, especially on the years where we are celebrating Christmas with extended family over the New Year’s weekend (does that even make sense?! Christmas vacation brain over here! Ha!)
Disclaimer: if I were home all the time, I would absolutely leave it all up until after New Year’s. Since I teach full time, it’s really important to me to try and set our family up for a successful and smooth transition back into the school routine. Something about coming home to a simplified, clean home, makes those first days back a lot easier!
All that being said, our family worked together this year to get the Christmas décor taken down, organized, and stored away. Every year, a few more memories pack themselves into those totes and into our hearts!
We don’t have a fancy system or any revolutionary storage solutions. But we do have practical methods that we have worked hard to streamline over the past couple of years. Any kind of storage and organization really depends a lot on the space and items you’re working with. I’ll share some general tips and ideas that work for us!
Step One:
Gather all Christmas décor into one central place. Our long, farmhouse table works great. Organize décor into groupings of like items.
Step Two:
Anything that you didn’t use this year or don’t want to keep, set aside into a donate pile!
Step Three:
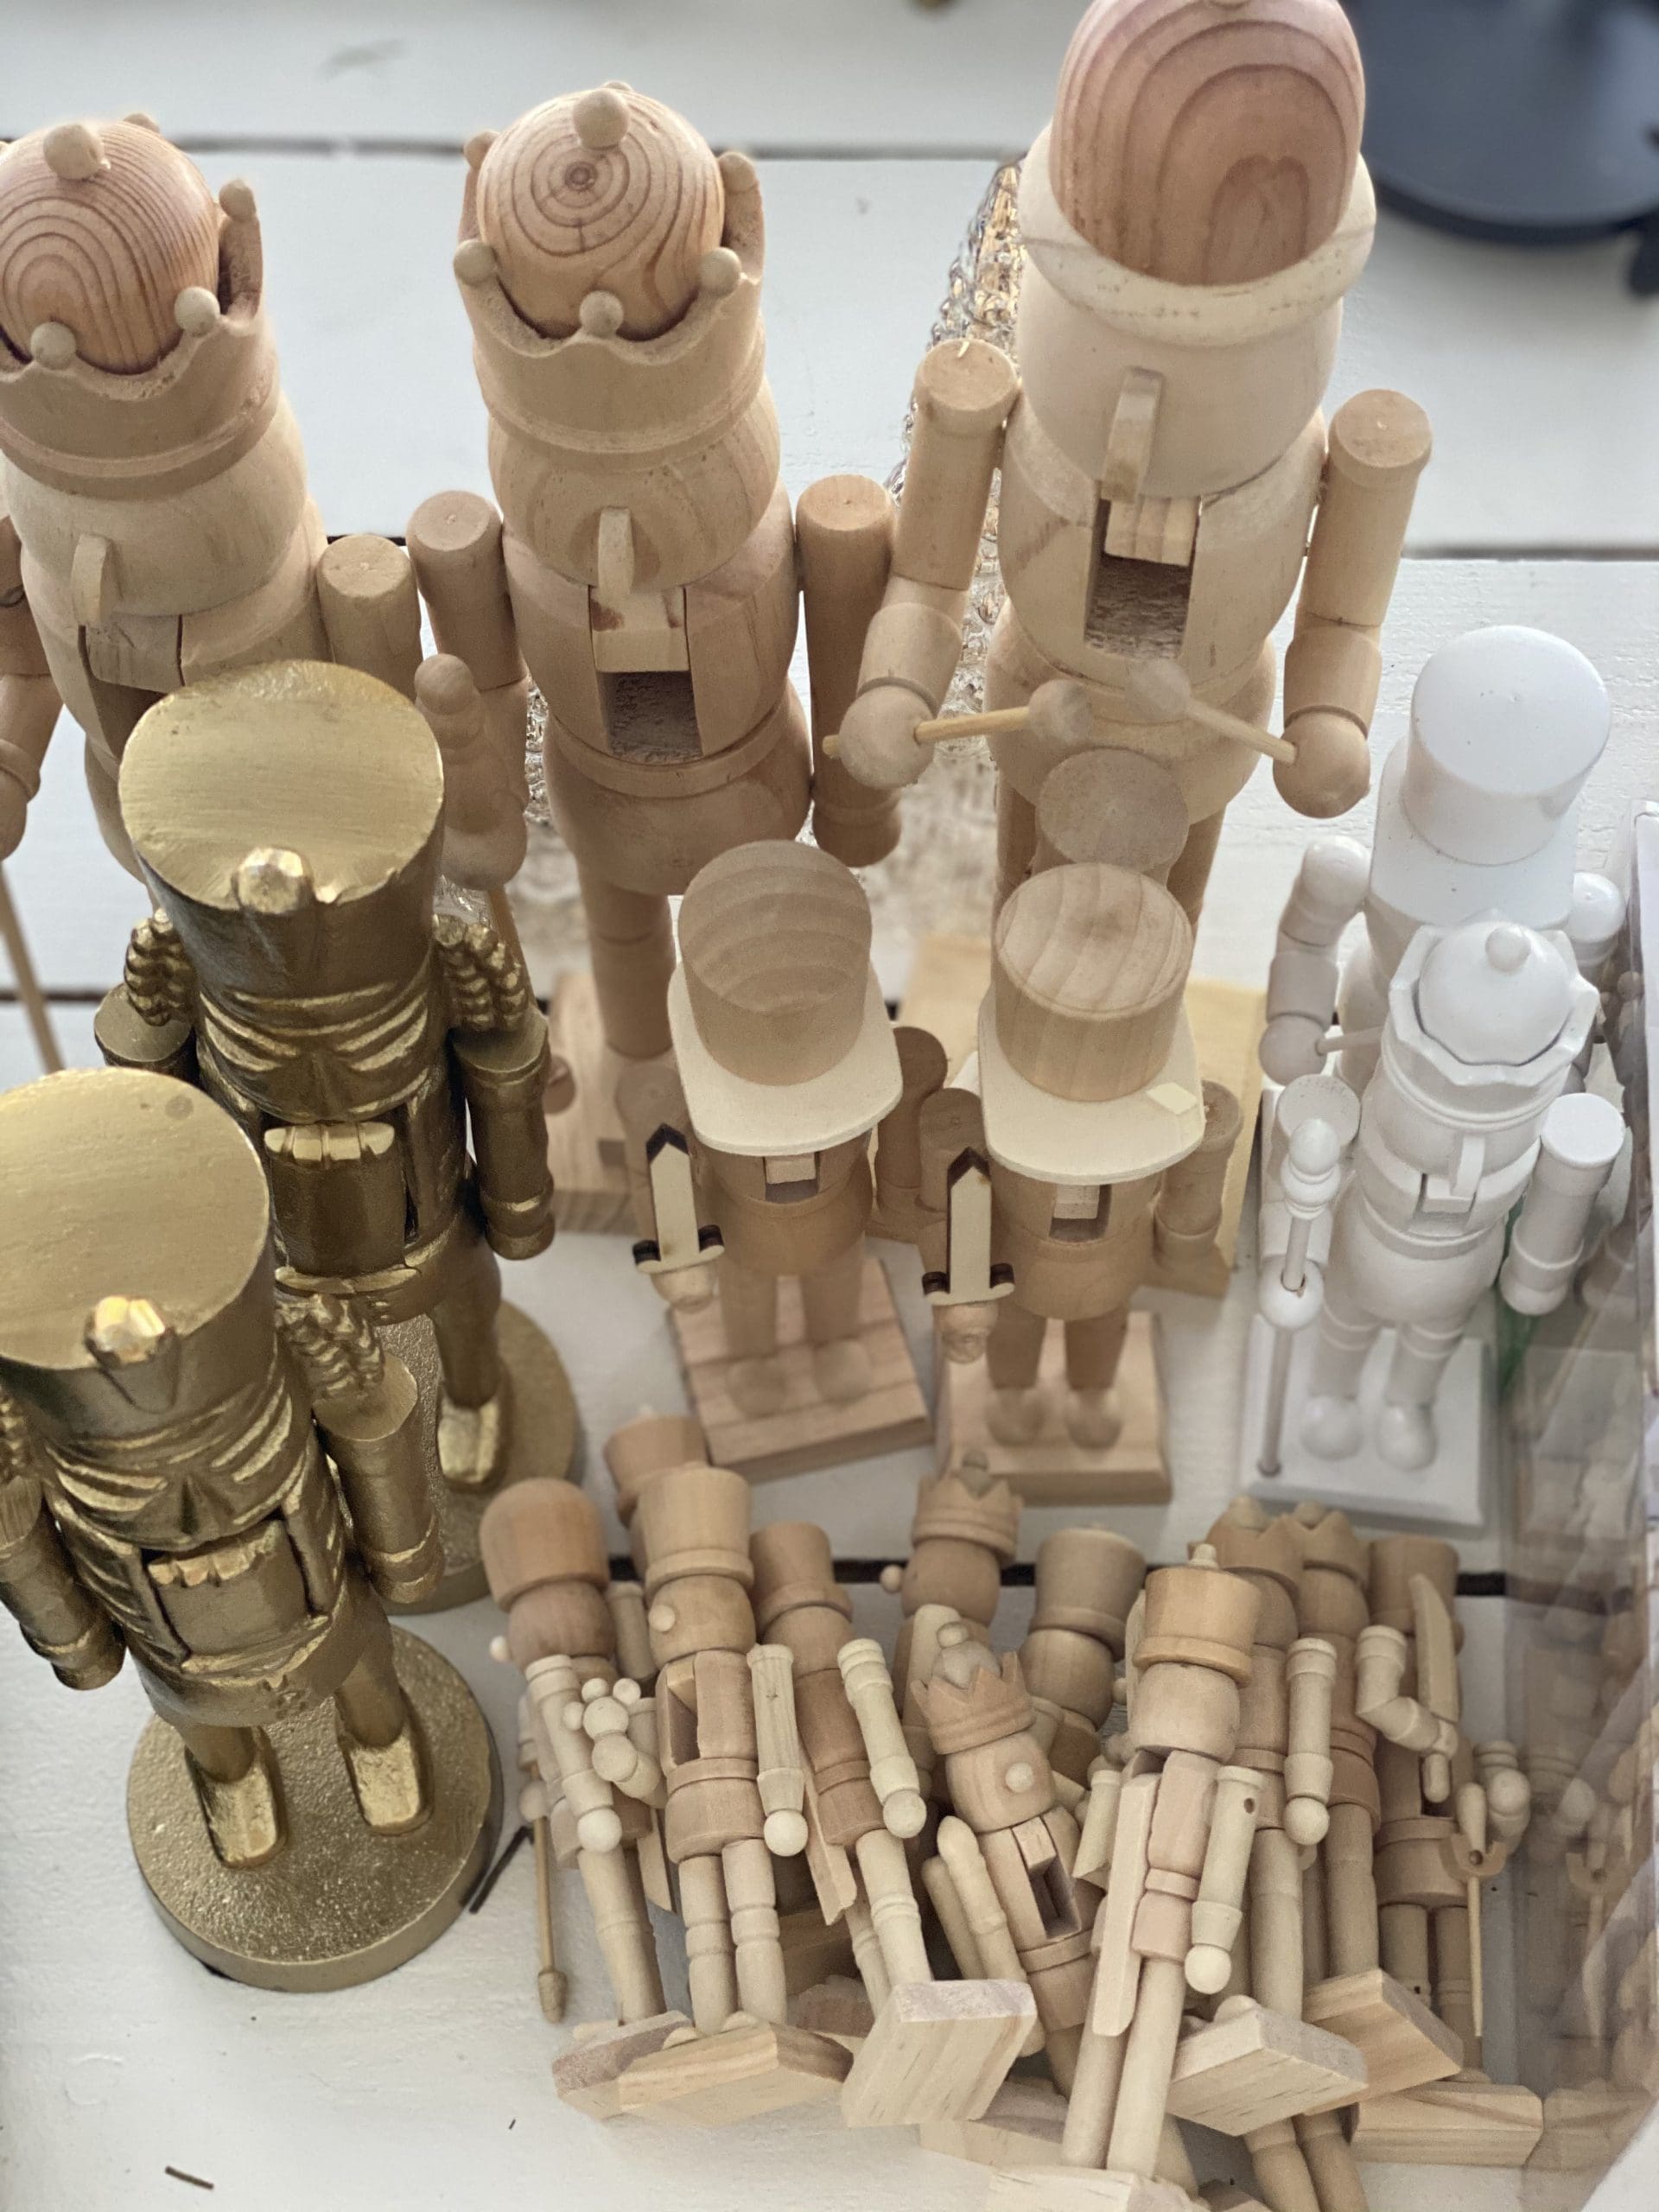
Put small items into Ziploc bags to keep them together. For example, my miniature stockings, bottle brush trees, and small nutcrackers go into Ziplocs!
")
Step Four:
Pack items into totes. After using many different ones over the years, we have found these to be the most durable. They also stack easily and that helps keep our attic (a little more) organized!
Here are some ways I sort and pack items:
")
- Greenery: Tabletop Christmas trees, faux greenery garlands, and small wreaths
- Winter Decor: I set aside items I want to use throughout the season. These will all get put into one tote when I’m ready to start making some spring transitions in February. I’ll share more specifics in a later blog post, but I mainly set aside simple cedar garlands and natural looking trees. I also keep out a few vintage ornaments to use in my New Year’s décor! Don’t forget to leave a few twinkle lights out for some cozy vibes during the winter!
- Fabric items and fragile items: For example, our Santa mugs get wrapped in bubble wrap and put into a tote with stockings, tree skirts, and Christmas pillow covers.
- Filler décor: In this tote, I have items such as nutcrackers, bells, fabric garlands, and little reindeer. These are all décor items that I will use next year after the trees are up, garlands hung, etc. I know I can save this tote for all the detail finishes next year!
- Brass: I keep all of my vintage French horns, angel and horn candlesticks, and reindeer in one separate tote. I don’t have to worry about those items shuffling around in a tote and breaking or scratching other décor pieces.
- Ornaments: I have one small tote for fragile ornaments. Those get wrapped in paper towels. We put all of the other ornaments into two small totes. They are not breakable and can easily just all be put together. While there are many great ornament organizers out there, we have found that our ornaments are just too many different shapes and sizes to really work that way.
- Wreaths: My big wreaths go into wreath bags. This keeps them in great condition! For the outdoor wreaths, I maximize the storage space by putting outdoor Christmas pillows in the middle of the wreath.
Step Six:
Big Christmas trees go into tree bags. We’ve tried a few different ones over the years, and have happily invested in heavy duty ones that protect our tree and can be used for several years.
Step Seven:
Grab some extra muscle to help you get your bins and bags into storage! It’s a big job, but so satisfying to know it’s all packed away neatly and ready for you the following year
Step Eight:
I give our home a good, deep cleaning. If I can, I hire someone to do this part while we enjoy a family outing! It’s fun to come home, knowing that everything is ready for me to start transitioning our décor. Plus, it’s easy to clean when all the surfaces are cleared off and the bulky trees are gone! (Amazing what collects under those tree skirts!)
")
So it isn’t fancy, as you can see, but it’s fairly efficient and I find this system to be the least overwhelming when it’s time to pull out Christmas décor the next year! I hope there are some helpful tips here for you or maybe even some inspiration to get the job done whenever you’re ready!
Blessings,
Robyn

Gallery

We spent the day today packing our Christmas decor in these totes that you recommended -thanks! Our storage room is looking so much better! I’m going to be working tomorrow on pulling out fall stuff and reorganizing that! Love it!
That’s so great! Using the same kind of totes is a bit addictive. Now I want EVERYTHING to fit in one of those stacks!