5 Easy Steps to a Beautiful Dough Bowl Centerpiece

(As an Amazon Associate I earn from qualifying purchases. Posts on Robyn’s French Nest may contain affiliate links. You can see our full disclosure details here.)
Need a quick and easy centerpiece that makes a statement? Check out these 5 easy steps to creating a stunning spring dough bowl centerpiece! And enjoy other spring decor ideas from some talented bloggers as you follow the blog hop today!
If you’ve been a blog reader with me for awhile, you know I love dough bowls! I tried a new style of decorating my big bowl for spring and I absolutely love how this turned out for a spring or Easter dough bowl centerpiece!
For those who are knew, welcome! Thanks for hoping over from Sincerely, Marie ! Marie has beautiful home decor and her spring decor share today is so inspiring!
I hope you’ll enjoy this easy centerpiece idea today too!
Easter is right around the corner and if you need a last-minute centerpiece idea, you’re going to love this! It took me one quick trip to Walmart and about 10 minutes to create this dough bowl centerpiece.
Let’s get started!

5 Easy Steps to a Beautiful Dough Bowl Centerpiece
Materials for Dough Bowl Centerpiece
- Dough bowl (any medium to large size will work, a little deeper is great! I love this one from Flower and Home Marketplace!)
- Plastic Saran Wrap
- Brown craft paper (I always keep a roll on hand for wrapping gifts or for DIY!)
- Fresh moss (Don’t let the frog part scare you off! Terrarium moss looks beautiful and is easy to work with!)
- small potted plants and flowers (I found mine, all under $3, in the Walmart garden center)
- Cute bunny statue (or this one is only $4!)

Steps to Creating an Easy Dough Bowl Centerpiece
Step 1:
Line the dough bowl with plastic Saran Wrap to protect the wood. You don’t have to do this step, but it will make the clean up easier and keep your bowl from getting as damp when you water your plants and flowers!

Step 2:
Depending on the depth of your bowl, add brown craft paper. I crumpled mine up to raise the height of my plants and flowers, a little taller than the top edge of my dough bow centerpiecel. It also creates a neutral base to add the moss later on.
Step 3:
Arrange plants and flowers. For this dough bowl centerpiece, I used six of the small potted plants and flowers. Leave space in the middle for your bunny at the end! Or if you are creating this centerpiece for more generic spring decor, just add another plant or flower in the middle!
Once you’ve arranged your plants and flowers, take small pieces of brown craft paper and crumple them up to fill in the gaps. You’ll want the paper to cover the pots just a little bit. Basically, you are creating a base to add the moss. Add a little extra right in the middle so your bunny stands a bit taller.


Step 4:
Pull the moss apart into small sections and cover the brown paper. You’ll want to pull up the leaves and vines of your plants and flowers and let the moss cover the pots. Then, the leaves and vines will lay out over the moss.
This doesn’t need to be too perfect, just make sure to fill in the gaps and cover the pots and paper. If a bit of paper shows here and there, it will just blend in with the natural browns in the moss.
Don’t overthink this step!


Step 5:
Add a bunny in the middle for Easter! This set of two from Flower and Home Marketplace has a cute chippy finish and are the perfect size and light weight for a dough bowl centerpiece!
You can also add another plant or flower, or a small, light-weight garden statue. It helps to build up the very center with some extra paper and then cover that with moss to create a pretty spot for the bunny or statue to sit.


Style Your Centerpiece!
I used a vintage grain sack as a table runner under my centerpiece. The texture and size compliment the vintage look of the dough bowl and allows plenty of room for place settings and food!
Simple candlesticks, small vases of flowers, and Easter bunny decor could be added on each side. I especially love these woven eggs and added some to my apothecary behind the centerpiece too!
(You can see how we refinished and restored this antique apothecary over on this post!)
I love that this simple styling can be left long after the Easter dishes are cleared and you just want something pretty and simple for your table! You could also use this centerpiece on a coffee table, kitchen island, entryway or console table too!

I hope this easy dough bowl centerpiece helps your last-minute preparations for Easter or just sparks a simple idea to enjoy for the spring season! You can find 3 more of my favorite spring dough bowl ideas over on this post, too! Next, I hope you’ll click on over to Leslie at My 100 Year Old Home. I caught a sneak peek of her spring decor idea and I know you’ll love it too!
Make sure to check out all of the bloggers who are sharing beautiful spring decor ideas today. There is so much inspiration and so many creative and beautiful ideas!
Blogger’s Best Spring Decor DIY

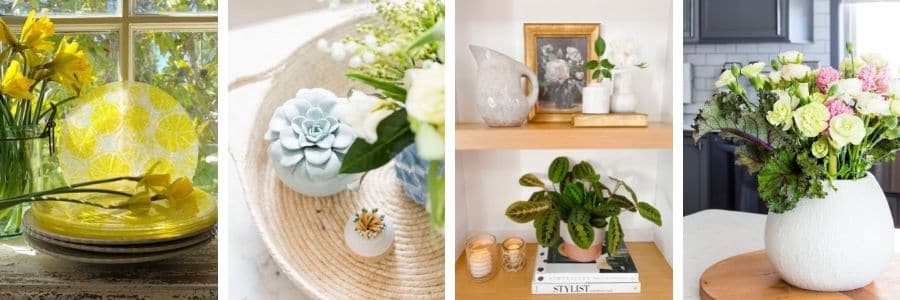
How to Make Your Own Lemon Plates | My 100 Year Old Home
Fresh Spring Home Decor Ideas | Life is Better At Home
Spring Home Decor Trends for 2022 | Modern Glam
Easy Spring Flower Arrangement Featuring Cabbage | Inspiration for Moms

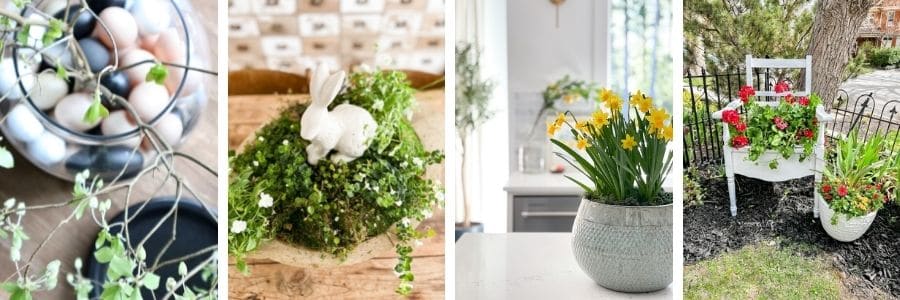
A Simple Easter Table Centerpiece Idea | My Sweet Savannah
5 Easy Steps to a Beautiful Dough Bowl Centerpiece | Robyn’s French Nest
How to Decorate for Spring | The Happy Housie
Spring Upcycled Chair Yard Planter | Tatertots and Jello

Easy Spring Decor Ideas | Zevy Joy
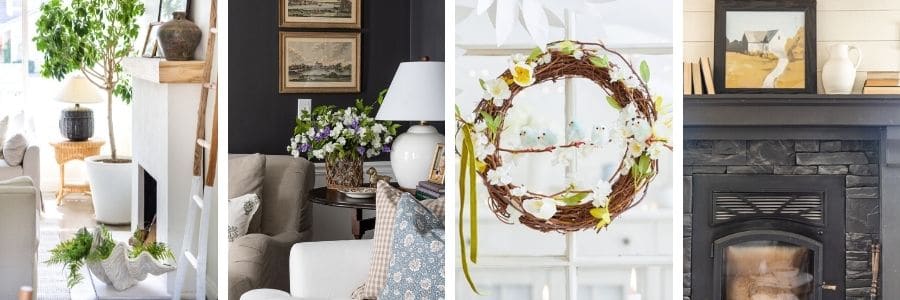
A Few Simple Ways To Welcome Spring | Sincerely Marie
Easter Wreath DIY | Happy Happy Nester
Simple Living Room Spring Decor | Twelve on Main

Blessings,


Oh, I like this idea a lot! I just might have to copy it!
Love this Robyn! Pinned!
Beautiful arrangement Robyn.
Loving your blog posts…..I was wondering if you have a source for the canvas illustration hanging inside above your apothecary piece??
Hi There!
Thanks for reaching out.
Here’s the link for that super fun piece! https://flowerandhome.com/catalog/product/view/id/110508/s/5wh874/
Robyn