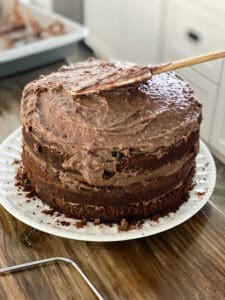
Amazing Chocolate Birthday Cake
For my first blog post of the new year, I wanted to do something kind of just for me but can also tie in with the passing holiday season and would make a great cake for your star-loving teenager. My favorite color is the light shade of blue that I put on the bottom, and I absolutely love an ombre effect, so I decided to go with this beautiful cake.
I got a little creative with my stars effect since we could not find any star sprinkles at the store, and I encourage you to do the same. I love when I can tweak something a little bit to make it my own, and that is exactly what I did for this recipe.

As far as the actual cake, I used the basic recipe from Food 52 as well as the delicious custard filling recipe. This chocolatey cake is delicious and rich without being over the top sweet. I think the buttercream that you put on the outside really brings the most sweetness and balances out that less sweet chocolate cake for anyone with a bit of a sweet tooth.
The buttercream recipe I got from one of my favorite baking and recipe books by Rose Atwater, as well as the basic ideas for the design of the cake, which I elaborated on.

There are a couple of key factors to this cake:
First and foremost, for me is get your colors DOWN. If you are not sure what shades of blue you are wanting to get, then figure it out BEFORE you color the buttercream.
If you are looking for a very dark blue to a very light blue, I suggest finding dark blue and mixing it with a little gray, to get that dark midnight blue that you are looking for. For the light blue, I would get a tiny amount of teal food coloring and mix it with a little bit of blue.
It always depends on what shade of blue you are looking for, but I just added a little bit of dark blue food coloring and mixed it in until I found the shade I was looking for.

The next important tip about this cake is it makes a lot of batter and a lot of custard filling. I could have easily done three thinner layers of cake in 8-inch pans and not have had to cut quite as much.
I overfilled my two 8-inch pans because that is what the instructions told me to do, and they did not quite finish baking at the top in the middle. Thankfully, though, when I leveled out the cakes later to stack them, the bottom in the middle had cooked and we were good to go!

The same with the custard; I could have used it for one more layer, so you will want to literally lay it on thick for all three layers to give the cake a little more height for the ombre and use up all of the custard.
This recipe is definitely delicious; however, I would recommend that you mix your dry ingredients before you ever start at the stove. That way, if you are a slow baker like me, you will not be running around to get the mixtures mixed together before you burn the chocolate

Ok, really quick before we get to the recipe, the chopped chocolate for the custard was… an adventure. I got bars of chocolate and took a paring knife and cut it at an angle starting at the end, and that worked fairly well, but it was time-consuming.

If you know of a better way to hop chocolate, please let me know! I would love to figure out a better way to do this.
If you don’t want to take that route, you could try taking chocolate chips of the same kind and placing them in an onion chopper or something similar and mash away! It is all going to melt anyway, but if it is in small, thin pieces, it will be a little different and take less time. It will also combine better in that condition.
Also, the egg yolks I have talked about in a preceding blog post, but I would take two bowls and crack the eggs over one bowl and remove the whites and put the yolks in the other bowl. This way, you don’t accidentally get any egg whites with your yolks.
Now on to the recipe…..


Devil's Chocolate Food Cake
Materials
Cake Batter
- 1 1/2 cups Unsweetened Cocoa Powder Preferably dark or black (plan for more powder to coat pans)
- 1 cup Boiling Water
- 1 1/4 cups Whole Milk
- 9 oz Unsalted Butter Room temperature
- 3 cups Granulated Sugar
- 5 Eggs
- 1 tbsps Vanilla Extract
- 3 cups All purpose flour
- 2 tsps Baking powder
- 1 tsp Baking soda
- 3/4 tsp Fine sea salt
Chocolate Custard Filling
- 2 1/2 cups Whole milk
- 1/2 cup Heavy Cream
- 4 oz Unsweetened chocolate finely chopped
- 4 oz Bittersweet chocolate, finely chopped
- 1 cup Granulated sugar
- 1/3 cup Cornstarch
- 1 Larg pince fine sea salt
- 2 Large egg yolks
- 2 tbsps Unsalted butter
- 2 tsps Vanilla extract
White Buttercream
- 1 cup Unsalted butter (2 sticks) room temperature
- 1 cup Vegetable shortening
- 1 1/2 tsp Pure vanilla extract
- 3-4 tbsps Milk or water, divided
- 1/4 tsp Salt
- 2 lbs Powdered sugar Approximately
- 1 Dark blue food coloring
- 1 Royal blue food coloring
- 1 Gray food coloring
Instructions
Making the Batter
- Preheat oven to 350 degrees.
- Lightly grease two 8 inch cake pans withnonstick spray, then add cocoa powder and tap around until the pan is wellcoated.
- Place the 1 ½ cups cocoa powder in a medium,heat-proof bowl. Whisk in the boiling water until fully combined. Stir in milk and set aside.
- In the bowl of a stand mixer fitted with the paddle attachment, cream the butter and sugar on medium-low speed until lightand fluffy, 4-5 minutes. Add the eggs one at a time mixing until each is fully incorporated before adding the next. Scrape the bowl well. Add the vanilla and mix to combine.
- In a medium bowl, whisk together the flour, baking powder, baking soda, and salt. Add one third of the mixture to the mixer and mix on low speed to combine. Add half of the cocoa/milk mixture and mix to incorporate. Repeat, alternating between the dry and wet ingredients, until both are fully mixed in and the batter is smooth.
- Divide the batter between prepared pans. Bakethe cakes until a toothpick inserted into the center comes out clean, 30-40minutes. Cool the cakes in the pan for 10-15 minutes, then turn out onto a wirerack to cool completely.
Chocolate Custard Filling
- While the cakes cool, make thefilling: In a medium pot, heat the milk, cream, and chocolate over medium-low heat, stirring constantly, until the chocolate has fully melted. Turn the heat to medium and bring the mixture until it’s just barely simmering.
- Meanwhile, whisk the sugar, cornstarch, and salt together in a medium heat-proof bowl. Whisk in the egg yolks until well combined.
- When the chocolate mixture has come to a bare simmer, pour about half of it into the egg yolk mixture in a slow, steady stream, whisking constantly. Then pour the egg yolk mixture into the saucepan and cook the pudding over low heat, stirring constantly with a spatula until it gets very thick and a few large bubbles break the surface. Stir in the butter and vanilla until well combined.
- Pour the mixture on a sheet tray, or into a shallow bowl or casserole dish. Cover directly with plastic wrap and refrigerate until totally chilled.
Assembling the Cake
- Use a serrated knife to divide each cake evenly into two pieces. Place one half on a cake turntable, cake stand, or platter.
- Place one third of the custard onto the cake and spread it out using a spatula. Be sure to go all the way to the edges.
- Usinga bench scraper, even out the custard around the edges by circling the cake with the edge of the bench scraper.
- Placeanother cake layer on top repeat this process until you have used all of the pudding and cake layers.

Make the Buttercream
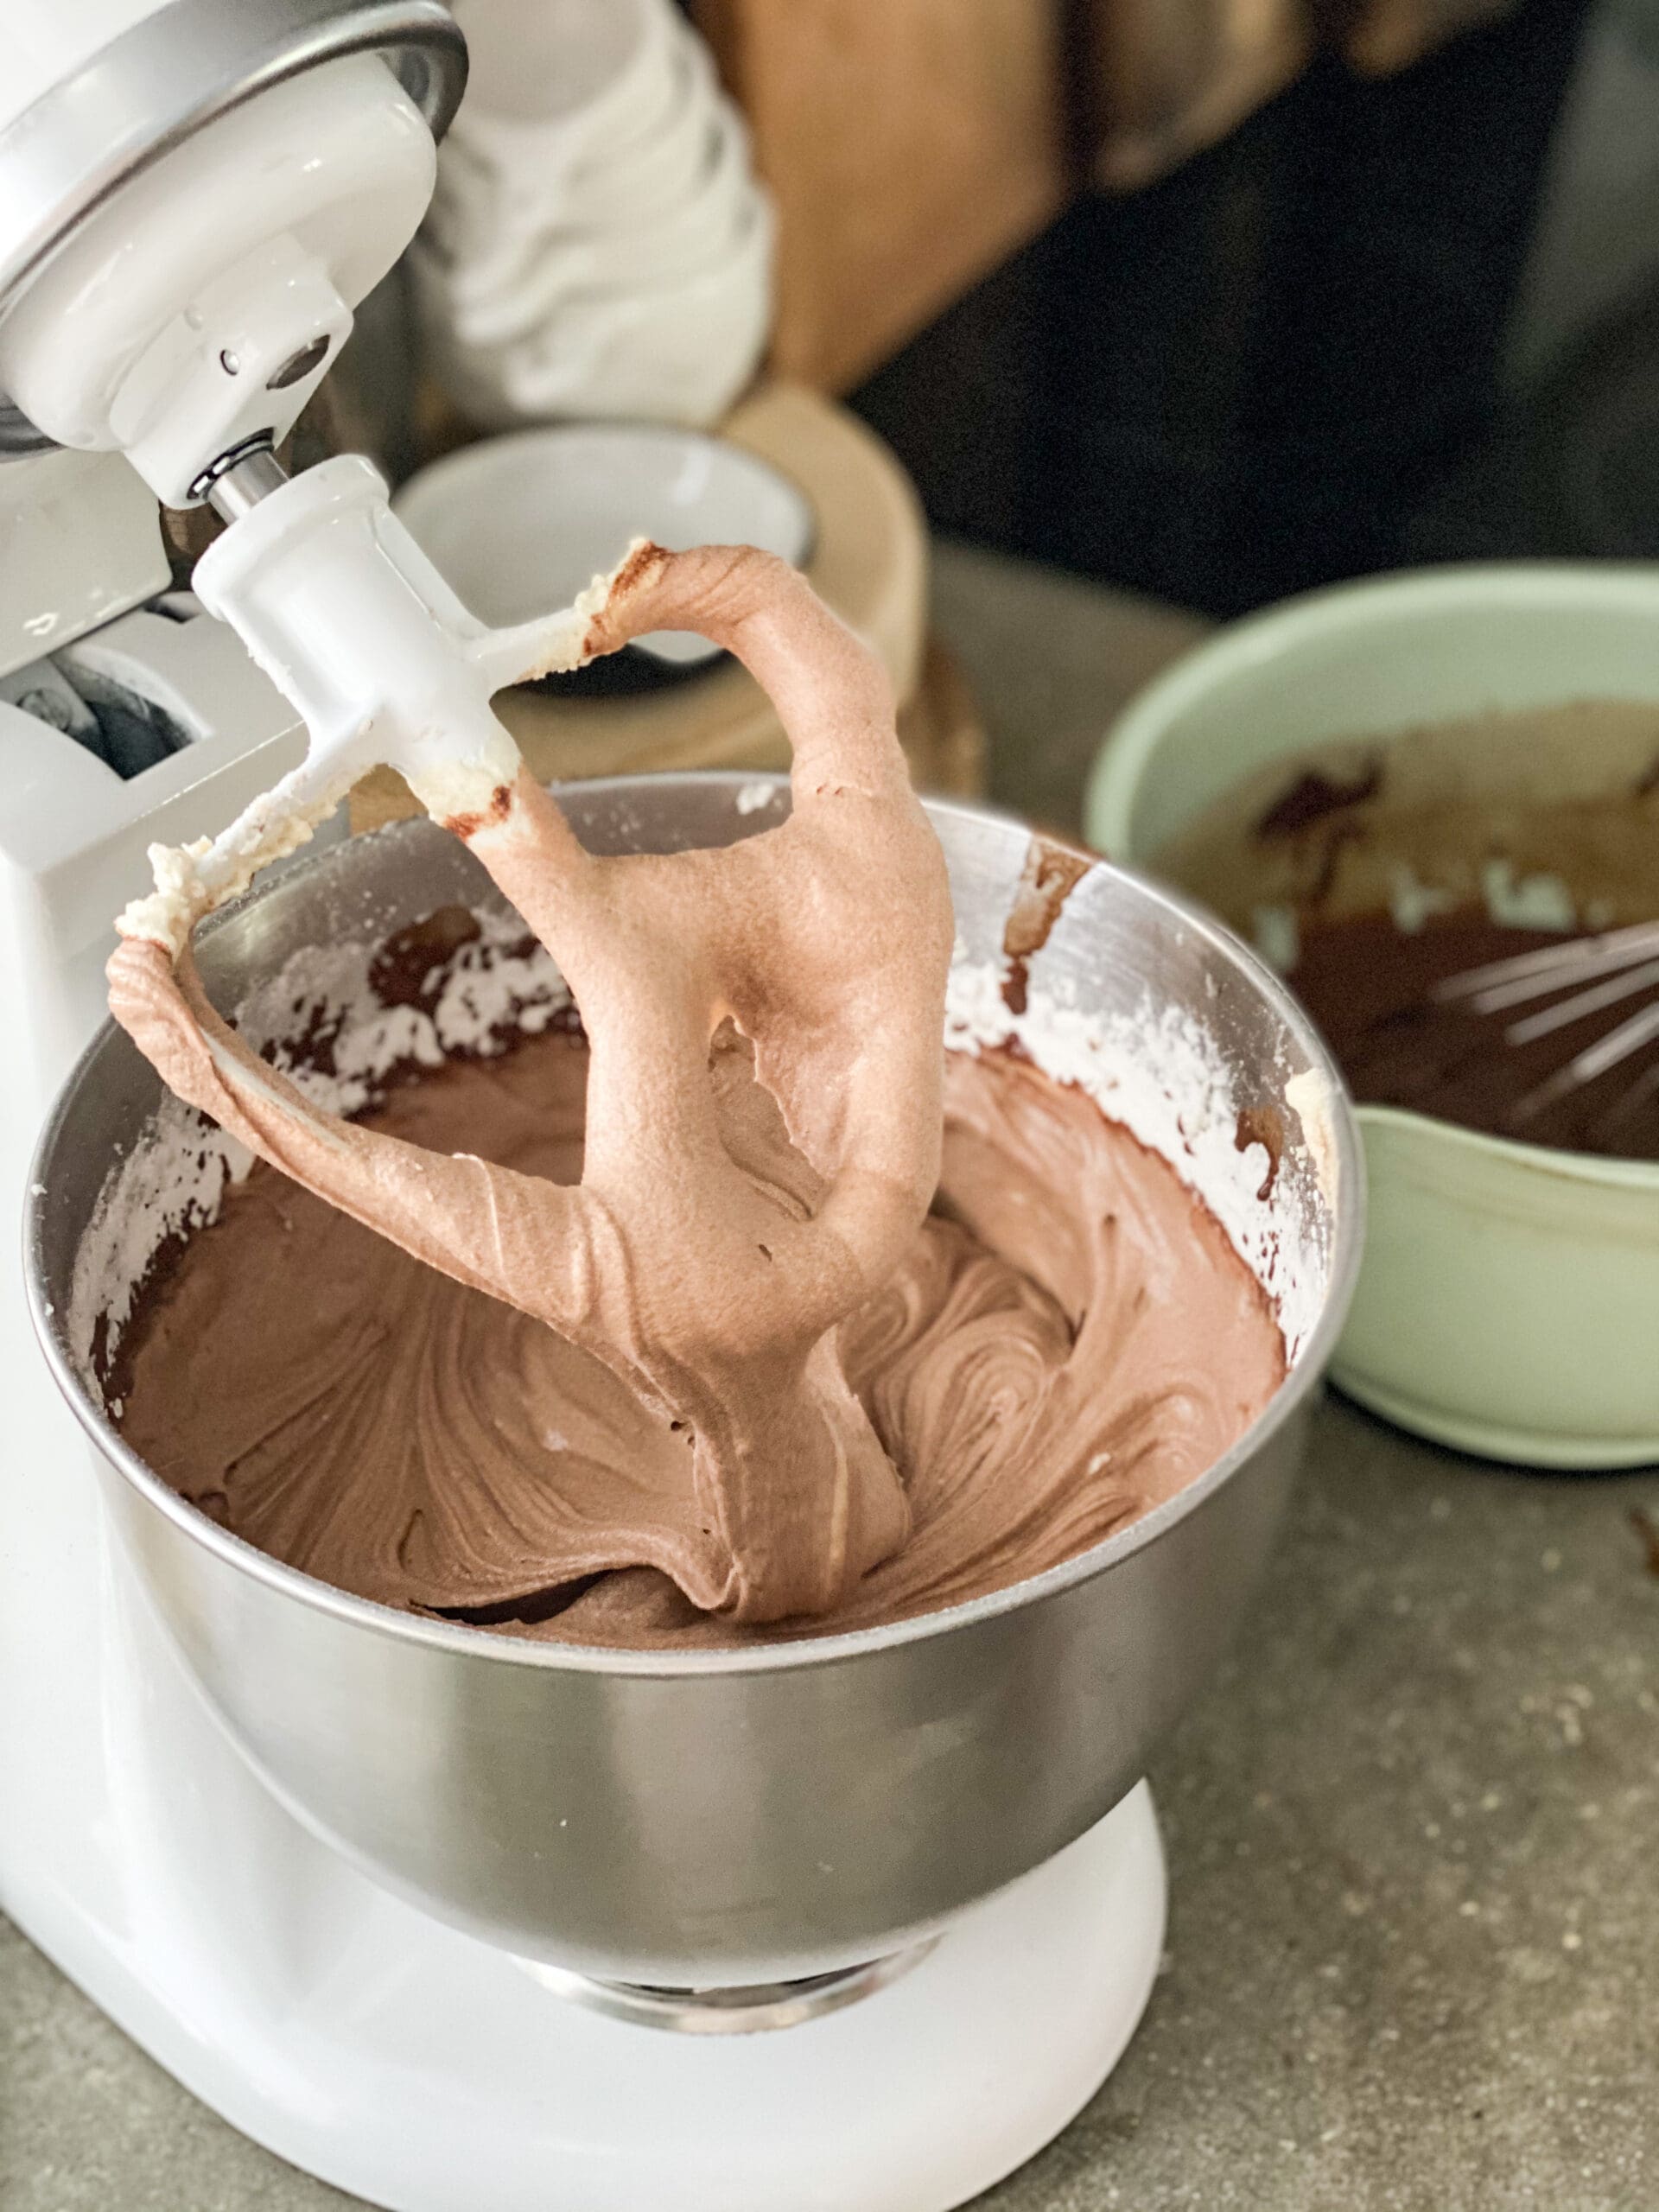
- In a large bowl, using an electric mixer on medium speed (if you have a stand mixer, use the paddle attachment), beat together the butter, shortening, and extracts until smooth and creamy.
- Add 2 tablespoons of the milk orwater, the salt, and half the powdered sugar and mix just until combined.
- On low speed, gradually add in the remaining sugar. Add more milk or water as needed to achieve the desired consistency.
- If using within 2 hours, the frosting can be left at room temperature. You will just need to keep the frosting covered with a damp cloth to prevent it from crusting. If not using within 2 hours, store the frosting in the refrigerator in an airtight container. When ready to use, bring the frosting to room temperature and rewhip it on low speed to soften before using.
Decorate the Cake
- Before coloring the icing, use the white buttercream to spread a thin crumb coat over the cake before decorating. Place in refrigerator to chill while you color the icing.
- Divide the buttercream into three bowls with half in one and the rest divided evenly between the two remaining bowls. Color the biggest portion of buttercream with 3 drops of dark blue, 2 drops of royal blue, and 1 drop of gray food coloring to start out with. Color the other with 2 drops of dark blue and 2 drops of royal blue to start out with. Color the first bowl of buttercream with 1 drop of dark blue and 1 drop of royal blue to start outwith. After this, you can adjust the colors however you wish.
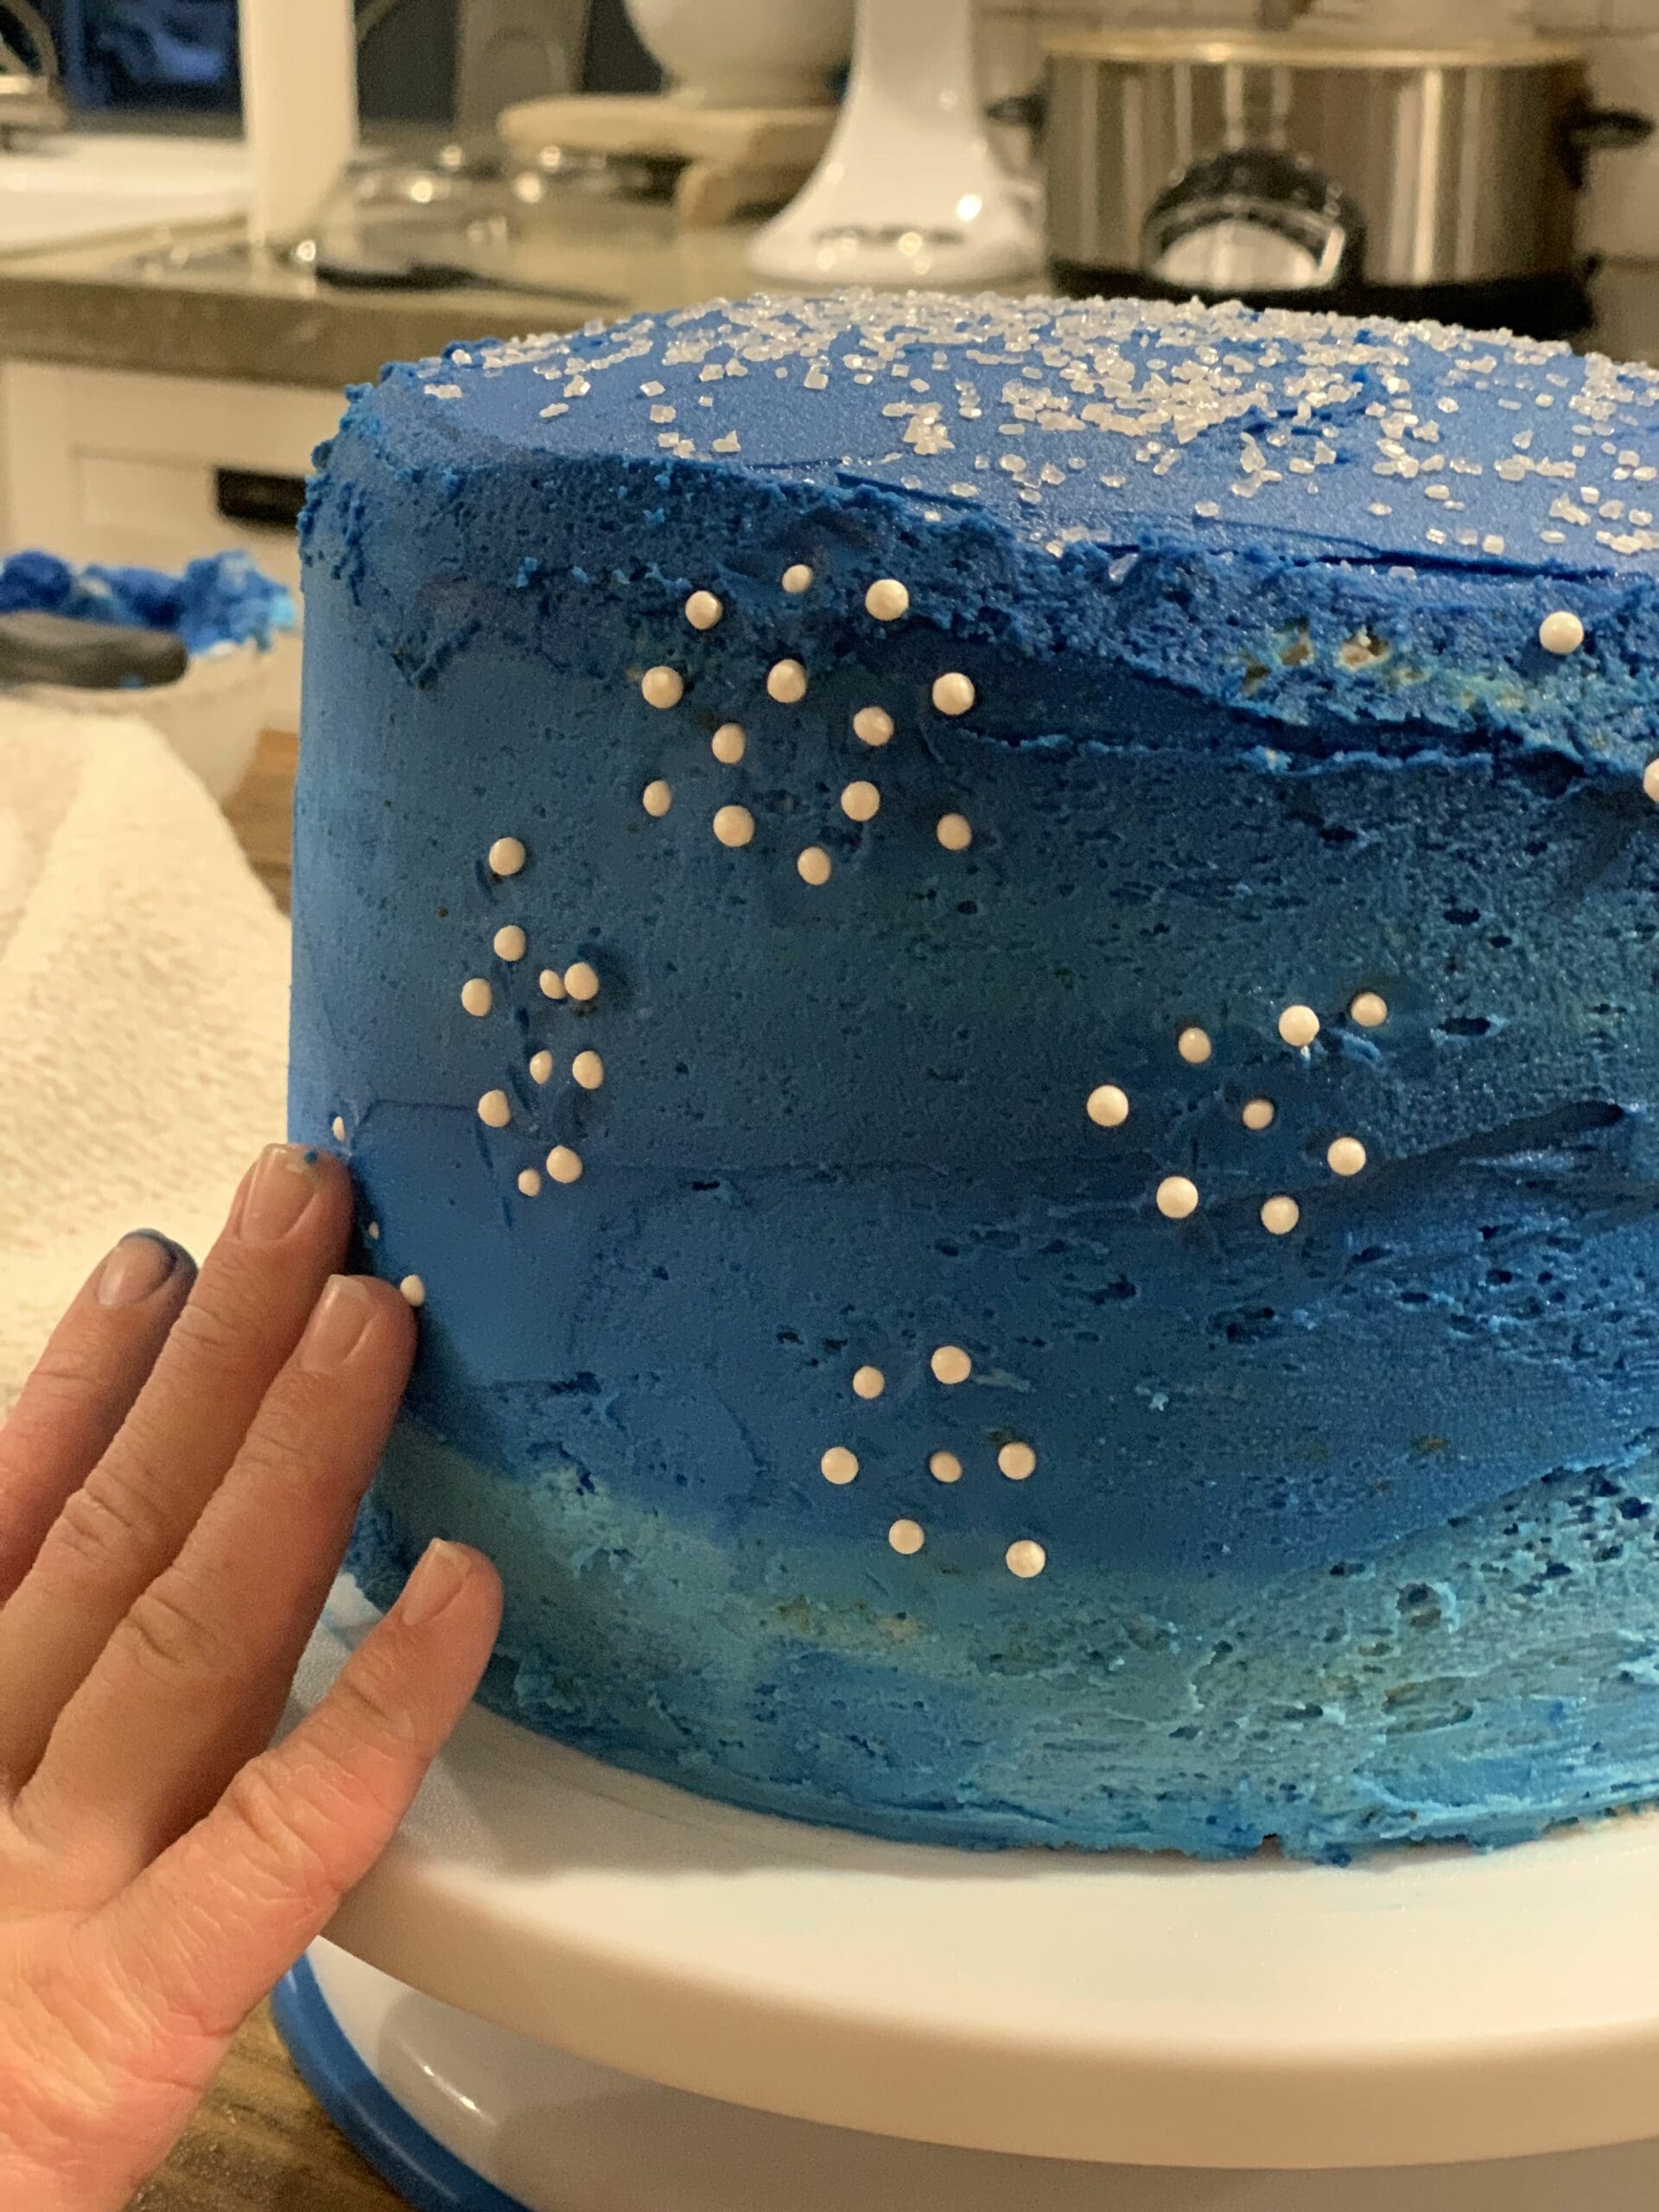
- Spread the darkest blue on the top and the top portion of the sides evenly, stoppingaround one third up the cake. Then add the middle blue in a layer around the middle of the cake. Lastly, spread the lightest blue around the bottom of the cake. Using a bench scraper, scrape off any extra buttercream to add a smooth finish to the cake.
- For the stars, I got pearl sprinkles and placed them around the sides of the cake to look like constellations. For the top, I sprinkled clear sugar sprinkles to give it a little bit of shimmer.


This is kind of like my birthday cake for me. My birthday is coming up, but I have a crazy month planned with all sorts of fun activities, so we decided to make it a little early.
If your teenager is anything like me, then they will love this cake! Start out your new year making someone’s day with this cake. It will be a delicious pick-me-up for whoever has a bite! I hope your taste testers love this cake as much as mine did, and I hope you love the ending result of your hard work! Happy baking!
Lots of love,
Payton


Gallery


Payton, that is a beautiful cake and looks so yummy. You were very creative in decorating it! Love you and Happy Birthday to a special young lady!????????????????
What a beautiful cake! Sure can tell you put a lot of love and time into this recipe! Thank you for sharing and hope you have a hap hap happy birthday day!!!
Payton,
The cake look beautiful and yummy! OMG, will need to try this one!
I’m looking for a red velvet cake for Valentines Day Would you have a good recipe??
Thanks and Happy birthday!
Wow, Payton, you did a fabulous job. The cake is beautiful and looks delicious.
Hi Payton! Happy Birthday!
The cake came out really nice! I ❤️The ombré blue!
I bet it tasted great!
Have fun and enjoy!
This is beautiful, Payton, and looks delicious! Thank you for sharing this recipe! 🙂
Happy 14th Birthday Peyton! ???????? Wow! Your cake rocks! What a complicated recipe you chose! Quite an accomplishment. It looks beautiful, and I know it tastes wonderful! Keep on loving baking! ❤️????
Great directions!! Love how you decorated it!