St Paddy’s Fruity Rainbow Tart Home, Payton's PastriesA color-filled tart to welcome in spring read more
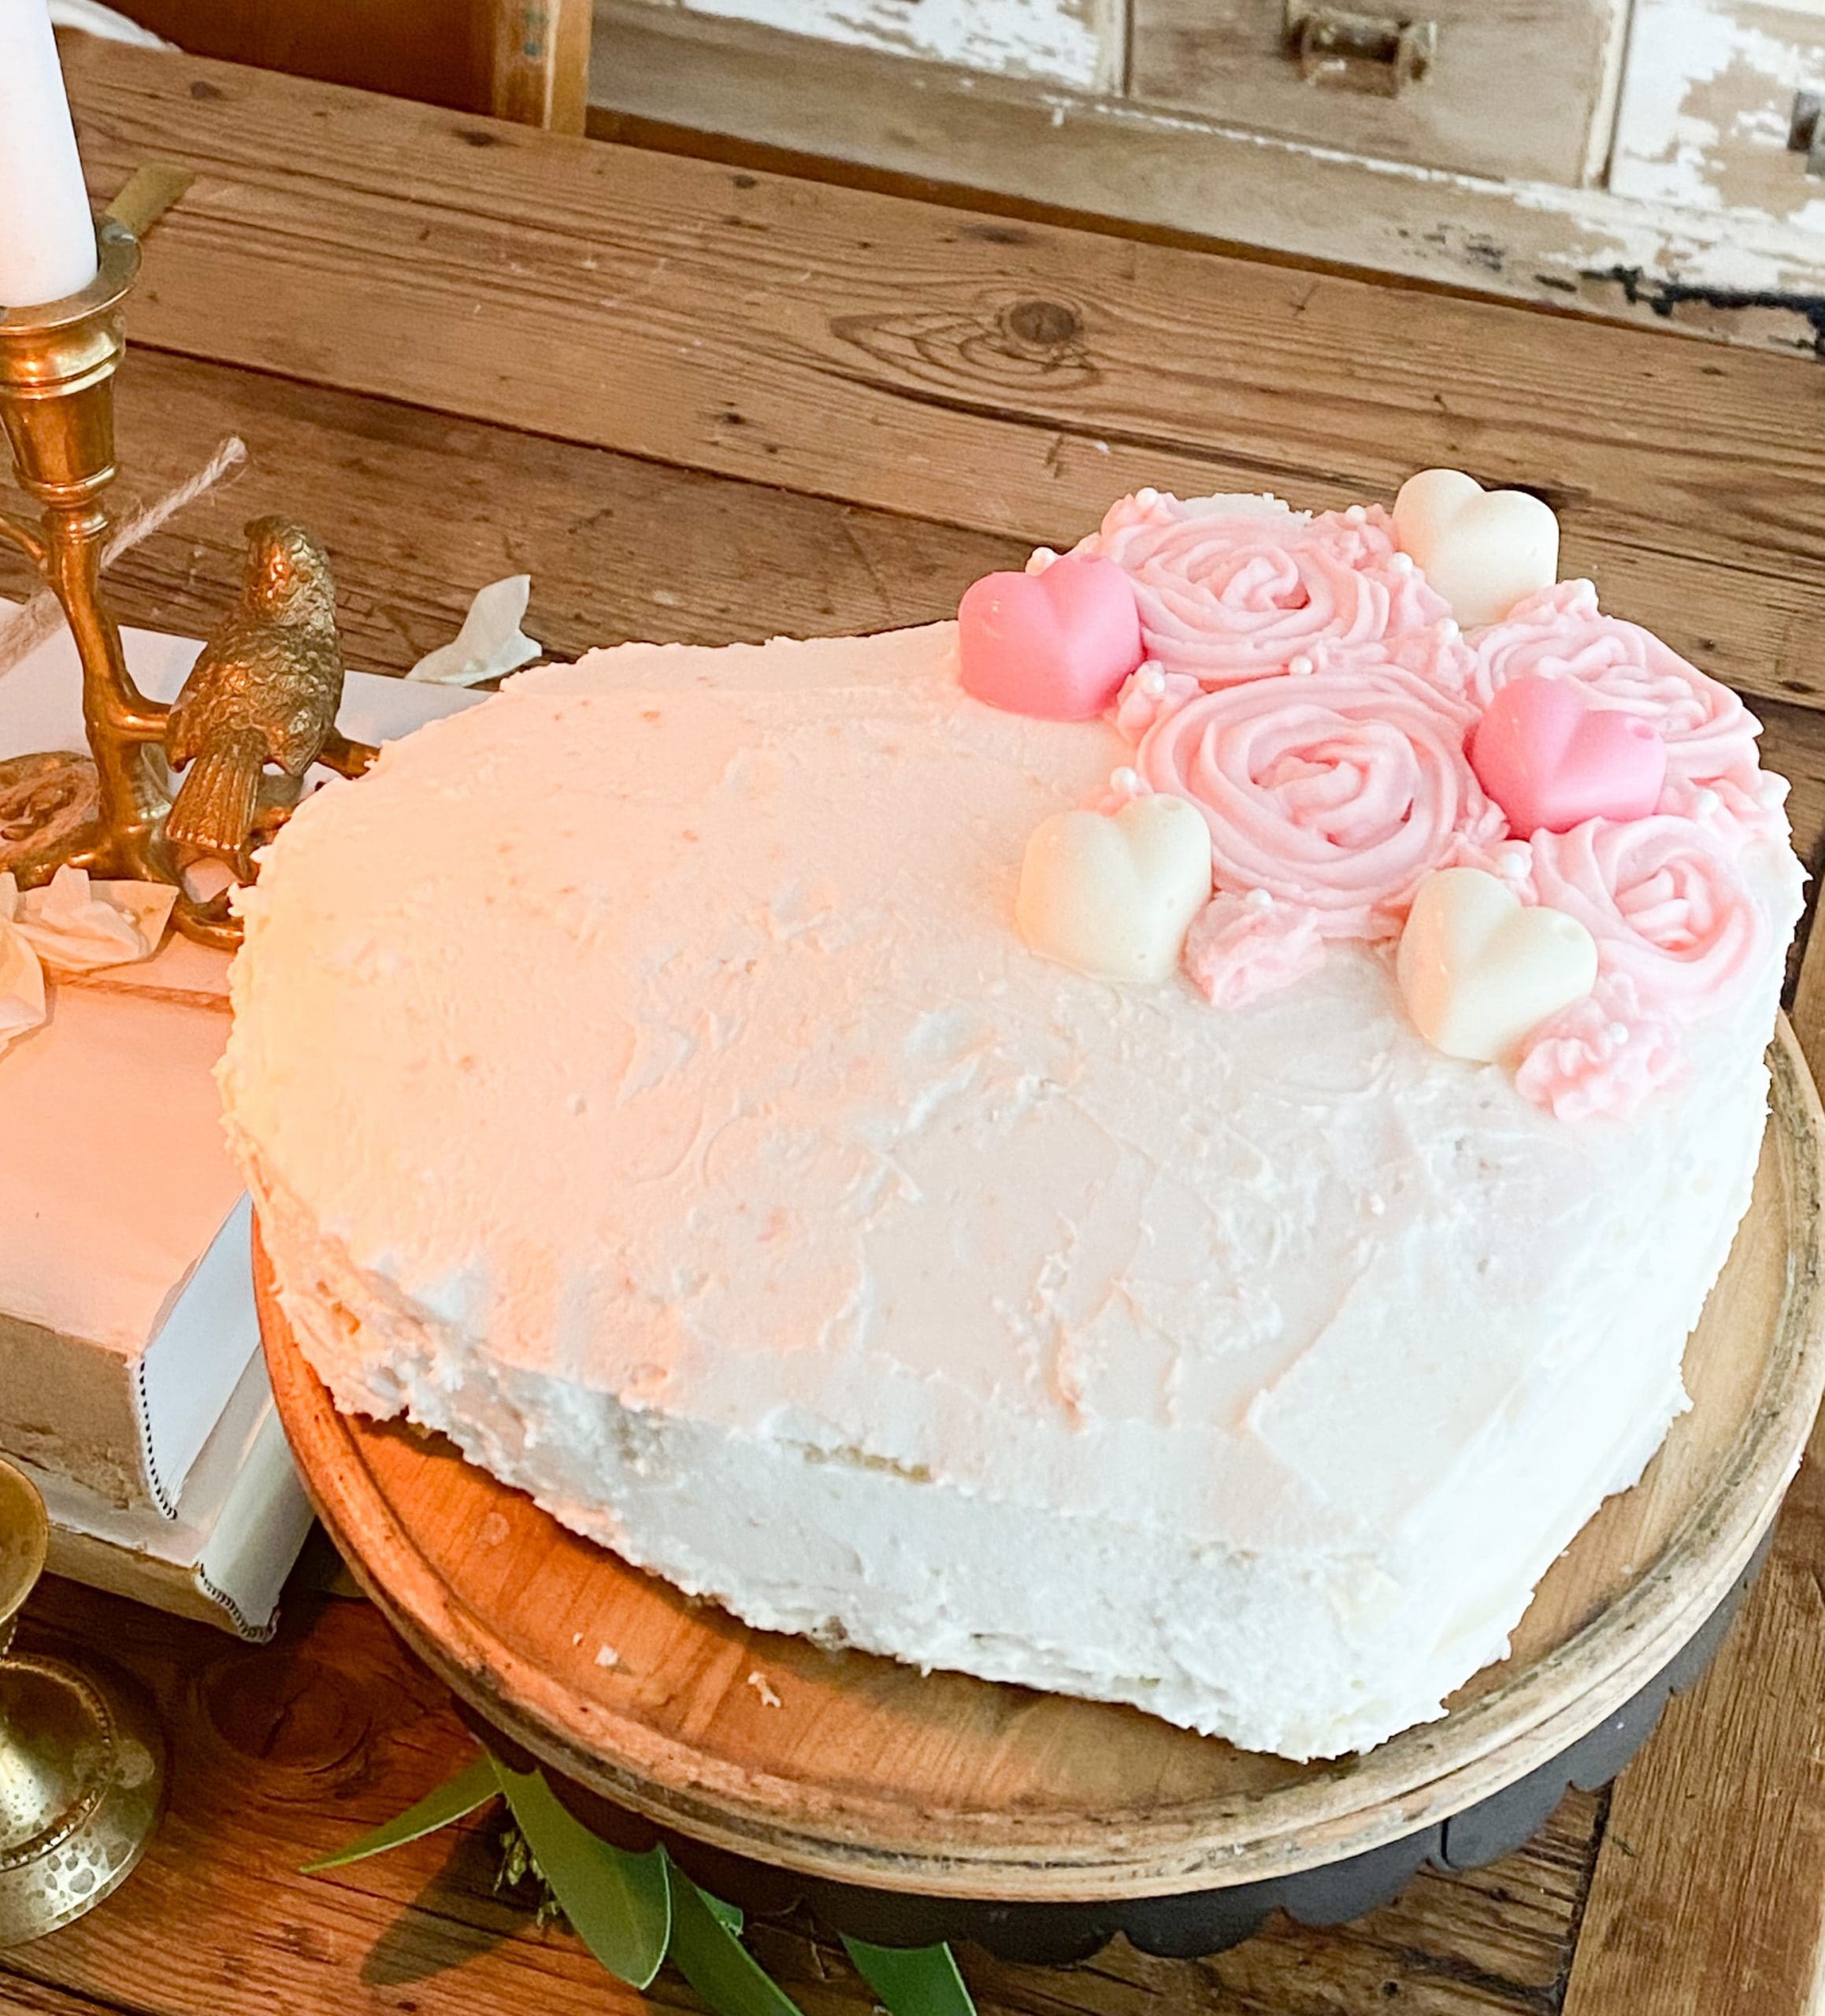
A Valentine’s Day Cake for Mom Holidays, Payton's PastriesA Simple Cake for Valentine’s Day read more
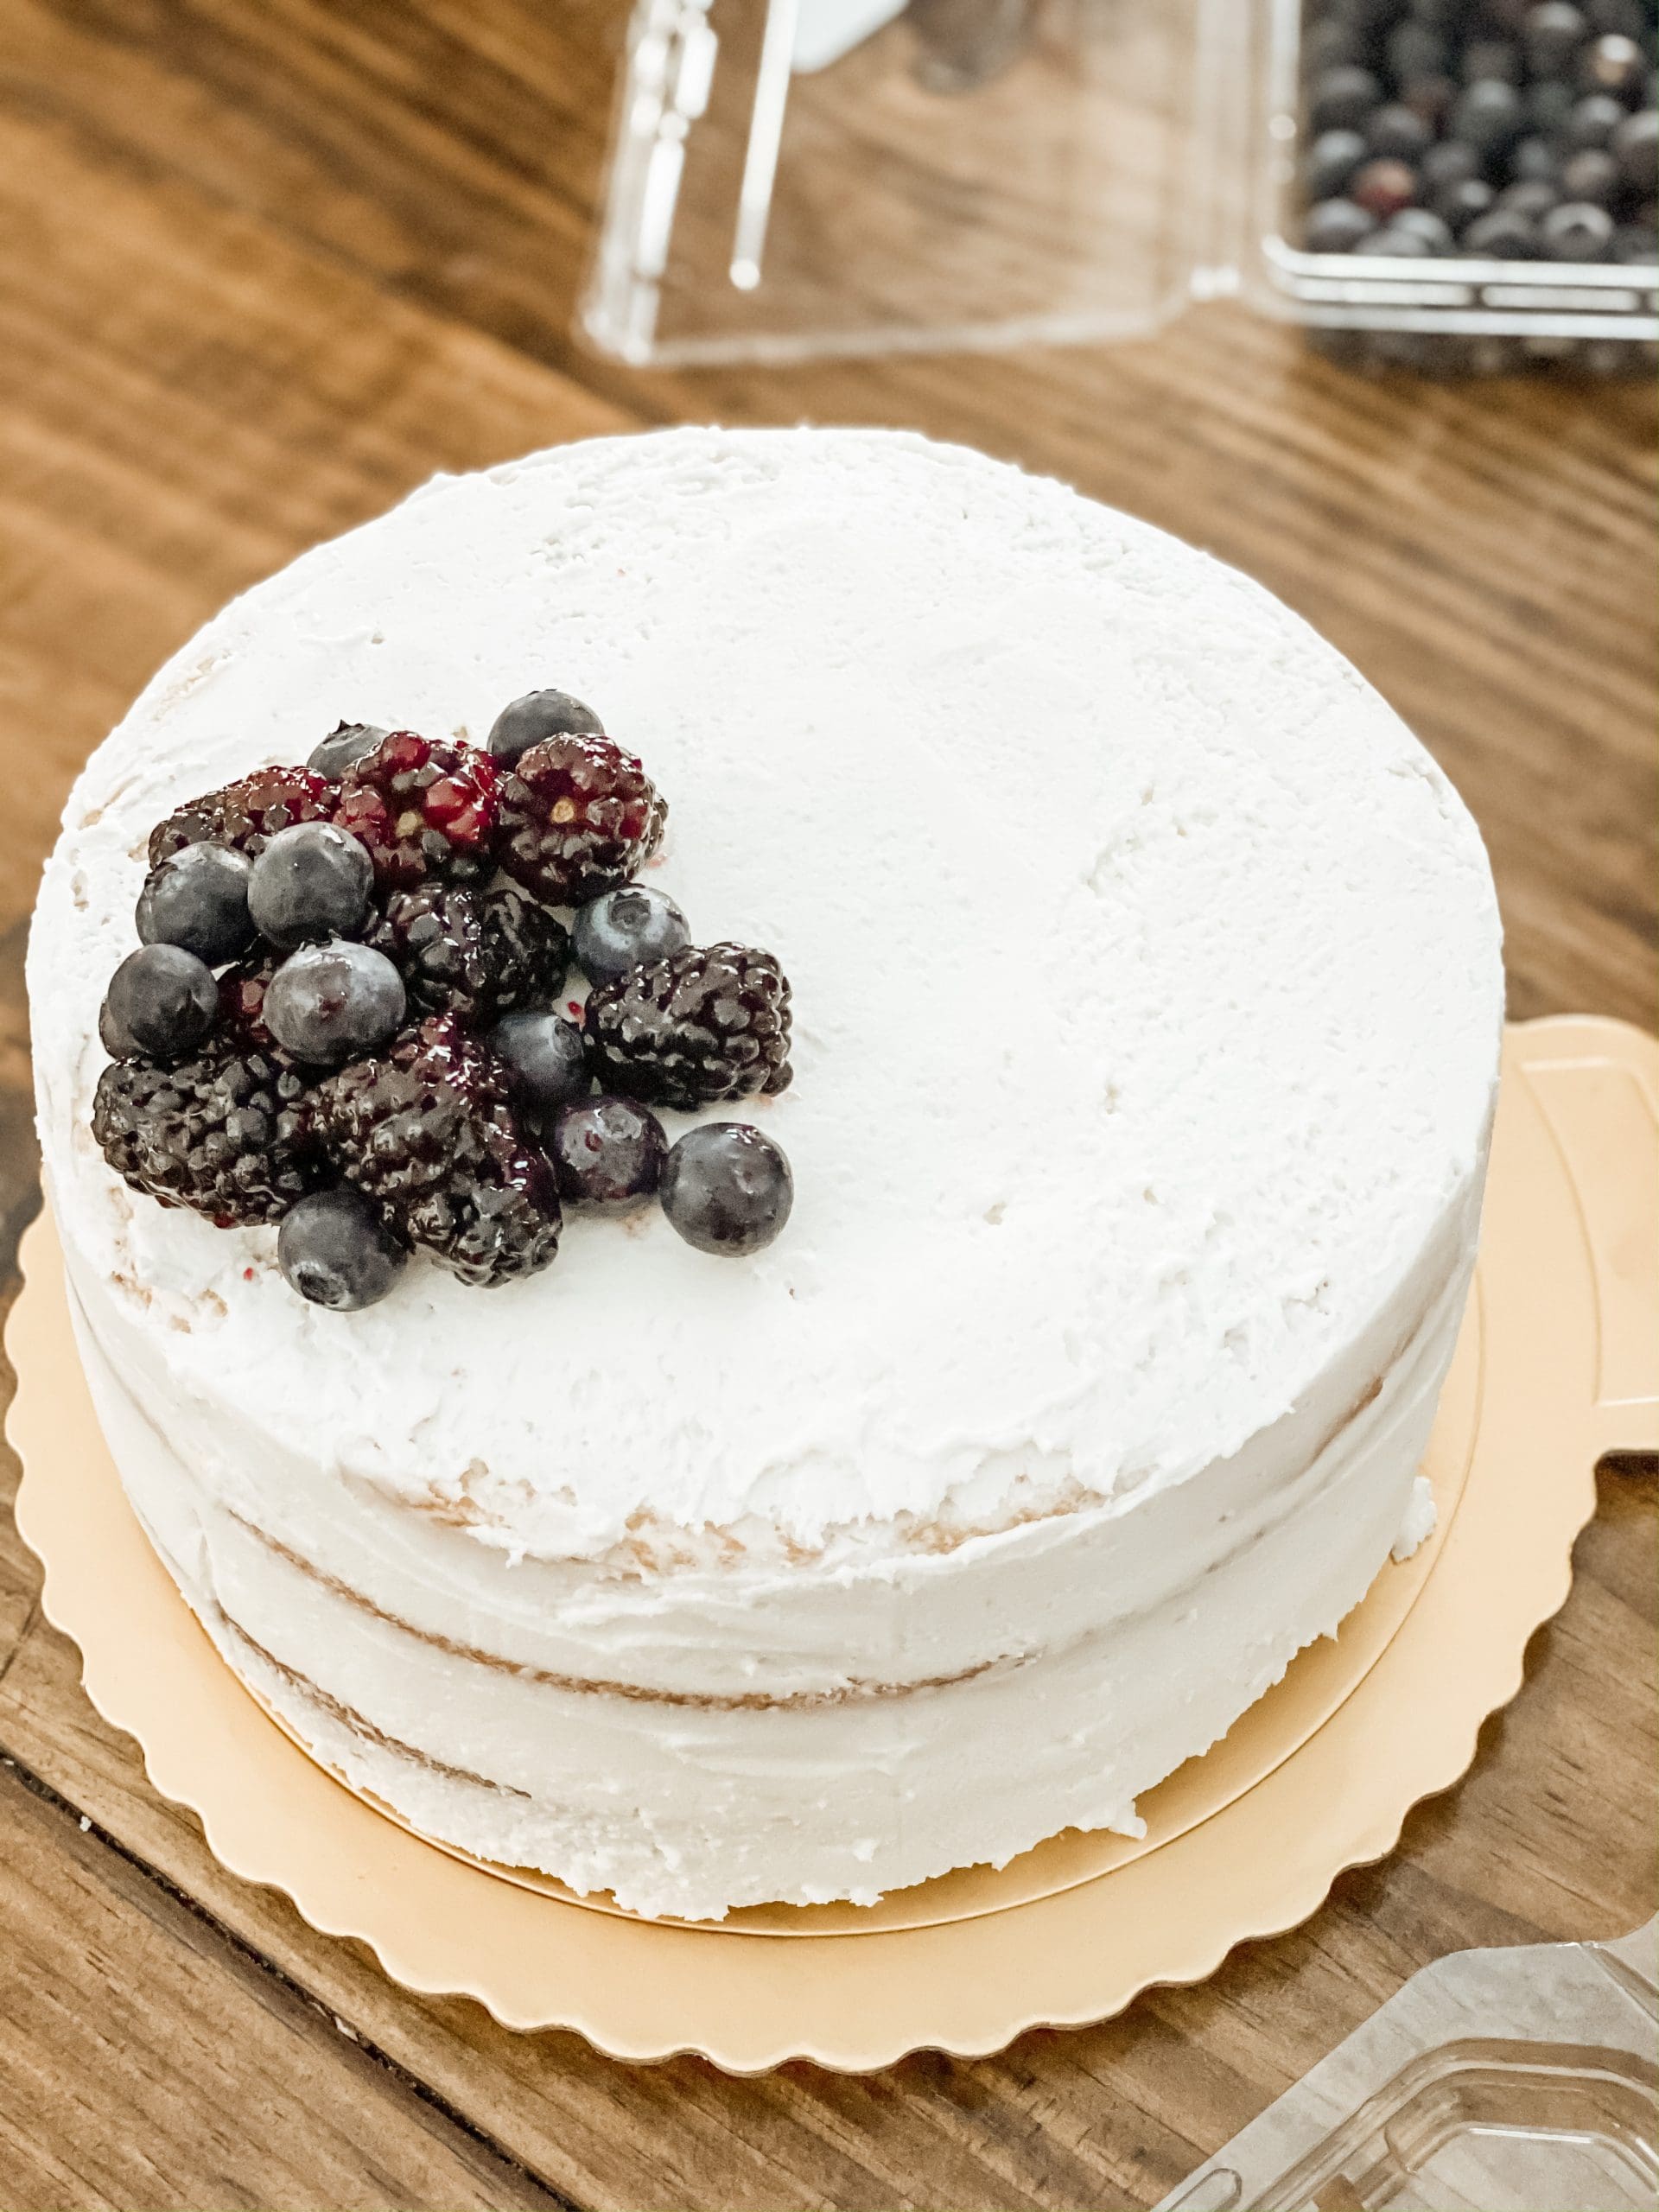
Naked Cake with Fruit Home, Payton's PastriesFollow along for the first edition of “Payton’s Pastries” read more