How to Make an Architectural Salvage Lamp
(As an Amazon Associate I earn from qualifying purchases. Posts on Robyn’s French Nest may contain affiliate links. You can see our full disclosure details here.)
Welcome to Robyn’s French Nest! If you are hopping over from Pasha Is Home, thanks for visiting. I love her blog–so full of home decor tips, styling ideas & lifestyle posts!
If you’re already a subscriber and clicking over from the email…did you guess my DIY involves architectural salvage?
I am so excited to share this because it solves two problems for me.
")
But first, a quick introduction for those who may not know me yet! My name is Robyn and the “French” part comes from my love for vintage French and European finds, as well as my love for traveling (can’t wait until we can do that again!). The “Nest” part…well, it’s just a fun play on words. But I am also passionate about “creating home”. More than ever before, I want our home to be this safe, cozy, wonderful “nest” for our little family. A place where we can just be.
You can read more about our family HERE.
Back to those two problems:
Back to those two problems:
I have a love-hate relationship with lamps. There are very few home décor related items that I don’t love shopping for (because really, I just love to shop!) But lamps are NOT on the list of things that I enjoy hunting for. I find that the ones I love are over-priced and the ones in my budget are usually very generic.
I do love shopping for architectural salvage! So much so, that I purchased these massive…and I do mean massive…rafter pieces from an online auction. They were too inexpensive to pass up and they’ve been sitting in our garage for a year.
So we decided to get busy and do something with them, solving the lamp dilemma and the “sitting around in the garage” dilemma at the same time.
We also have architectural salvage lamps in our master bedroom that my dad made for me 6 or so years ago. Those corbels cost me $10 each at a little hole-in-the-wall antique shop on vacation! So I knew these rafter pieces would make amazing lamps too, but they are BEASTS!
Where Do I Get the Wood?
If you’re trying this DIY…you may want to find more normal and manageable-sized salvage pieces! I’ll link up some great vintage corbels that you can order online. You can also visit your local lumber yards. You might get lucky to find some inexpensive ones that you can paint and give your own desired finish!
I love the look of antique or vintage corbels, but you could follow this same DIY with any interesting piece of wood. As long as it’s thick and heavy enough to be stable, it will work perfectly! Consider chunky table legs, chippy porch columns, and even sealed tree stumps!
Once you have your corbel or desired wood piece, here is what you do next:
")
I have my wood! Now, what do I do next?
Plan ahead for the proper tools! Don’t ask Robb how he know this, but it’s critical for a stress-free project! Here’s the process with the lessons learned from our experience:
- PLAN AHEAD
- Be sure to charge your drill batteries beforehand.
- Make sure your bit (with extender) will drill the entire height of the lamp
- Make sure you order a lighting kit with a harp tall enough for your lamp shade
- First, measure the height of the lamp.
- Then, make sure your paddle bit will cut a hole slightly bigger than your lamp kit. For this project, we used a 5/8ths width.
- Using the measurement from step one, make sure your extender will give you enough length to drill the whole height of the salvage piece.
- Before drilling, set the soon-to-be-lamp on scrap wood (so you don’t accidentally drill through into the floor).
")
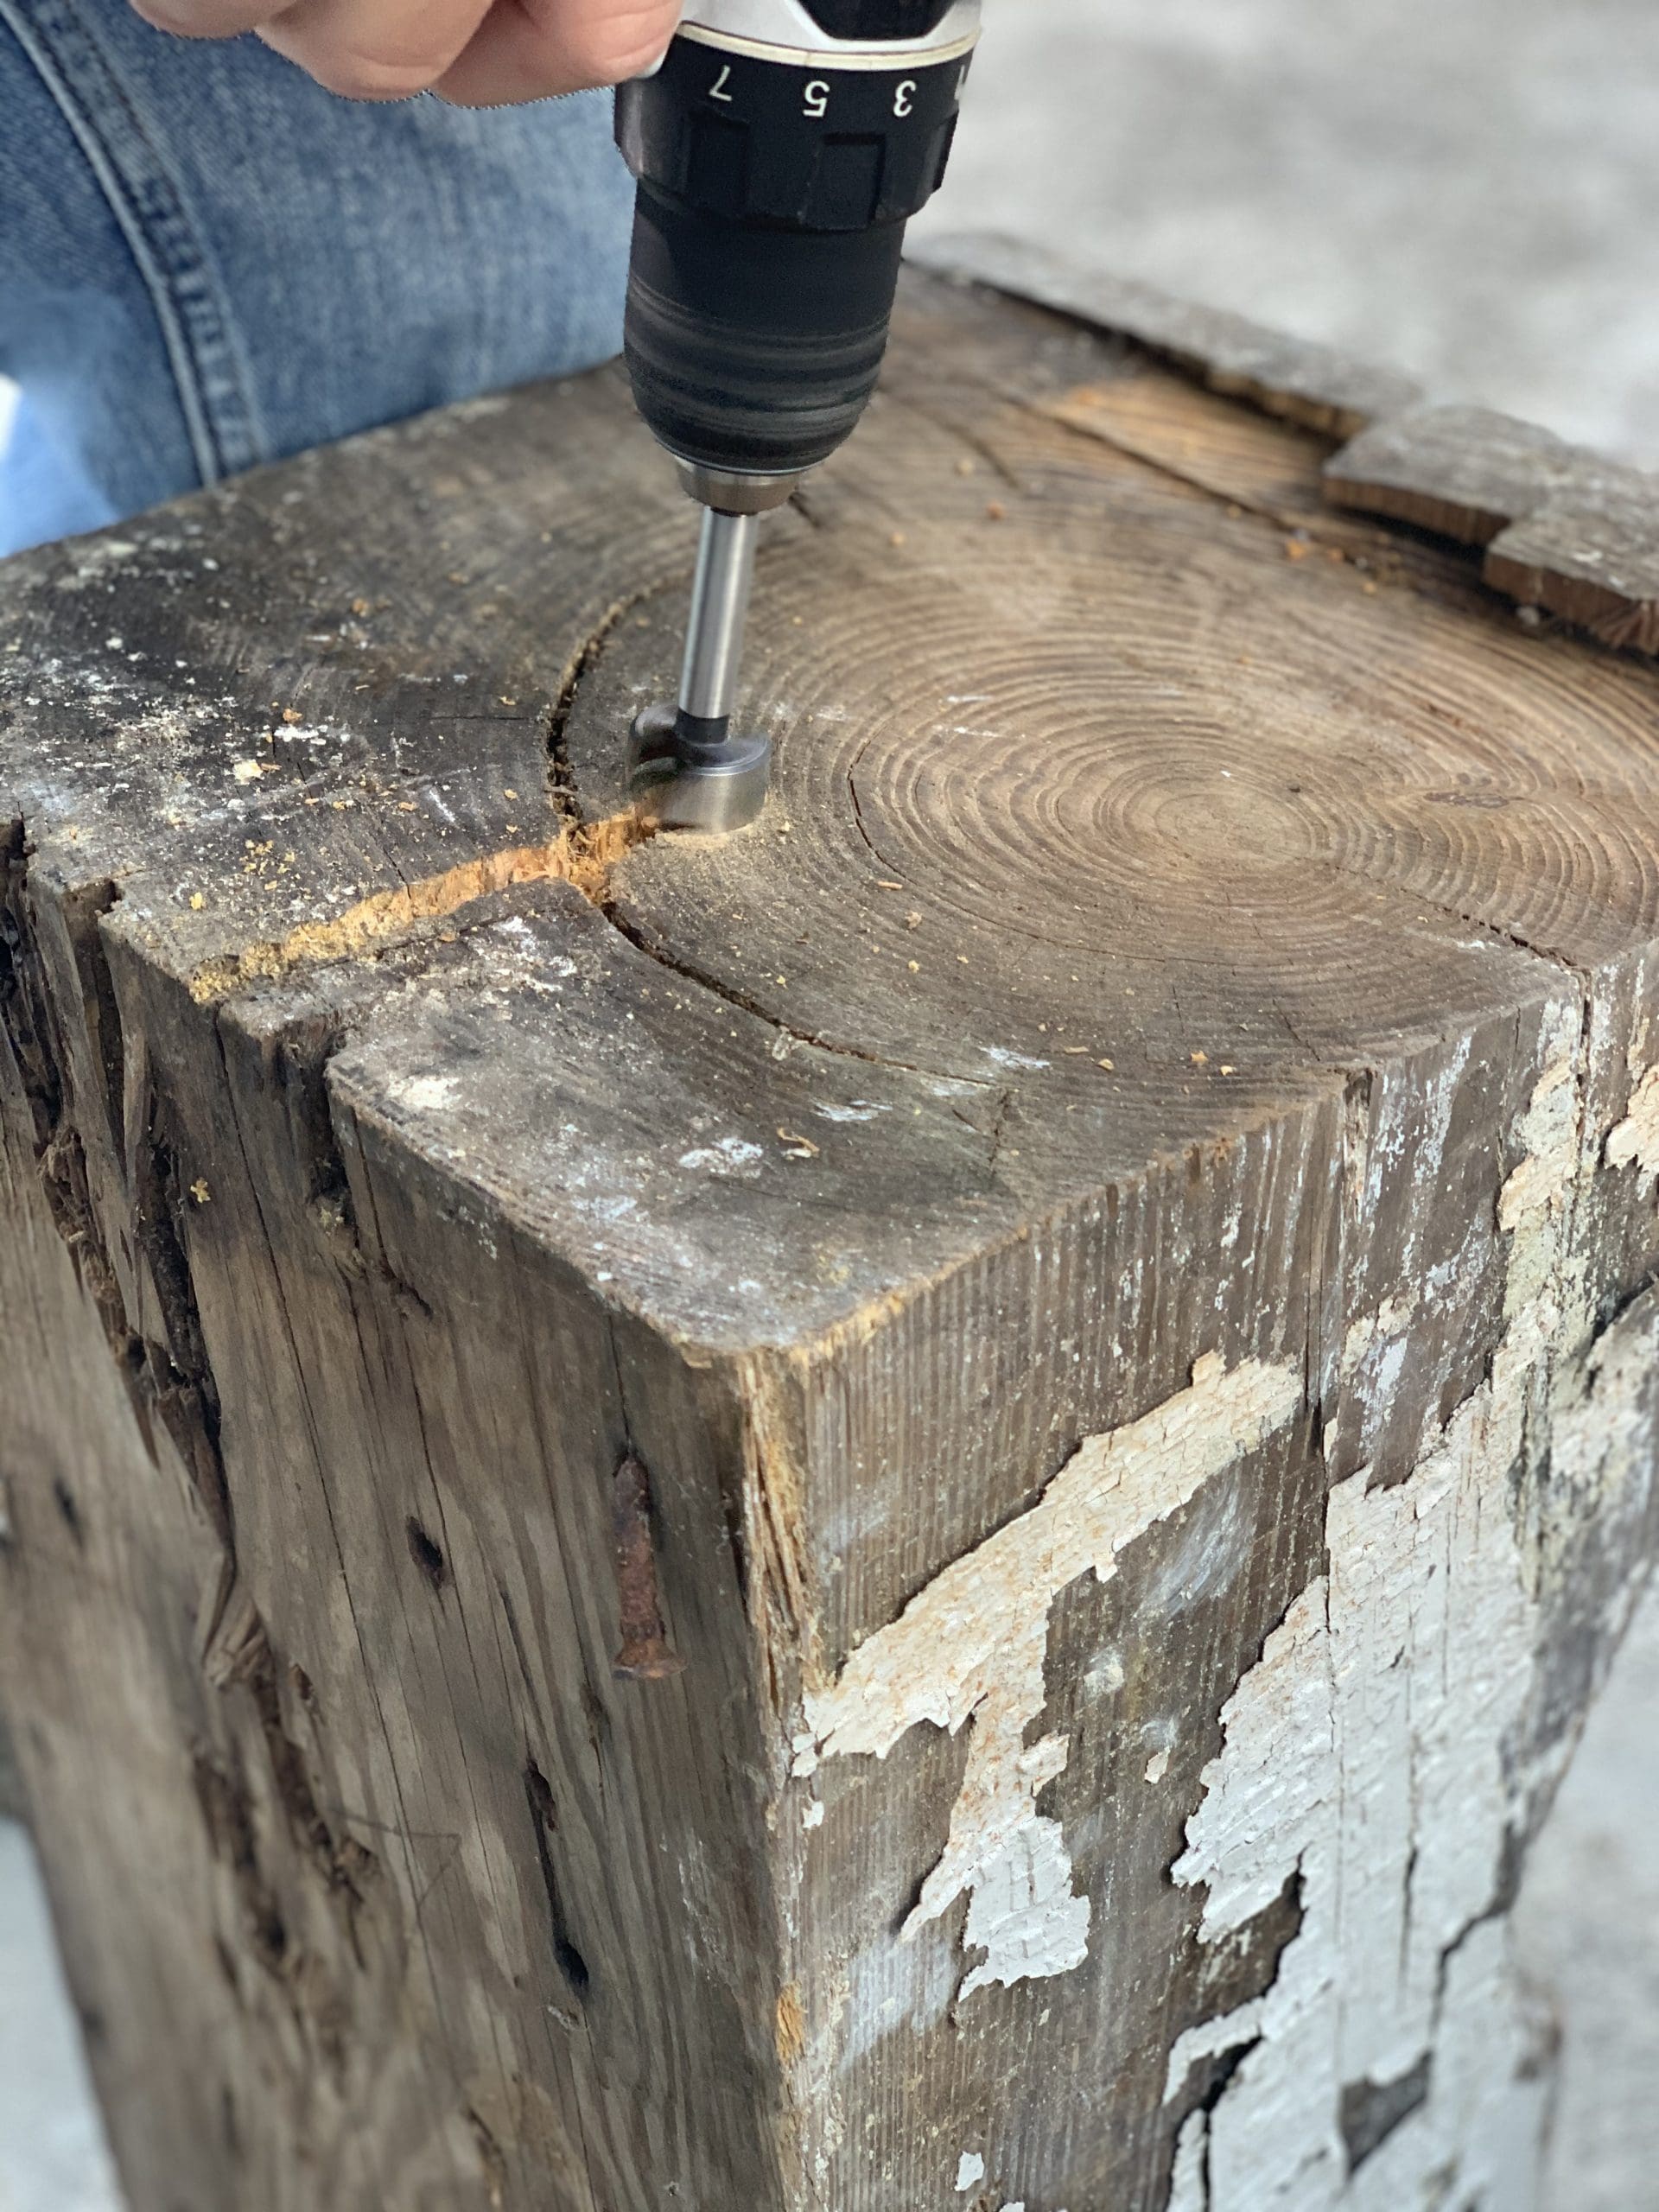
- Then, mark the center. The easiest way is to mark an “X” from corner to corner and drill at the intersection of the “X”.
")
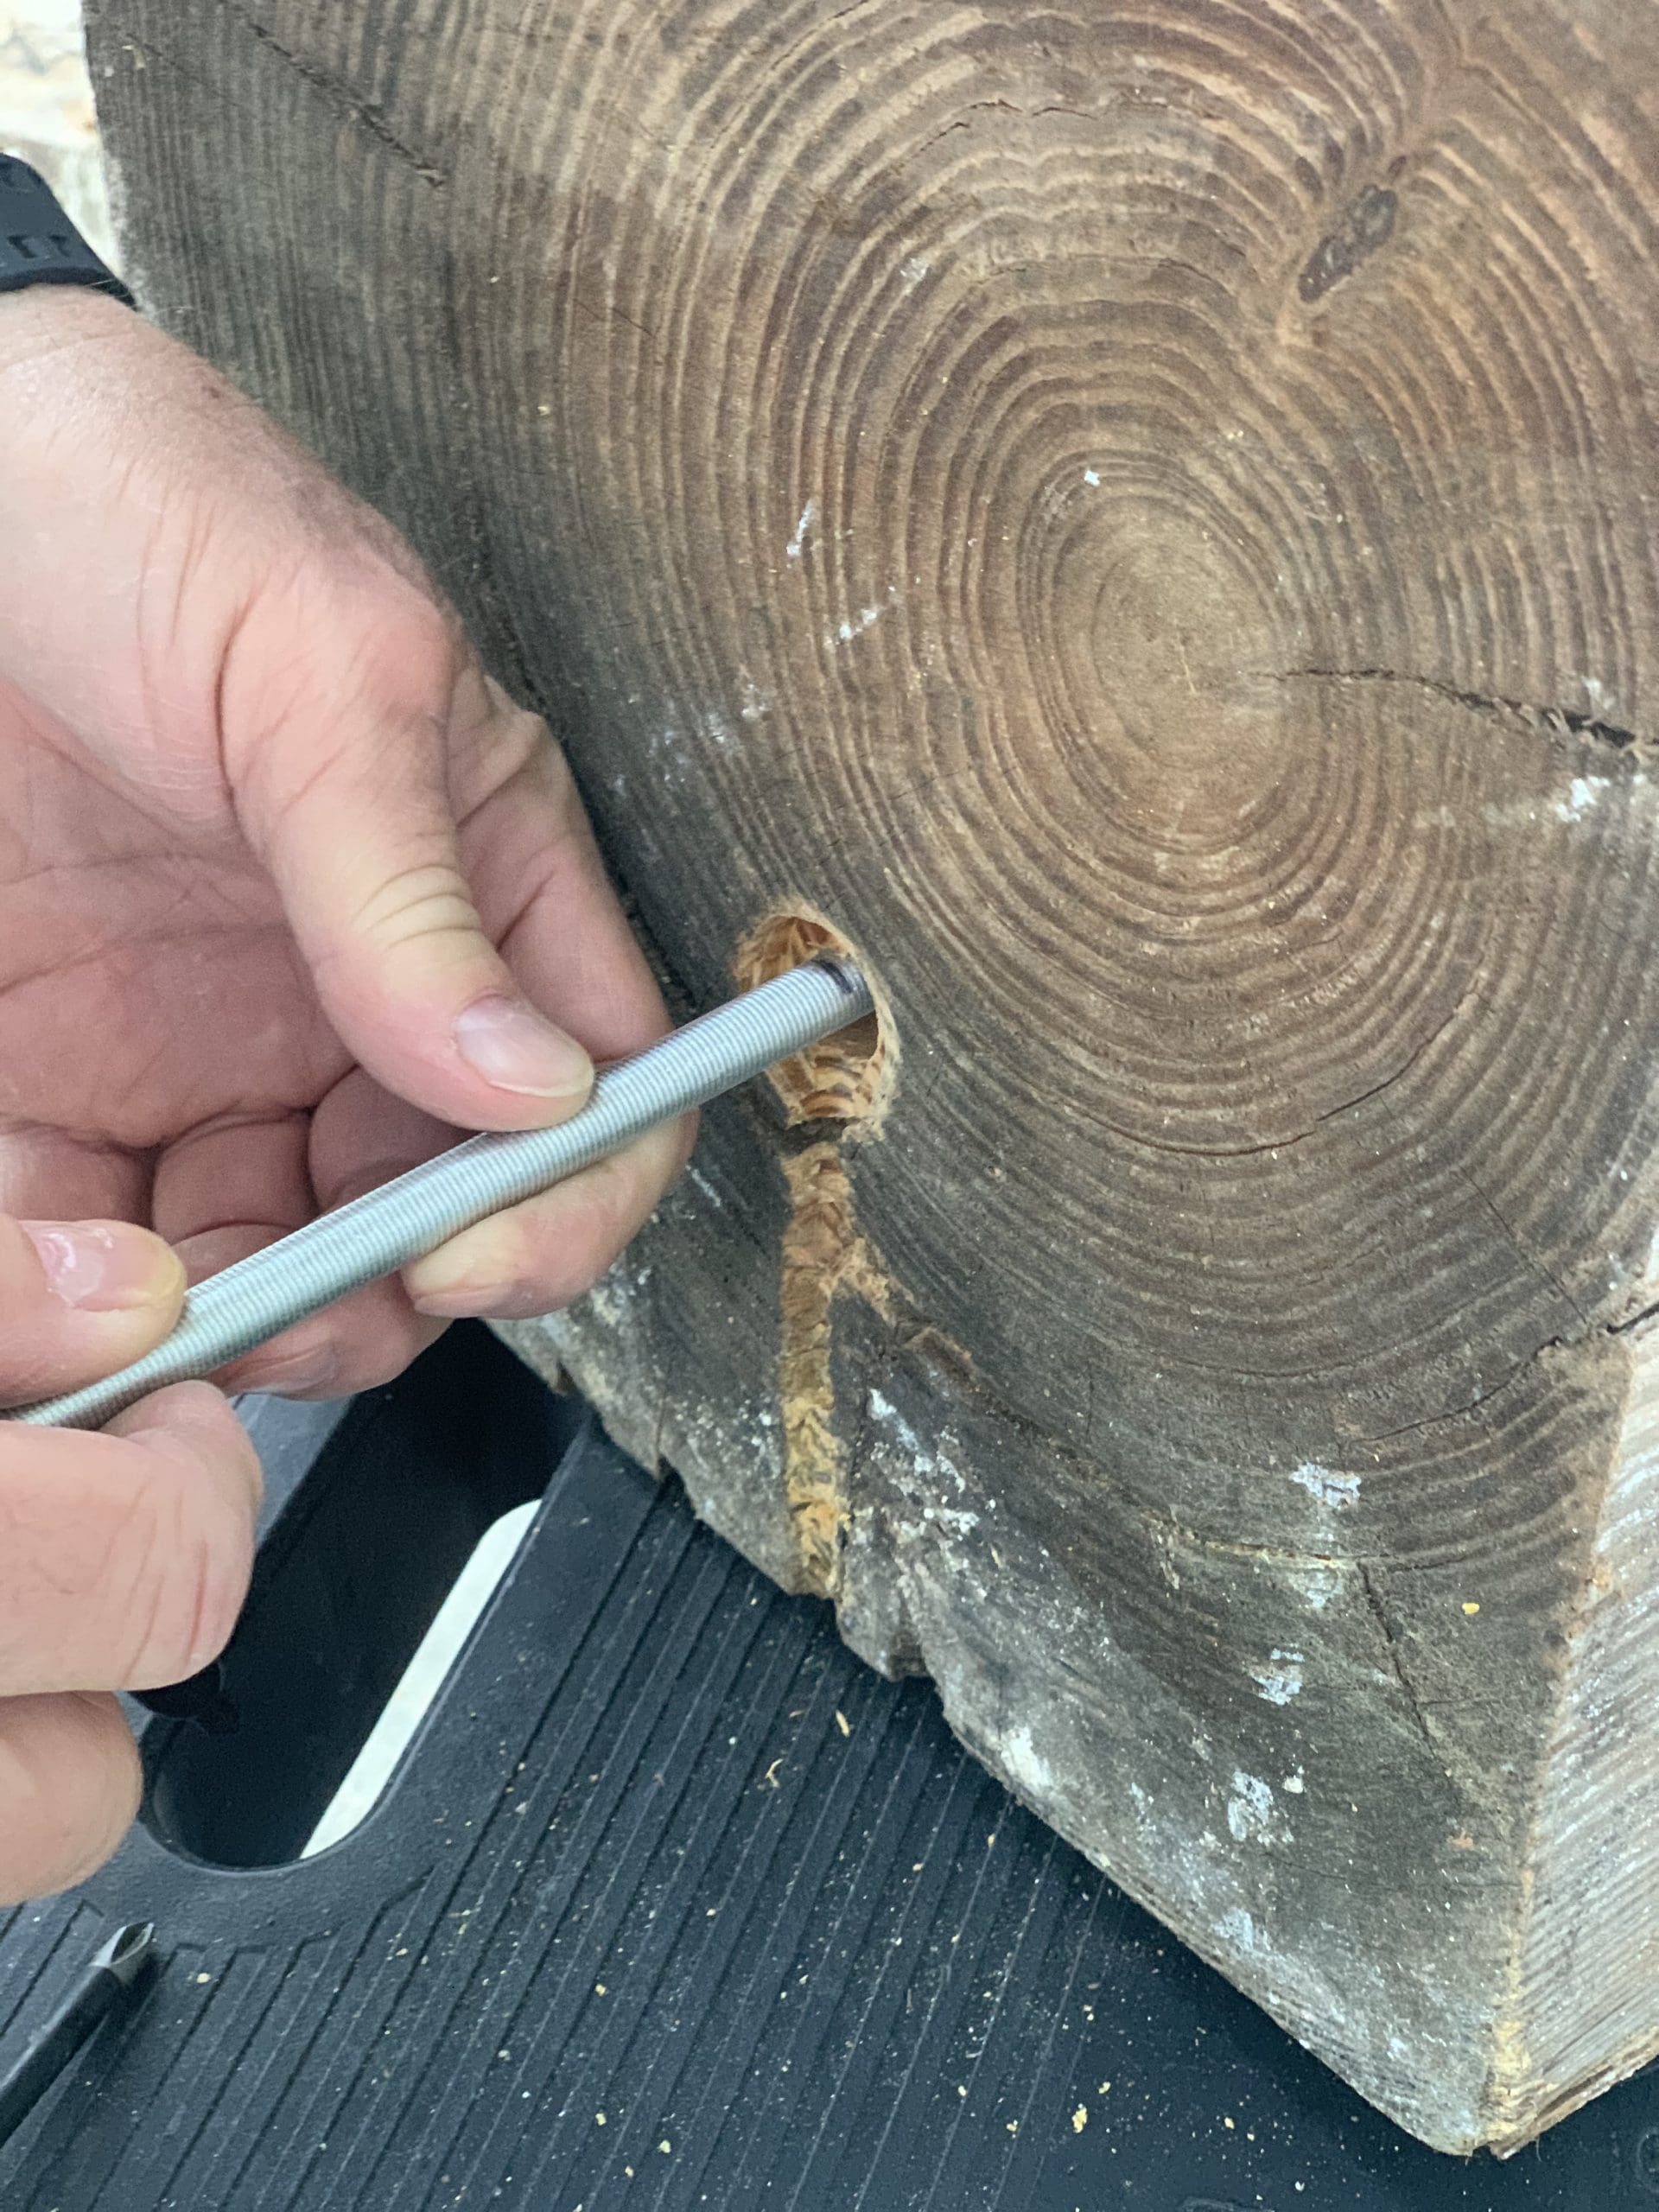
- Start drilling carefully, making sure you are pushing down straight.
- Don’t try to drill too far without pulling the bit out and clearing the channel of debris.
")
- Have a helper ready with a vacuum cleaner to suck away the sawdust with each time you pull out the bit.
")
- Once the hole is finished, carve out a channel from the center hole to the back of the lamp. This will hold the cord from the center hole to the back.
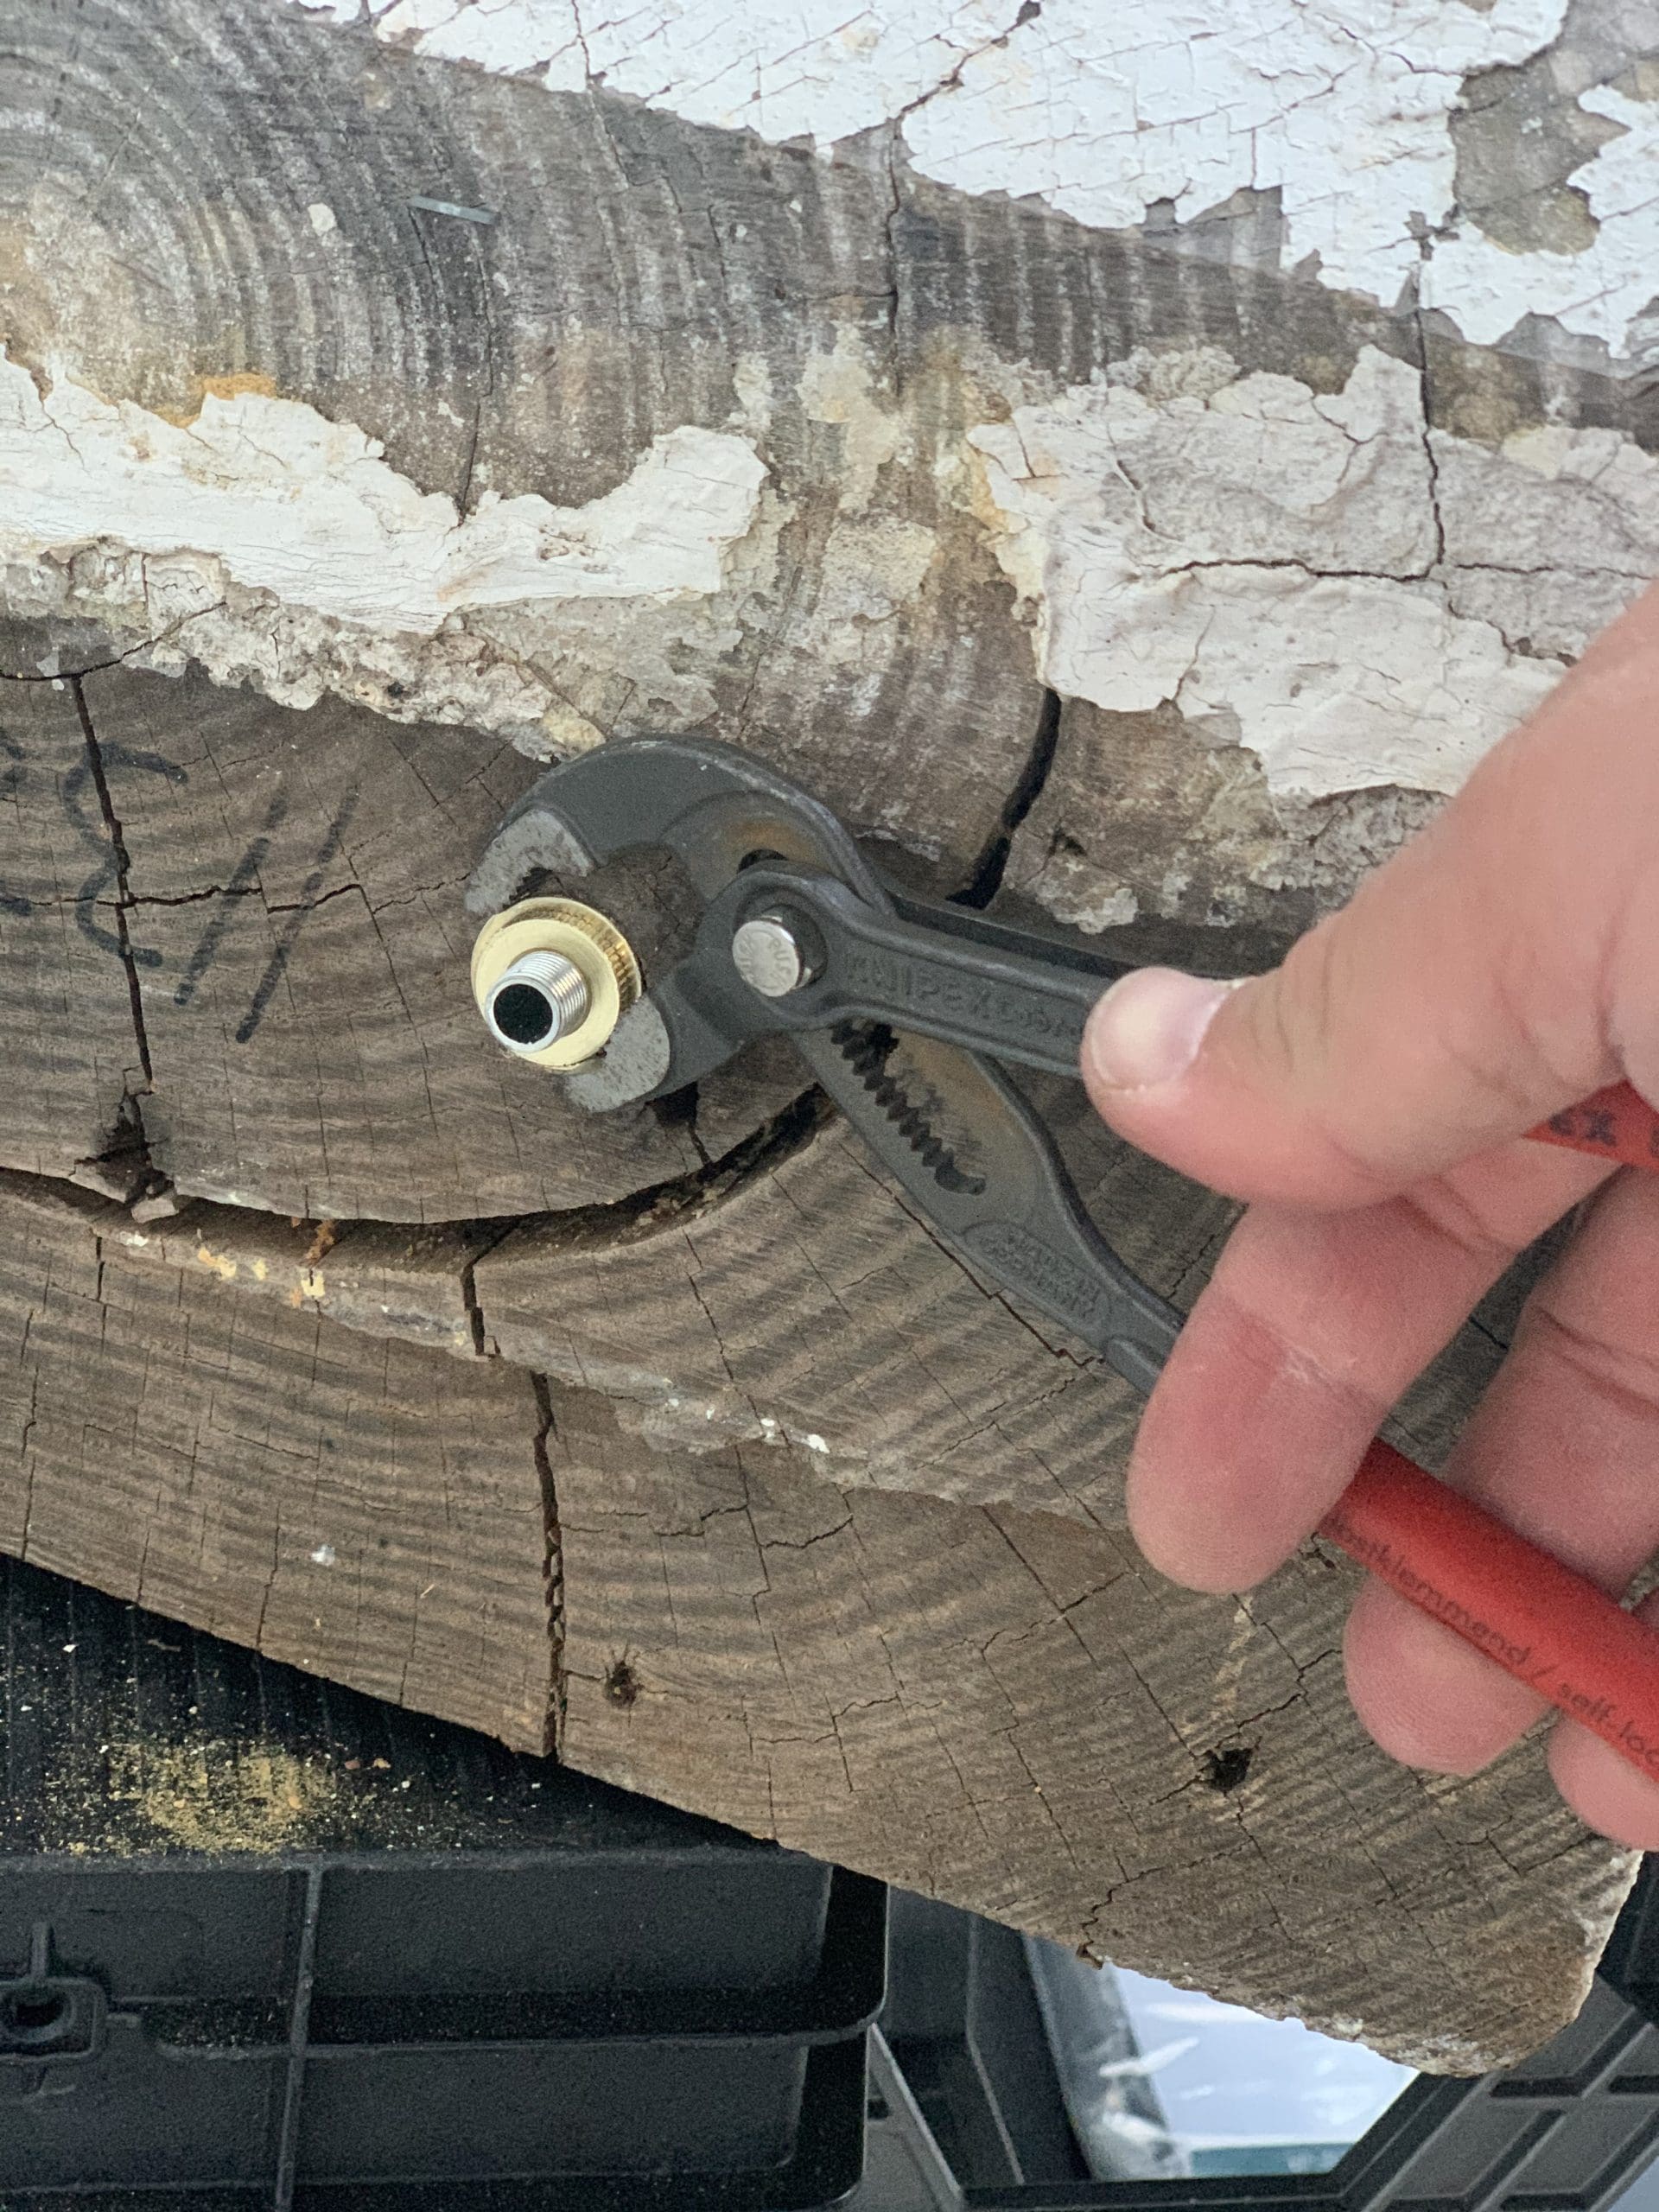
- Then mark the threaded piping from the lamp kit at the height of the lamp.
- We used a hacksaw to cut at the mark, then a Dremel tool to file the cut edges smooth.
- Run the new wire through the tubing.
- Depending on your lighting kit, follow the directions to connect wiring & the harp
- Enjoy your one-of-a-kind creation!
There you have it! Architectural salvage is so fun and there are so many wonderful ways you can incorporate it into your décor. Finding it is a huge, fun part and you can read more about my vintage hunting tips and trips HERE and HERE.
We recently did a quick DIY in our girls’ room, using this amazing salvage piece. It makes the perfect shelf and was a great way to incorporate a pop of color and lots of character in their bedroom!
")
I use architectural salvage all over our home. Corbels make great book ends, shelf décor, and mantel décor. We were lucky enough to find four corbels from the same old farmhouse and we added those to the wide openings in our connected living and dining rooms. It was a simple way to add a lot of charm to our otherwise, rather simple ranch-style home!
Architectural salvage is always my go-to answer when I’m asked for ideas to add texture, layers, character, and interest to a home. I find great salvage pieces at antique malls, vintage markets, and sometimes even the flea market! You just never know what you’ll find and it’s always on my hunting list! You can find some great online options for architectural salvage in the links below, too!
")
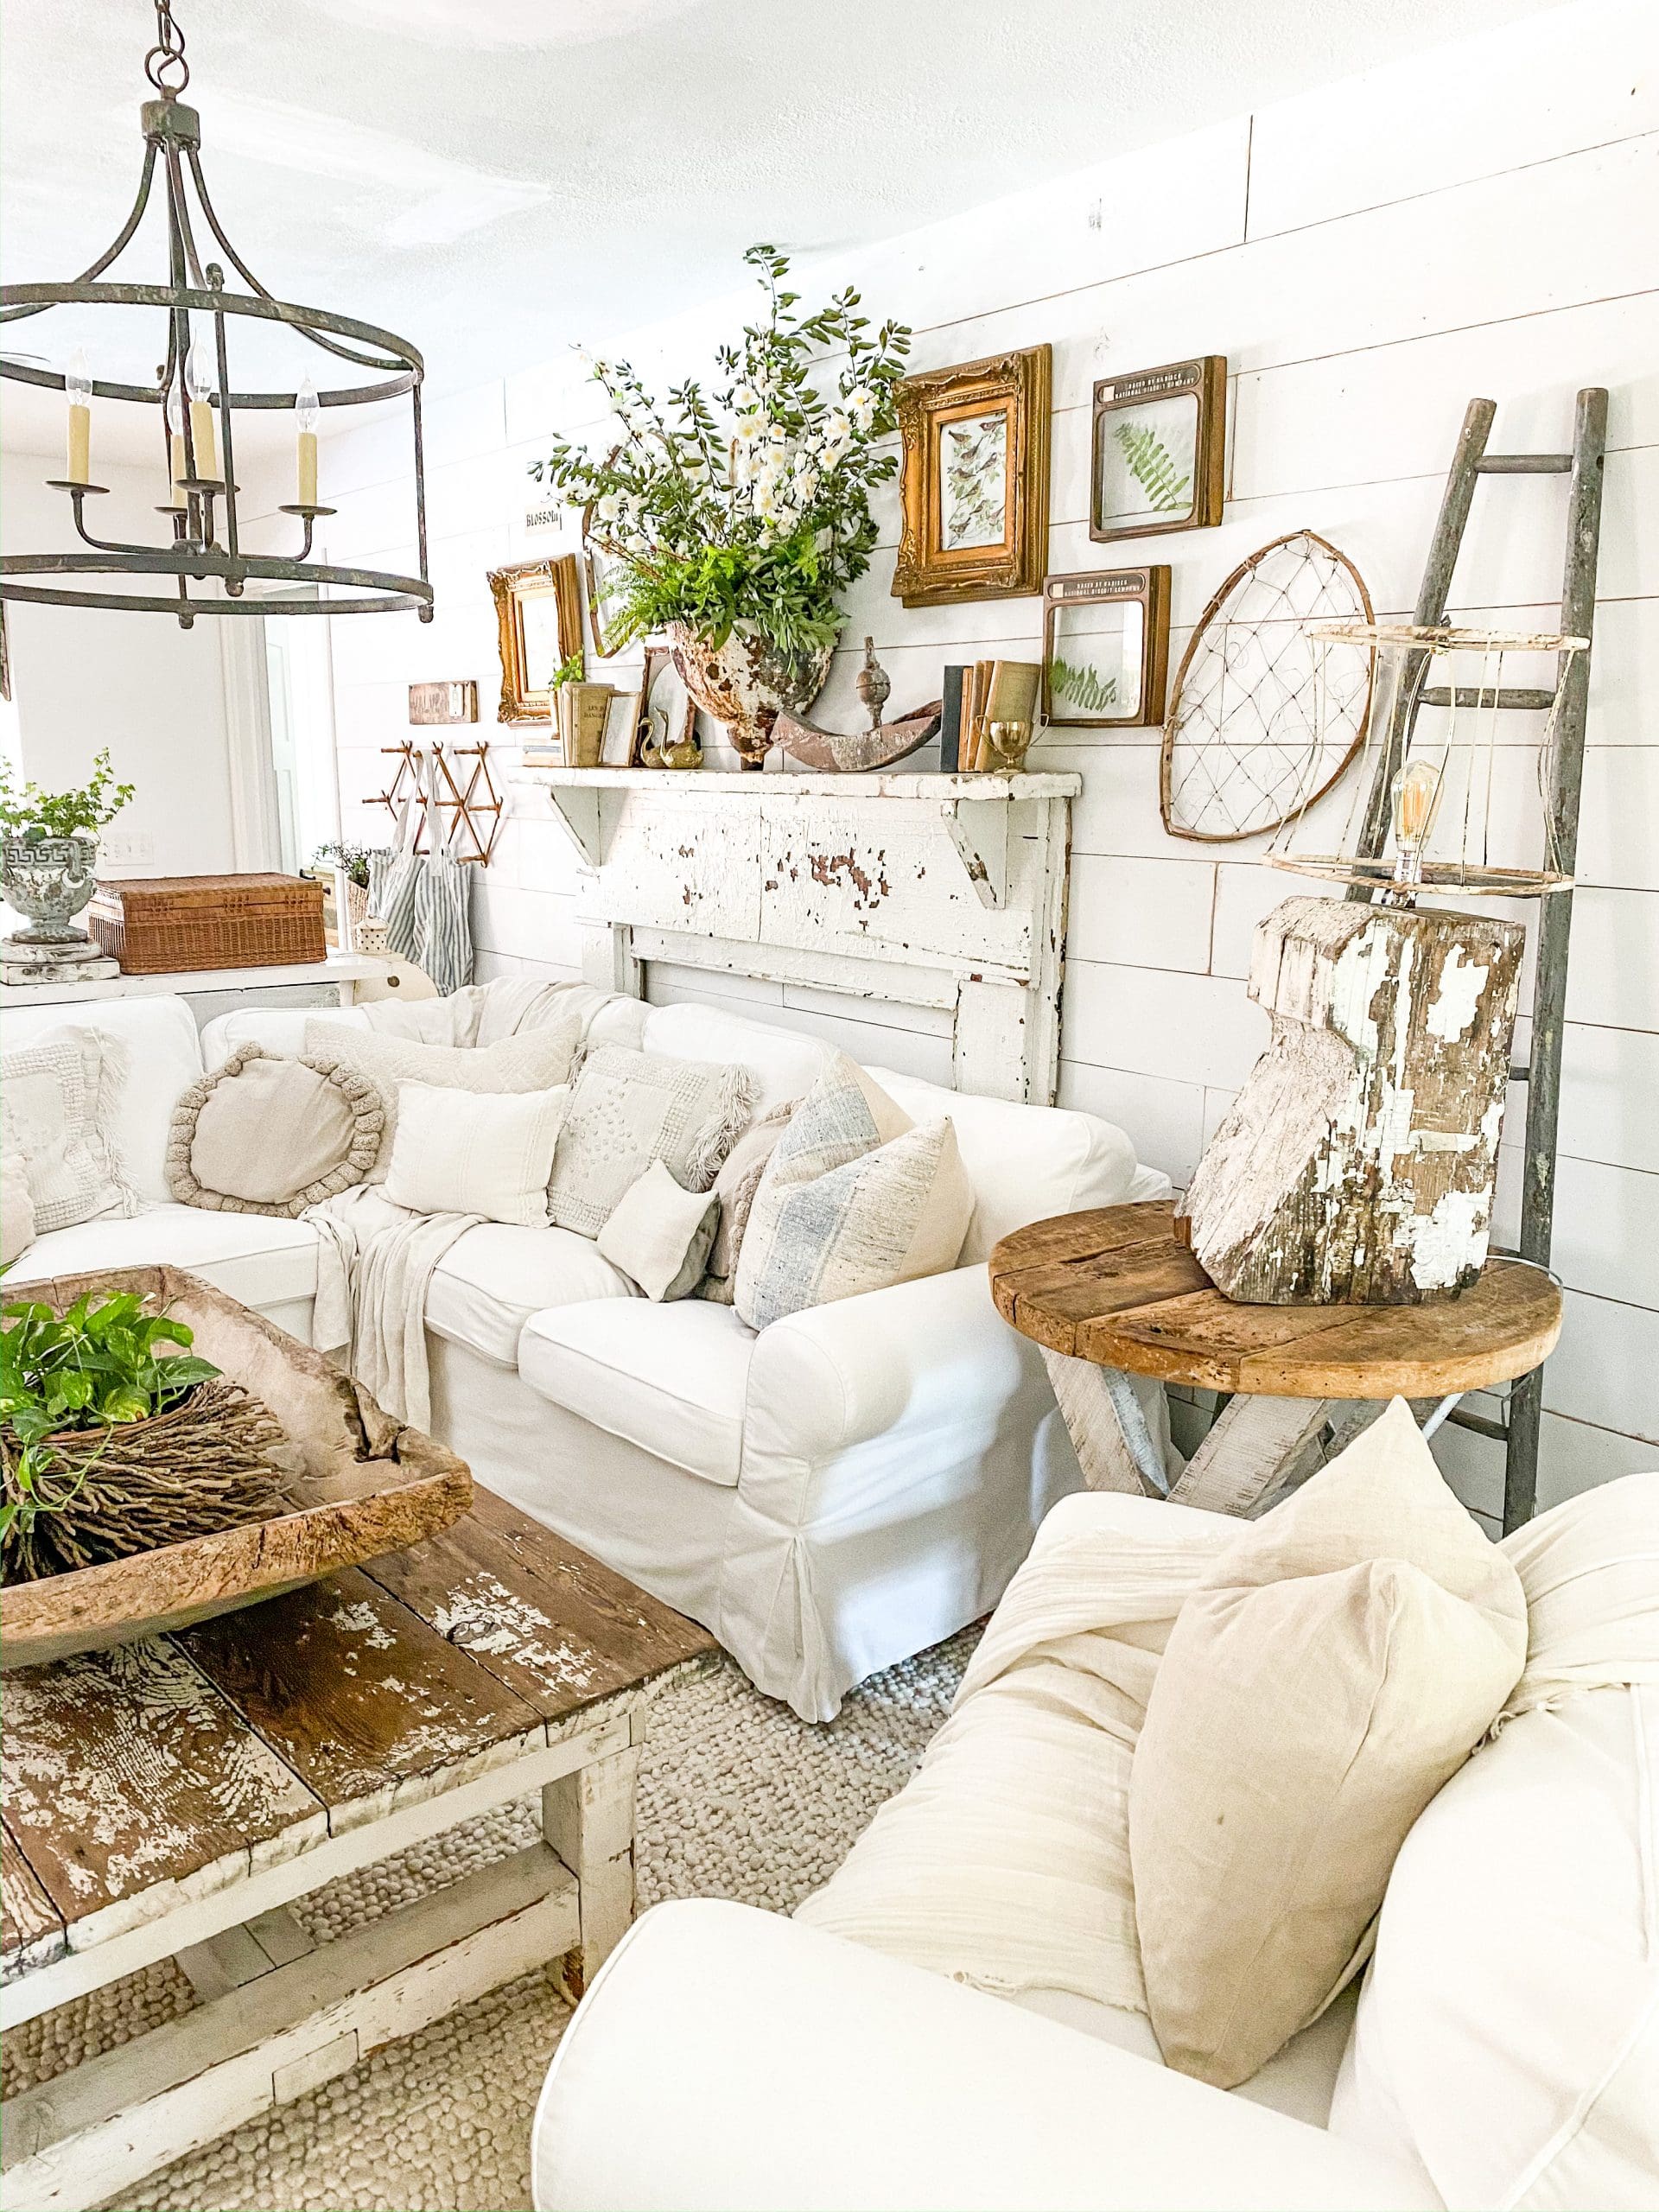
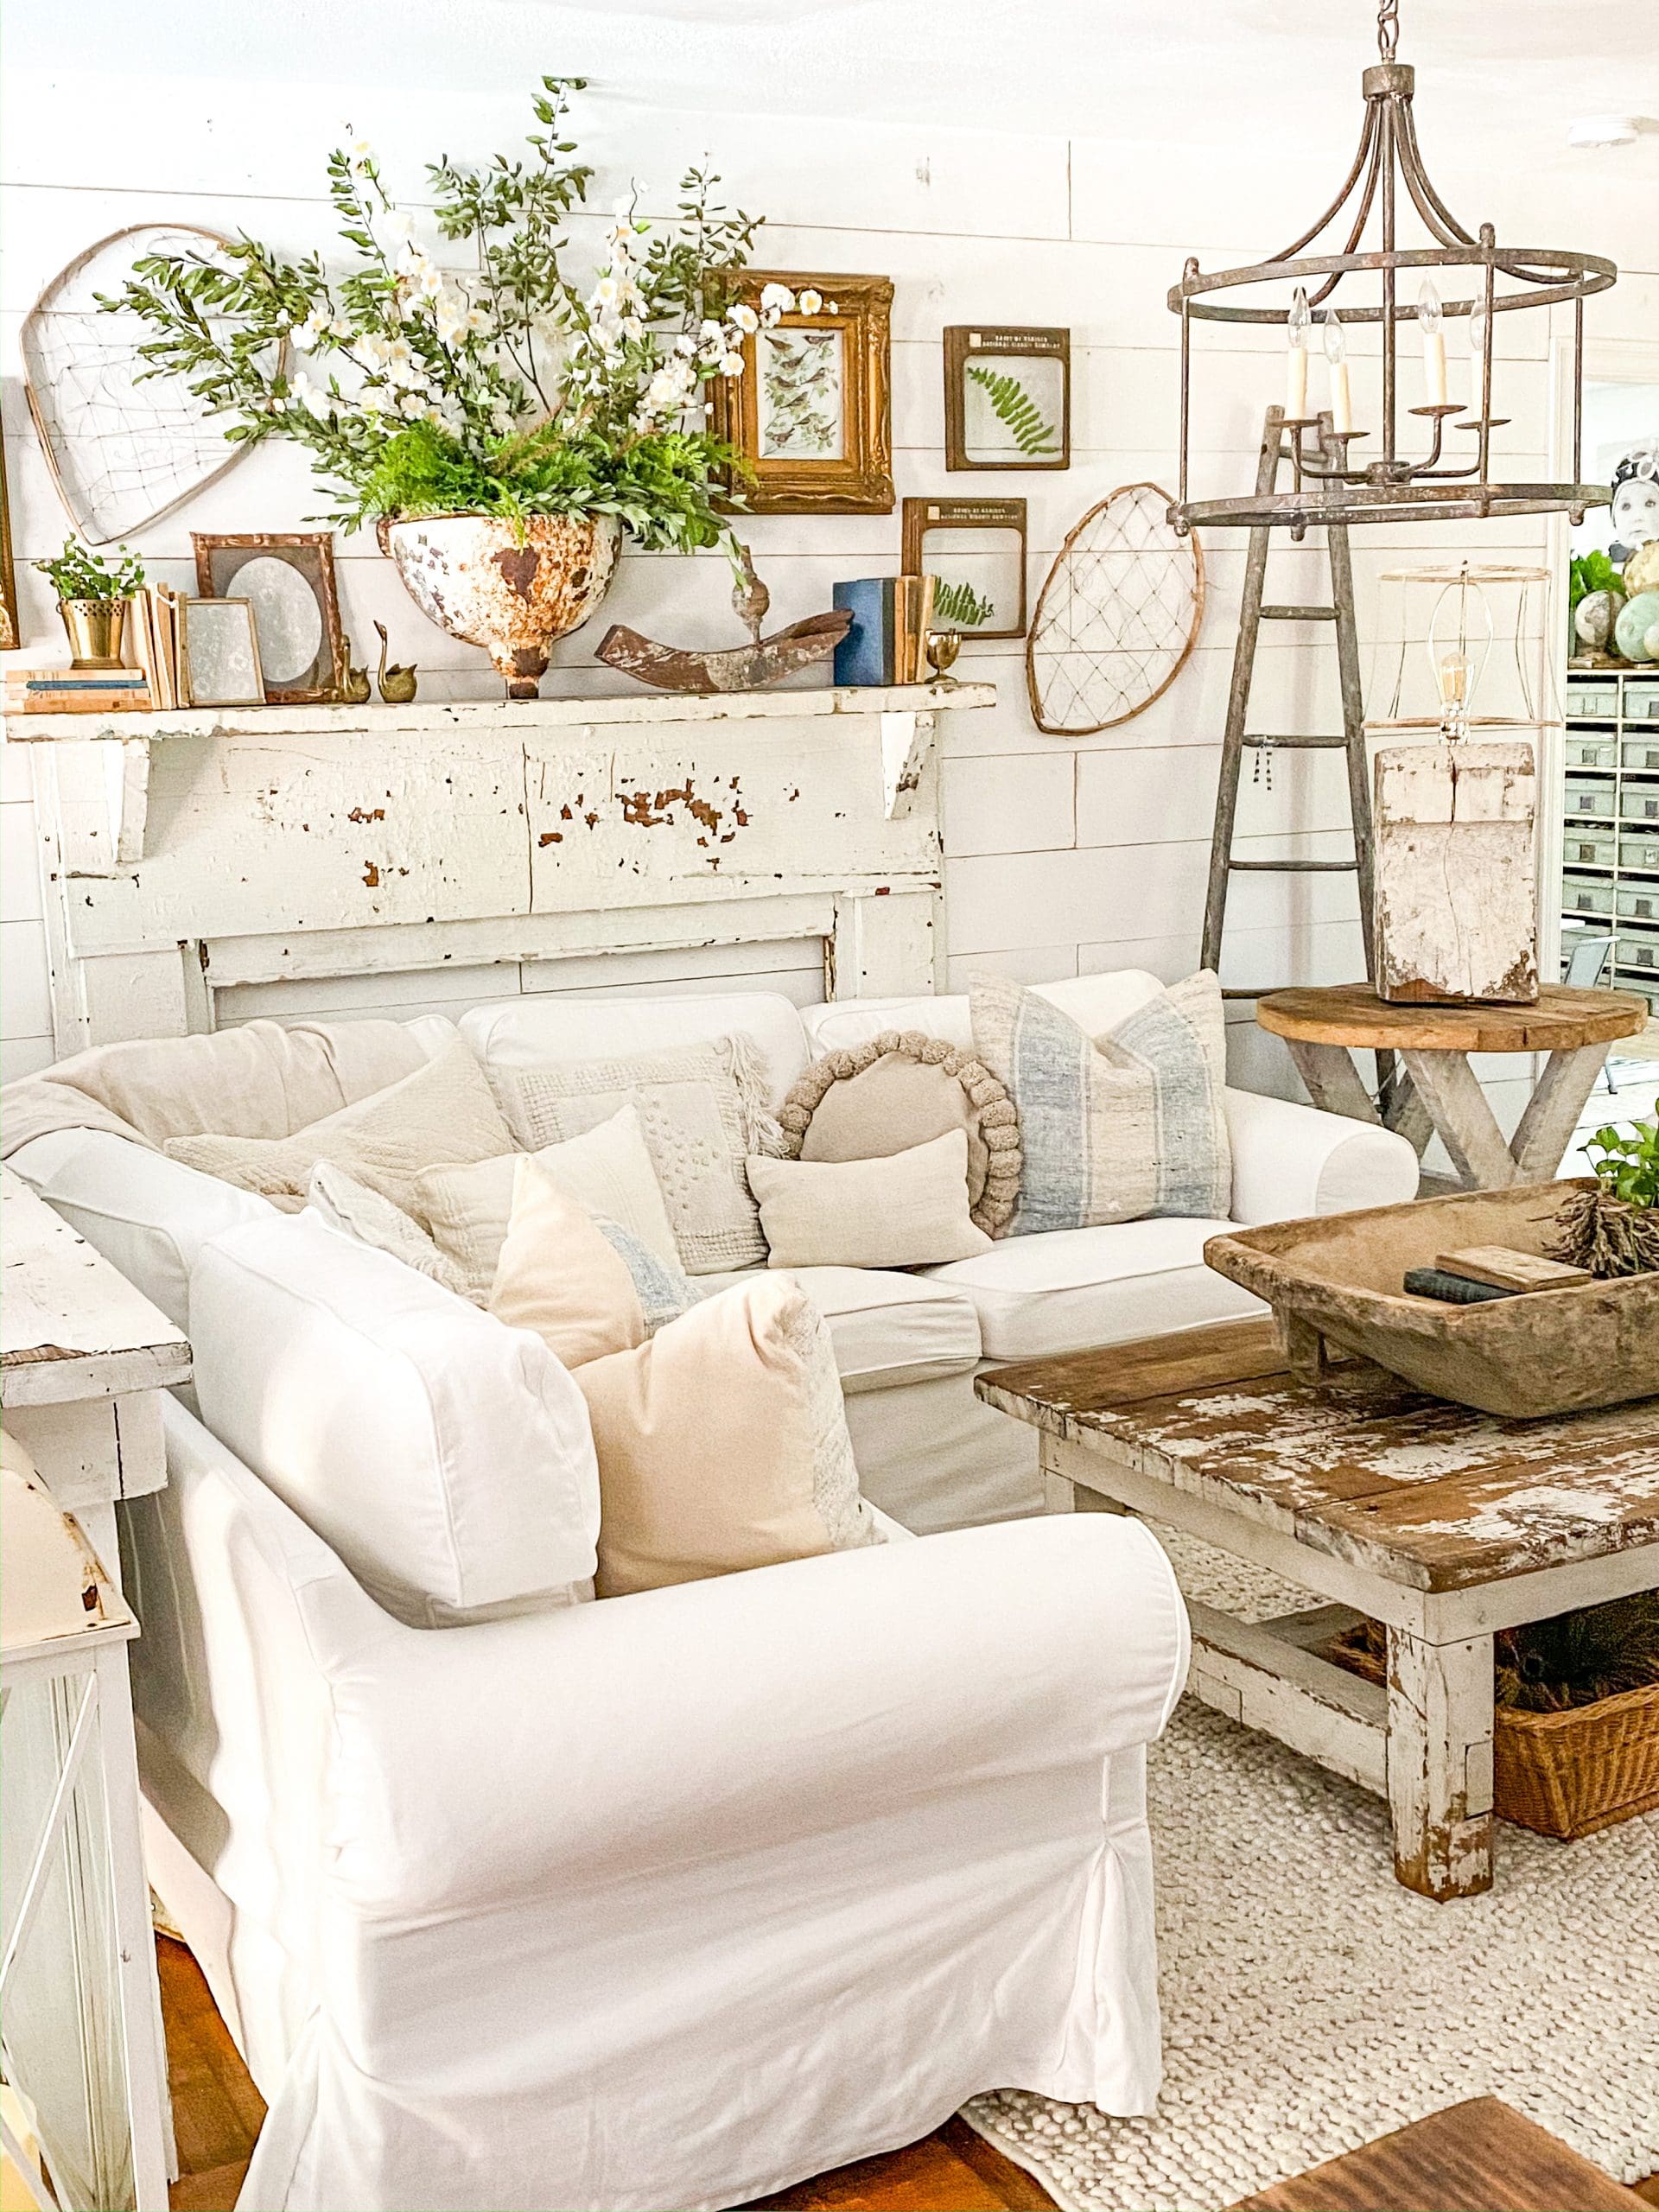
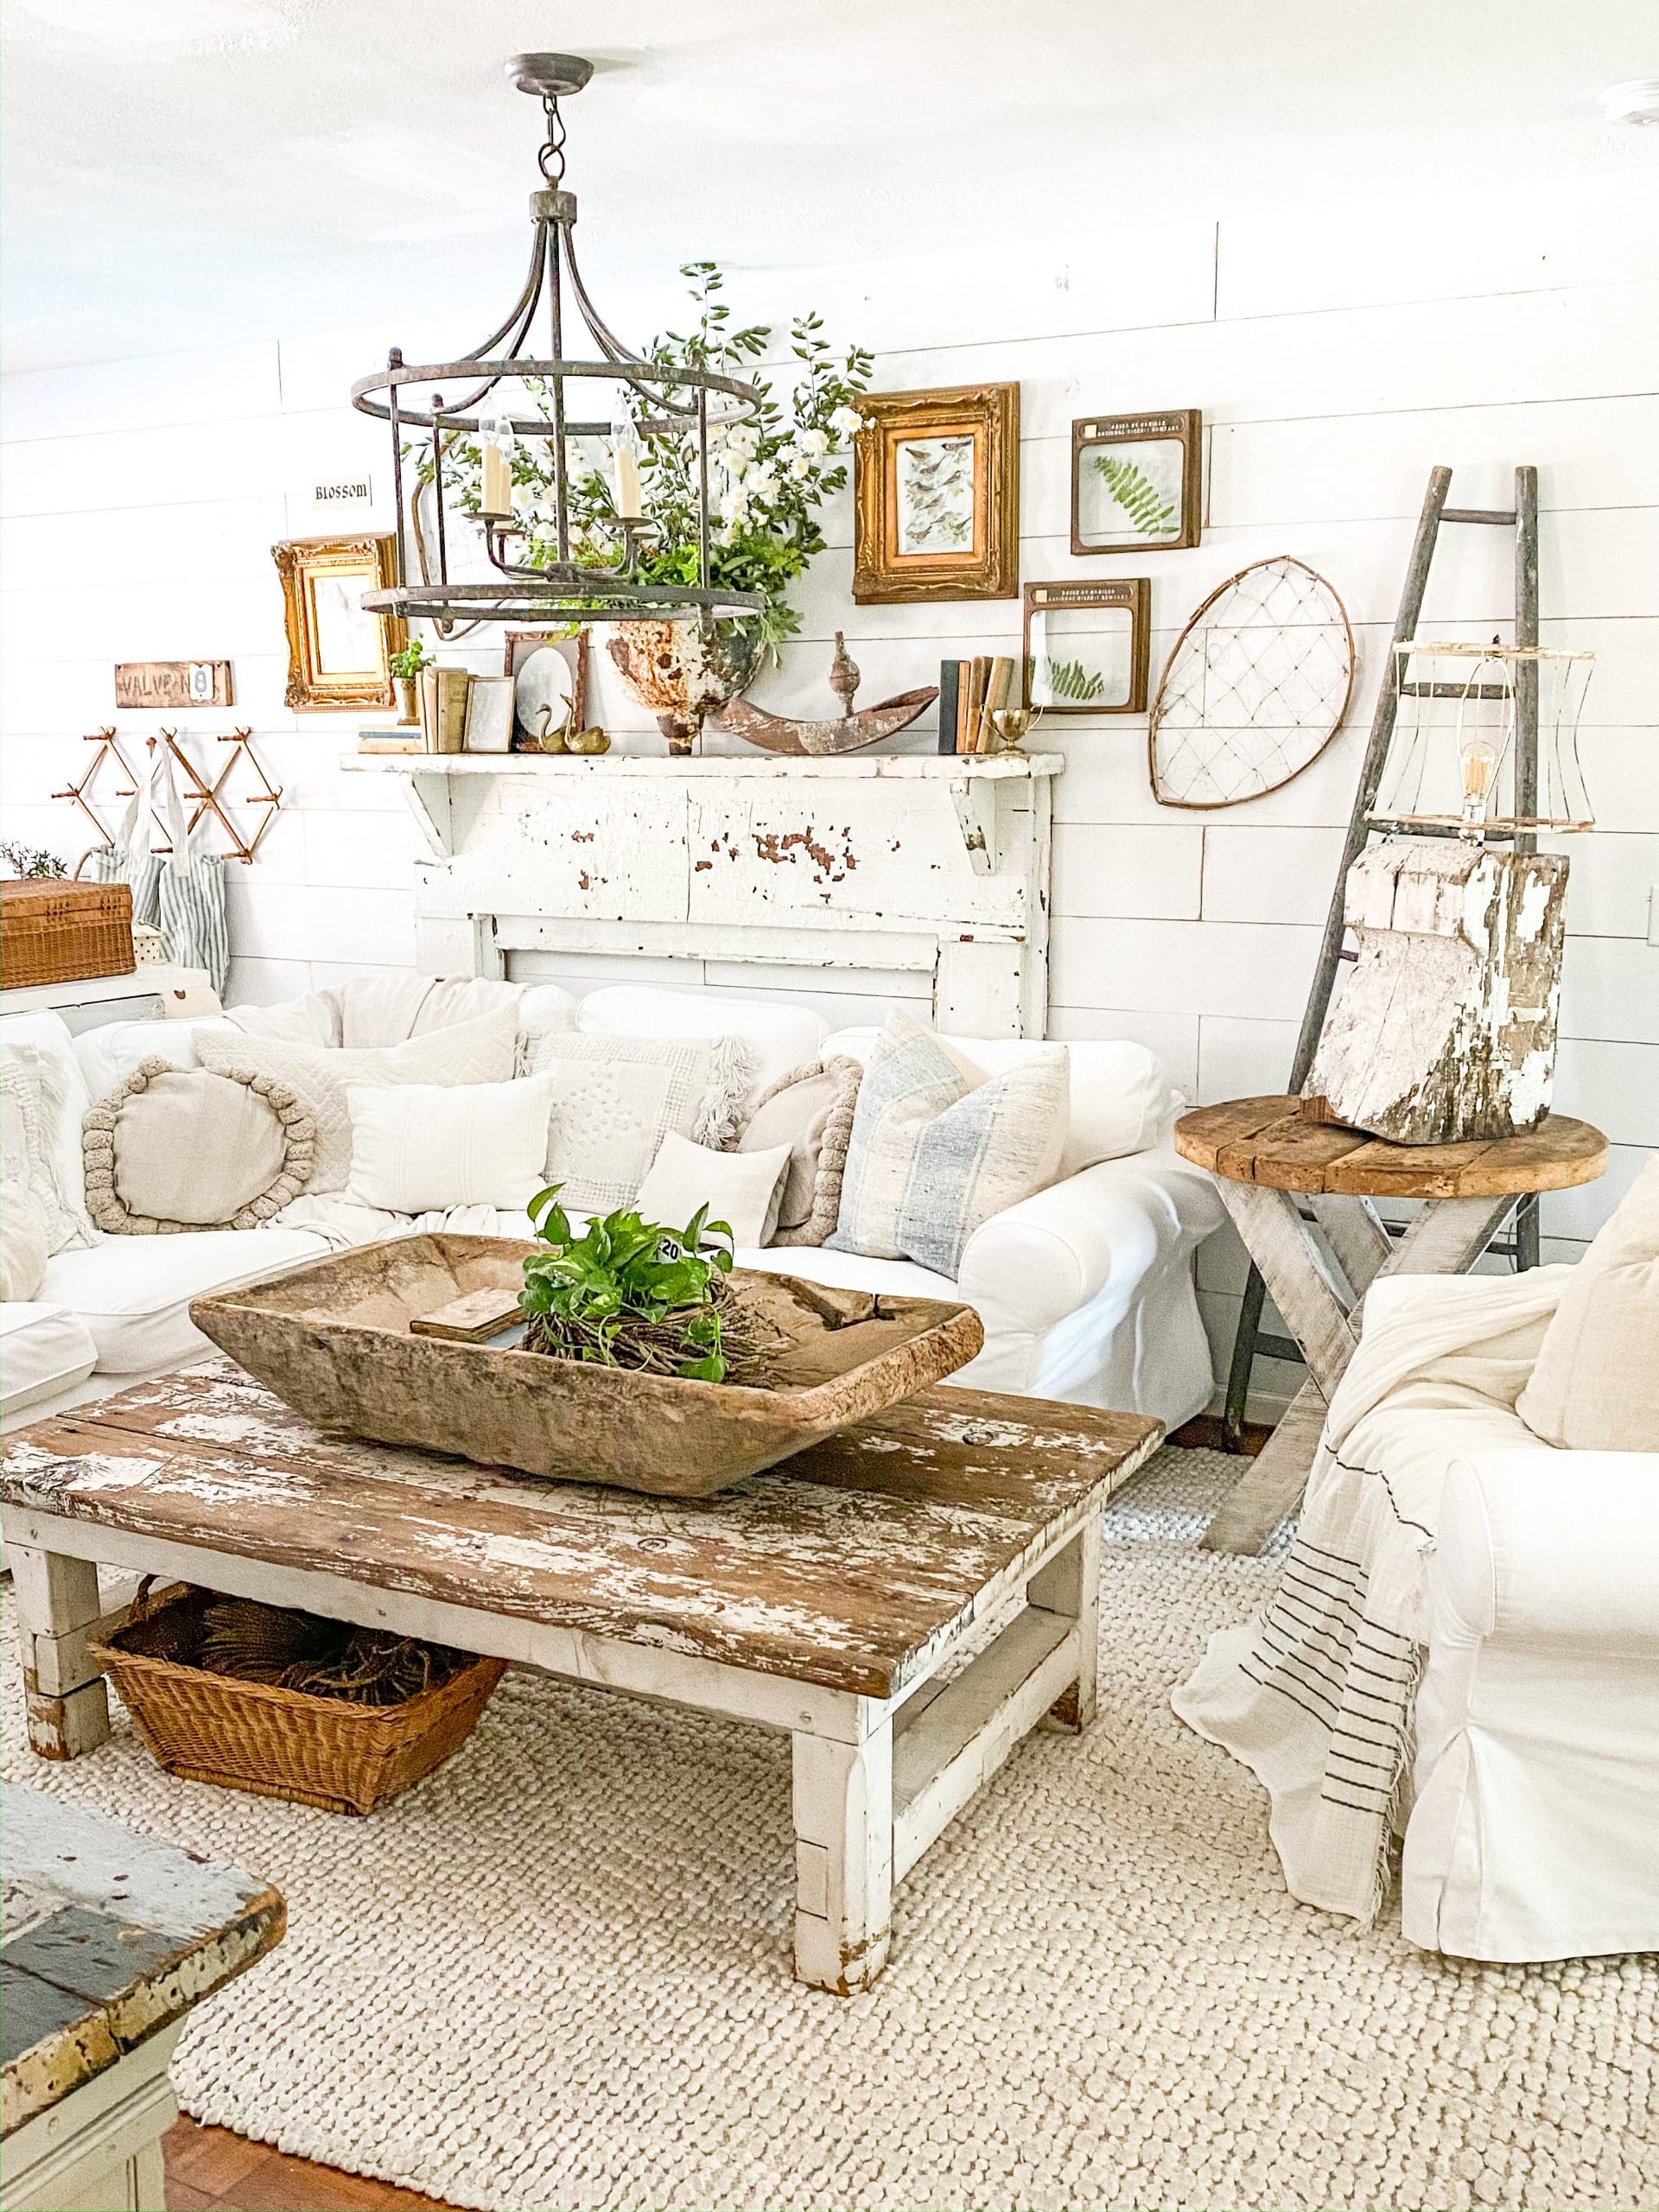
Our DIY lamps are going to live in the home of a customer, but I couldn’t resist the opportunity to style one of them up in our family room! It was hard to let these go, but I’d promised them to a loyal customer and I know they will be loved and enjoyed. But I’m back on the hunt for another corbel set that I LOVE (and maybe a little smaller!) to make lamps for our back living room!
I hope you have fun with your own DIY and a solution to the lamp problem!
While you’re hunting for the perfect salvage pieces for your lamps, hop on over & visit my sweet friend Kelly from The Tattered Pew. I’m definitely adding her DIY to my list to try! I’ve admired Kelly’s home and style for years now and always love to see what she’s up to!
Blessings,
Robyn

8 DIY Home Decor Projects
Midwest Life & Style| Easy DIY Bathroom Vanity Makeover
She Gave It A Go | DIY Sea Glass Vases on a Budget
Open Doors Open Hearts | DIY Aged Stone Vase
First Day of Home | DIY Macrame Plant Hanger
A Blue Nest | DIY Pleated Lampshade
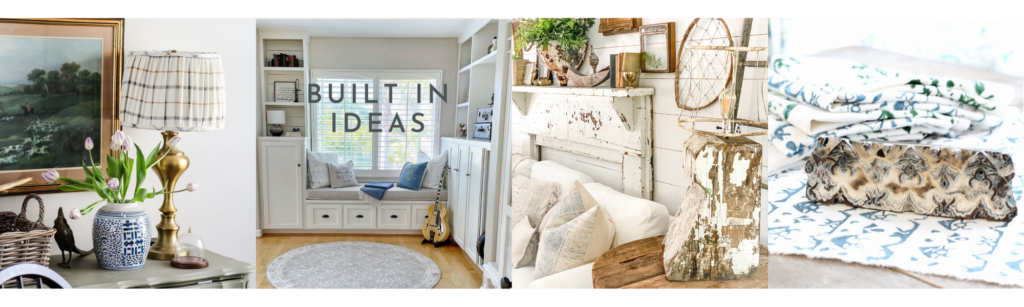
Pasha is Home | DIY Built-in Ideas
Robyn's French Nest | Architectural Salvage Lamp DIY
The Tattered Pew | DIY Block Printing on Fabric
(As an Amazon Associate I earn from qualifying purchases. Posts on Robyn’s French Nest may contain affiliate links. You can see our full disclosure details here.)
Gallery

Love the lamp and great how to!!!!
ROBYN!!! I love this DIY! How creative and beautiful!! I’ve always thought that making a lamp would be sooooo much more difficult. But your tutorial showed me that making a lamp doesn’t have to be as intimidating as I originally thought. Thanks so much for joining the blog hop!!!
Great tutorial! I hope you find the perfect corbels for lamps for yourself!
Thank you for sharing this! I love how these look!!
Oh my gosh Robyn- what an awesome idea!!!! Btw- I also LOVE your vintage chippy faux mantel!!!!
What a great fun idea
Oh wow, Robyn. What a fabulously unique piece! It turned out absolutely GORGEOUS! So happy to be joining you for this fun DIY hop and loving all of the beautiful inspiration.
Ugh, lamp shopping IS the worst! But, I never would’ve thought to do something like this! It’s amazing, Robyn! I’m sure you’ll have one happy customer with this project. Loved your helper, too. My sons look to be about the same age, and they love helping Mommy with projects. It’s a special bonding experience.
Love it! Where is the table it’s sitting on from?
Robyn this is such a great idea! I love corbels and I am always on the hunt for pretty lamps. Thanks for the inspiration and kind words. Pinning for the future!
Robyn, your lamp turned out amazing. It looks great in your room.
What a stunning DIY, Robyn!! I can”t get over how amazing this is!
Robyn,
Oh my goodness, I couldn’t love this lamp more! This is genius and I want to make one now!
Love your creativity, and amazing farmhouse style always.
It was a joy being this blog hop with you, girlie!
xoxo,
Brendt