How to Make an Easy DIY Outdoor Lantern
(As an Amazon Associate I earn from qualifying purchases. Posts on Robyn’s French Nest may contain affiliate links. You can see our full disclosure details here.)
Finding a budget-friendly outdoor lantern is no easy task! However, this DIY outdoor lantern IS easy! Keep reading for an easy tutorial below!
Have you ever found outdoor decor to be challenging? My harsh Florida weather doesn’t always make it easy, as I need sturdy things that can withstand the elements. However, those quality items usually come with a high price tag too!
Today, I’m sharing an outdoor lantern DIY that is tried, true, and tested! It started with me longingly eyeing some gorgeous outdoor lanterns in a high-price store. Even if they would have fit in the budget, we knew the wood just wouldn’t last long enough to make it worth it.
After a little looking, we saw the pattern and style would be really easy to make ourselves! In fact, Robb has made this lantern many times over, in varied sizes, and in both square and rectangle shapes.
The lanterns on our porch have lasted for several years…even with our weather….so I’m excited to add a smaller one to the side table on the patio too!
If you’re hopping over from Lucy at Craftberry Bush, thanks for joining me today! There are so many great outdoor DIY ideas in this blog hop and I love what Lucy shared!
Hopefully this lantern idea will give you some inspiration too!


How to Make an Easy DIY Outdoor Lantern

Step One:
Determine the size, shape, and scale for your lantern.
The lanterns on my porch are large, standing about 36″ tall. However, Robb also built a lantern about six feet long and 12″ tall for a huge bridal table centerpiece for our nieces wedding! The idea is so versatile and can be used in so many ways! For the bridal centerpiece, we filled it with about 24 battery-operated candles with different heights, as well as the bridal bouquet.
For this side table outdoor lantern, we chose the dimensions to be roughly 14 1/2″ tall by 9″ square. THESE candles will be perfect for it since they are outdoor/weather resistant!

Of course, before we used it at the wedding reception, I couldn’t help but style it up at home last fall too! It looked so pretty filled with dried gourds! I love using dried gourds because I can store them away and use year after year. However, they still have that natural, organic look for fall decorating.
With a versatile size and shape, you can really tailor this DIY for any space. In addition, you can style it in a lot of different ways!

Step Two:
Measure & cut the wood.
We used an existing vessel to set the scale for this outdoor lantern. It’s always nice to know how you’re going to use the piece before you make it!

Once you decide on the size, cut two template pieces: One for the sides and one to connect the bottom & top squares.
Use this template to mark off the rest of your cuts.
- Four taller side pieces (we used 14 1/2″)
- Eight smaller pieces to connect the top & bottom (cut to make an approximate 9″ square)

Step Three:
Glue the sides in place.
With all the wood pieces cut, glue four small pieces between the four taller side pieces. Make sure the fit is smooth to the touch so the lantern will sit flat later.


Step Four:
Clamp the glued sides together.
Once the two sides are glued together, add some clamps to make sure the glue holds tight. I used scrap wood to set them off the surface so any run-off glue won’t make a sticky mess.
Take a quick look and wipe off any excess glue, then let them sit long enough for the glue to dry. Don’t rush this! I can tell from experience that patience matters here!
Once the two side are dry, repeat the steps above to add the smaller pieces to round out the top and bottom squares.


Step Five:
Add Nails for Strength
With the glue set & dried, just add trim nails to the corners, and your lantern is ready for show!
It really is the easiest DIY, but looks amazing when you’re done.

Are you ready to start building? These are so easy to make and I have two more large ones on the project list for our outdoor gazebo area. They will be so pretty with big outdoor candles (I love these 12″ battery-operated candles!) for the fall and winter!
For your next outdoor DIY idea, hop on over to Annie with Most Lovely Things. I know you’re going to LOVE this project so much! As I mentioned, there are so many inspiring ideas in this blog hop, so be sure to visit them all and then pin them to your Outdoor DIY Pinterest Board so you can find them later too!
Blogger’s Best Summer Series – Outdoor Decorating
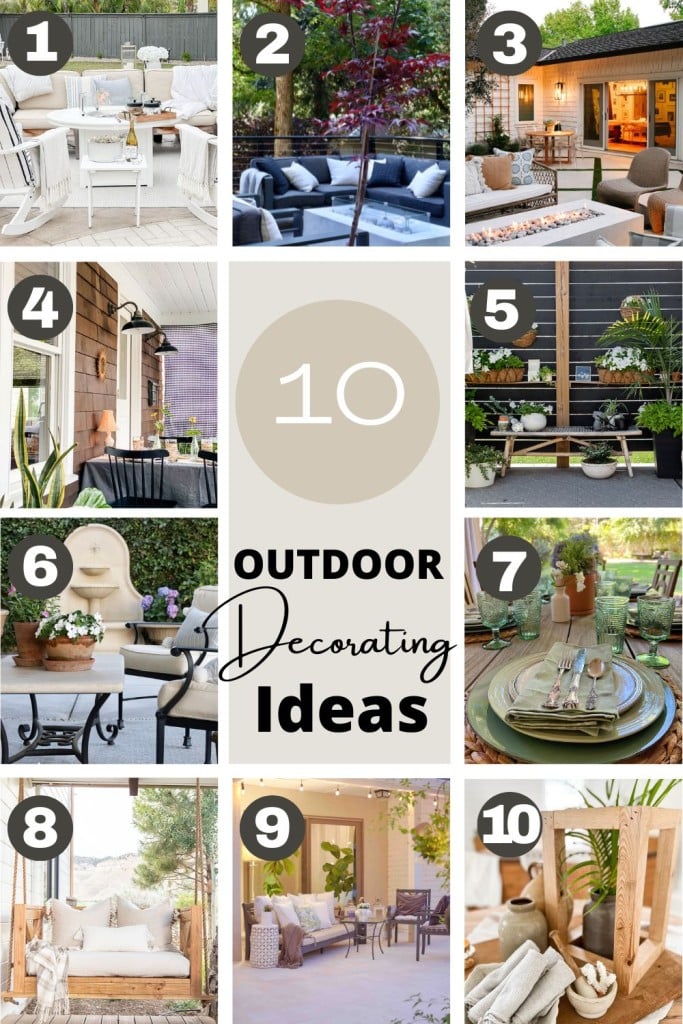
- Easy Ways to Enjoy Your Outdoor Living Space | Pasha is Home
- Outdoor Decorating Ideas | My Sweet Savannah
- Our Backyard Patio Makeover Tour | Modern Glam
- How to Make Your Outdoor Space Cozy | Most Lovely Things
- Outdoor Decor Ideas | Craftberry Bush
- How to Create an Outdoor Oasis | Maison de Cinq
- Fun Outdoor Living Ideas | My 100 Year Old Home
- DIY Porch Swing Using a Crib Mattress | Twelve on Main
- Outdoor Living Space Ideas on a Budget | Happy Happy Nester
- How to Make an Easy DIY Outdoor Lantern | Robyn’s French Nest

Blessings,


(As an Amazon Associate I earn from qualifying purchases. Posts on Robyn’s French Nest may contain affiliate links. You can see our full disclosure details here.)
Gallery
Great tutorial!
I need to make your outdoor lantern! I LOVE it! Thanks so much for joining us, Robyn. Btw, I pinned it to bring more love to your post!
What a great idea Robyn! I’ve seen the expensive ones too and yours look even better! 😉
This is such an amazing idea! I love how it turned out. So many great ways to use it too! Pinned
What a fun and pretty simple project! And all the ways to use it throughout the seasons! Endless possibilities!