How to Make an Easily Personalized Beach Bag
I’ll admit. As much as I personally love the beach, it has only been the last few years that we have truly and actually enjoyed it as a family. It is so much more relaxing now that my kids are old enough to be more independent, no one needs an afternoon nap, they can help carry stuff, etc.!
Organizational Problem
But, we’ve had a little problem that finally became a really big problem this summer. All the kids have snorkels and goggles, which is perfect for beach fun. However, on the second trip of the season, when they realized the gear was all mixed up (and some were rightfully not thrilled about sharing snorkels!), I very quickly became weary of the…let’s say….”discussion”. We decided to turn it into a fun, summer, DIY project!
")
Whether your gear is beach related, or for sports, travel, toys, or organization, I this beach bag DIY could help you solve a problem too!
Beach Bag Organizing Solution
We pulled out our Cricut Explore Air 2 for a fun beach bag DIY. Now, we have only scratched the surface with all the fun things we can make with the Cricut, but it is SO fun! I found these mesh bags on Amazon and they are literally the perfect beach backpacks!

I wanted the mesh so that water and sand could drain and dry easily. I love that the straps are adjustable, which works for even the youngest kiddo. I also love the drawstring pouch for a water bottle and the outside zippered pouch for goggles and sunglasses. This particular bag also has a little zipper pocket on the inside. Perfect for keys, cash, card, etc.!
To make sure that no one gets their bag and gear mixed up…and to have some fun…we used the Cricut to add names to our DIY project. The kids picked their font and helped me make them, so the DIY was part of their fun too!
")
I love that they can use these bags for a lot more than just the beach. Even a good overnight bag for weekend trips or to contain all of their things for road trips!
Here’s how we did it:
Materials Needed for DIY Beach Bag
- Cricut Explore Air 2
- Cricut Heat Press
- Mesh backpack
- Cricut iron-on vinyl
- Fun beach toys!
Process for DIY Beach Bag
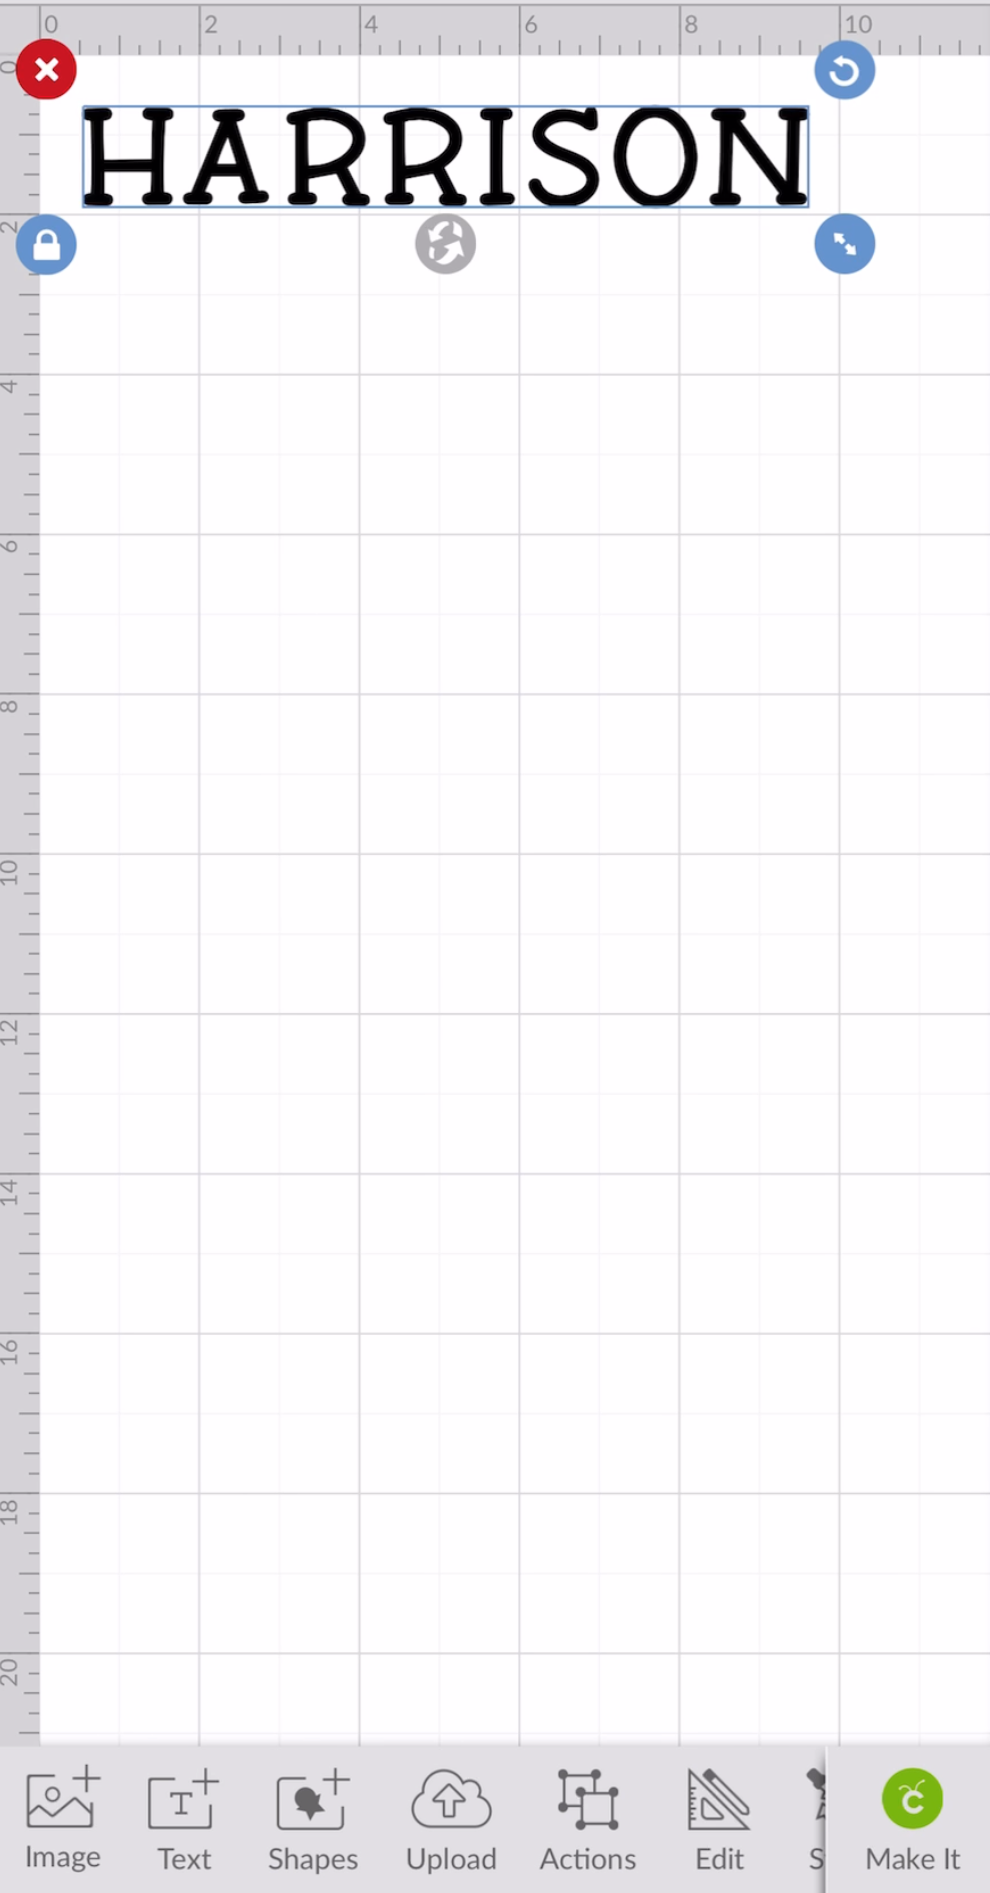
Step One: Design the text
First of all, each of the kids looked through the Cricut Design Space fonts and chose the one they wanted. I measured the flat part of the DIY Mesh Backpack and adjusted the names to fit that space. I love that the Cricut Design Space makes it so simple to get the dimensions right and that I can do it right from my phone!
")
Step Two: Cut the iron-on vinyl
To get the vinyl cut, you’ll want to lay it on the Cricut mat SHINY SIDE DOWN! (I say that because I did not pay attention the first time and wasted a section of my vinyl! See Below!). Double check to make sure that your text is MIRROR IMAGED within the Cricut Design Space. It must be mirrored for the iron-on.
")
Next, load the Cricut mat and let it do its thing!
")
")
Step Three: Weed the vinyl
Carefully and slowly weed the backing from the vinyl. I like to cut around the text first so that I can use the rest of the vinyl for another project. Make sure to weed out all of the little parts too, like the circle out of an “O”, etc.
")
Step Four: Press on the Text
You can use an iron, but I am really glad I got the Cricut Heat Press. It makes it easy to make sure I am on the correct heat setting for whatever material I’m using. I also really like the timer function. Plus, I can press on the whole text at once with the large field of the heat press.
Look up the Cricut Heat Guide to find out what heat setting your material needs. A quick google search can help you too! This Cricut Heat Guide will also tell you exactly how long to use the press for your project.
For the bags we used, we did 30 seconds at 340 degrees on the front and then flipped it over and did 15 seconds from the underneath.
It was really nice to not be trying to guess at this process, so the Cricut Heat Press was extremely useful and worth the investment if you plan to do a lot of iron-on projects (which we have already done just this summer!)
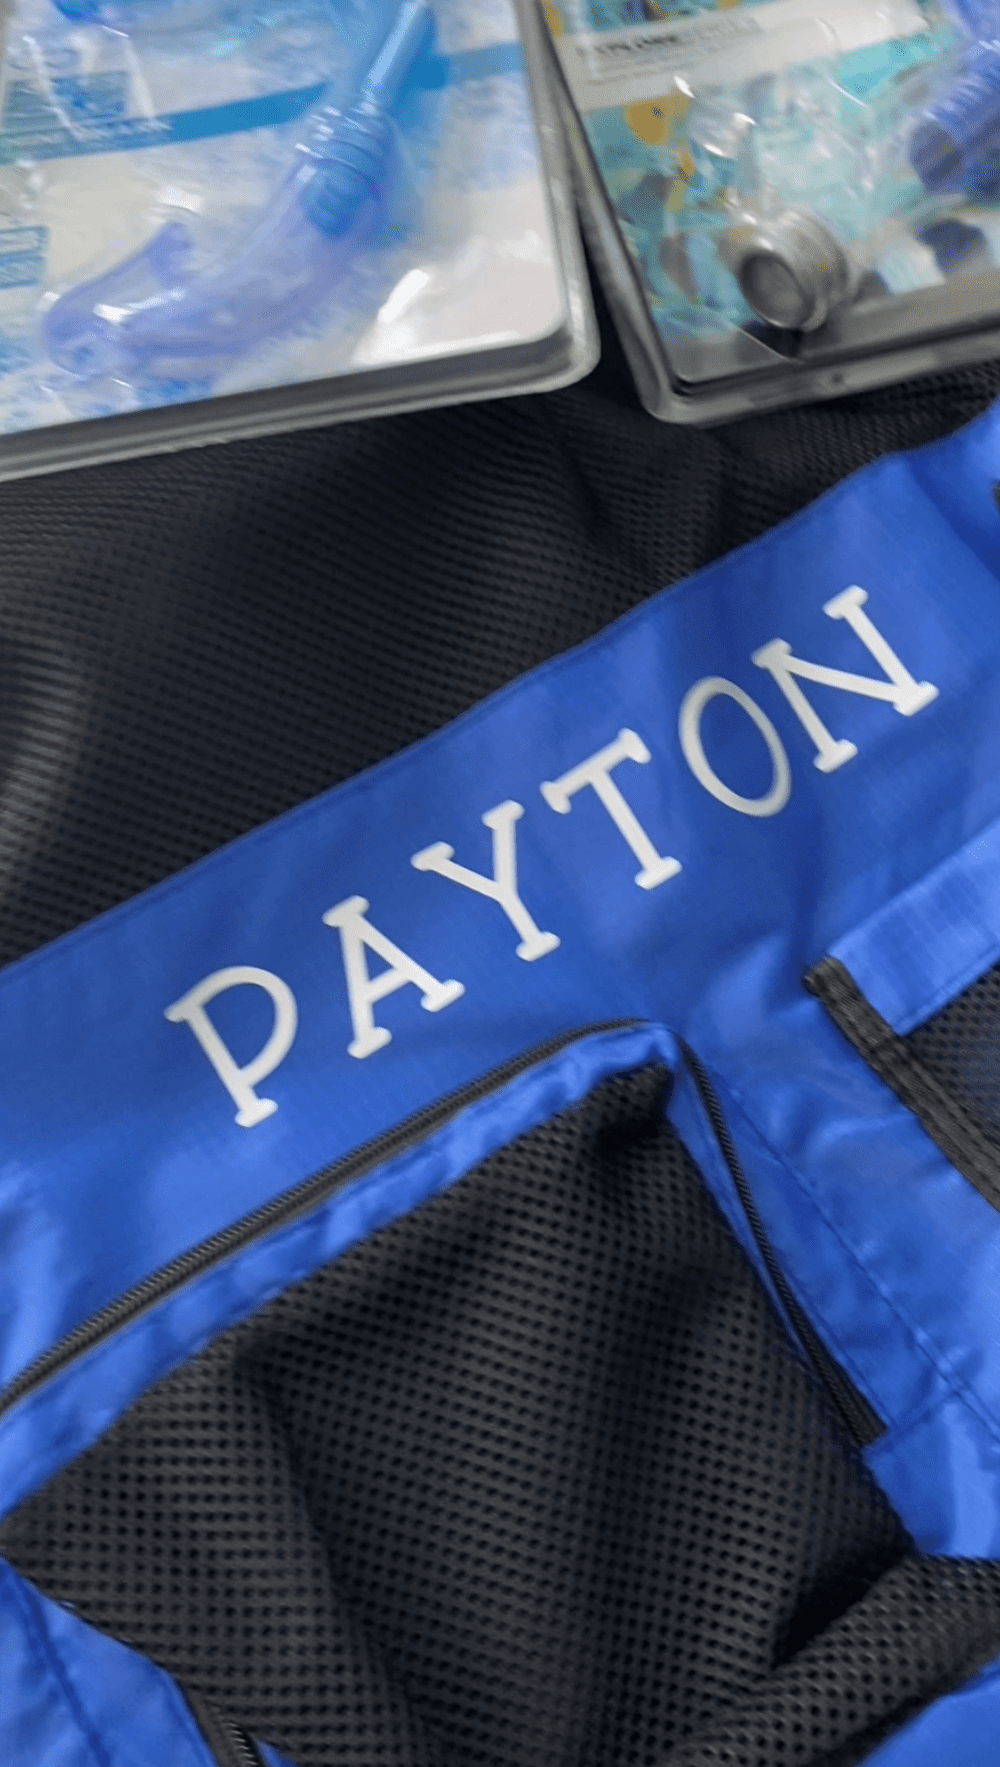
Step Four: Wait until the transfer is cool to the touch, then slowly peel off!
Enjoy!!!
Organizing Your DIY Beach Bag
I thought it would be fun to treat the kids with a fresh supply of beach gear and toys. A Walmart, Target, and Dollar Tree run helped me restock their favorites for a budget-friendly price. Here are the things I got for their bags:
- Snorkel and Goggle set: You could get as fancy as you wanted with this. I purchased less-expensive ones, since they are kids and things get broken and lost!
- Sunglasses
- Water bottle
- Beach towel
- Beach bucket
- Sandcastle toys
- Shovel/digger
- Football
- Toss and catch games
- Inflatable hammock
")
Other Fun Cricut DIY Projects
So far, we have personalized canvas tote bags for gifts, a cute, straw beach hat (also for a gift), plastic tumblers to use around the house this summer so everyone isn’t get their cups mixed up, small drawstring bags to carry snacks, drinks, etc. for summer camp, and cards for birthdays and Father’s Day!
")
We are beginners with our Cricut but are already having so much fun!!! I can’t wait to use it for projects in my classroom this fall and the kids have lists of things they want to personalize for their school supplies too!
And then my brain is making lists of all the fun things we can make for the holidays too! It’s going to be so fun and hopefully by then, we will have learned many more techniques and uses for our Cricut!
I am linking up some great summer DIY project suggestions and ideas from some of my blogging friends for even more inspiration!
Check these out:
Easy DIY Plant Ladder Shelf with Cricut Tags from WoodShop Diaries
Garden Inspiration from Feet Under My Table
Sweet As Honey First Birthday Party from Karin’s Kottage
3 Quick and Easy Party Projects to Make With a Cricut from Blue Sky At Home
Linen Closet Makeover with Cricut from Faith and Farmhouse
Have fun creating!
Blessings,
Robyn
")
Gallery
Such a cute idea! I’ll have to make some for my grandkids!
Thank you for including my post about my honey birthday!
Karin
I’m so glad you’re going to try it! My kids love them!
It was my pleasure to share your post. What a great idea!