How to Make an Easy DIY Pumpkin Flower Arrangement
(As an Amazon Associate I earn from qualifying purchases. Posts on Robyn’s French Nest may contain affiliate links. You can see our full disclosure details here.)
Pumpkins and flowers make the best fall centerpieces! Check out this fun way to combine them into an easy DIY flower arrangement for your fall table! Keep reading for more fun and easy DIY pumpkin ideas to enjoy this season too!
Really, is there anything that is more inviting for a fall table centerpiece than fresh flowers and pumpkins?! Today, I am having fun joining some blogging friends to share our pumpkin DIY ideas with you and I can’t wait to show you my DIY pumpkin flower arrangement and how easy it was to make! Since I love flower and I love pumpkins, I’m combining the two favorites into an easy DIY pumpkin flower arrangement to share with you.
Best part? You can use this DIY pumpkin to create pretty flower arrangements for the whole season!
If you’re hopping over from Kristy’s amazing blog post using recycled books, welcome! That looks like such a fun DIY and I’m adding it to my never-ending list of things that would be fun to do!
I am so happy that you’ve stopped by today. I know you’re getting so many beautiful ideas from these DIY pumpkin blogs! Make sure to save the ones to your Pinterest that you want to try.
How do you make a pumpkin centerpiece?
There are so many ways to make really great DIY pumpkin flower arrangements for table centerpieces. Whether you’re using a real pumpkin, a plastic pumpkin, or a DIY pumpkin like ours, you can create a really pretty design to enjoy on your table. Even if you are using a simple vase that you already have, you can still make a pretty flower arrangement to add some fall color to your home decor!
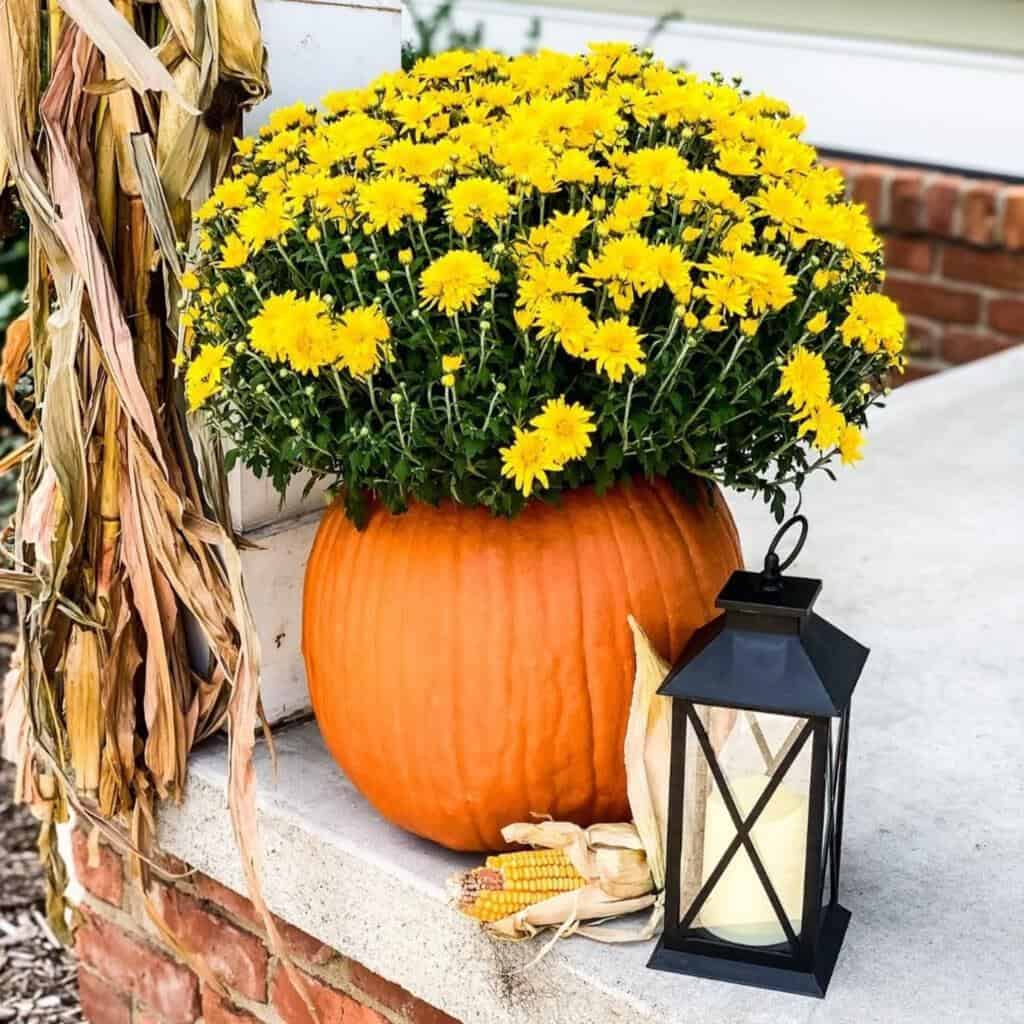
We made these DIY pumpkin flower vessels a few years ago and I still love pulling them out to decorate my fall tablescapes. They are the perfect size to make a quick and easy bouquet with some inexpensive grocery store flowers and a few freshly cut stems from my yard. At the same time, I don’t have to spend a lot to make a simple arrangement and the uniqueness of the concrete pumpkin elevates the whole floral design!
I’ll share the simple DIY process for these concrete DIY pumpkin flower arrangement vases below, so keep reading for step-by-step instructions. Also, don’t forget to save it to your Pinterest so you can find it easily later on too!

How to Make an Easy DIY Pumpkin Flower Arrangement
How do you make a flower vase out of a pumpkin?
Materials:
- Cheap plastic pumpkin
- Small bag of concrete (the smoother finish/less aggregate, the better!)
- Rounded-edge trowel
- Cheap plastic cup
- Duct tape
- Utility knife
Step One for a DIY pumpkin flower arrangement: Create your DIY concrete pumpkin.
First, you want to gather all of your materials. Next, using your utility knife, start a cut just below the top rim and cut a straight line to the the base. I found the natural valleys in the plastic mold worked especially well to create a straight line. Before doing the other side, tape the seam carefully with duct tape. THIS tape is a staple in our household!
Repeat this process on the other side of the pumpkin. Once both cuts are made & taped, add another strip around the widest part of the pumpkin. This will add extra strength before you pour in the concrete in the next step.
Step Two:
Secondly, add concrete. However, before you do, try coating the inside of the pumpkin with cooking spray. We found that this really helps the plastic release once the concrete sets.
I found a watery concrete mix worked the best for this DIY.
Carefully scoop the mix into the pumpkin until it’s about 2/3rds full. Then take the plastic cup (which will hold your flowers) and carefully twist it into the concrete. I picked up a pack of cheap plastic cups at the dollar store and it worked perfectly for this DIY.
Ideally, the lid of the cup should be at or just below the top of the concrete.
Step Three:
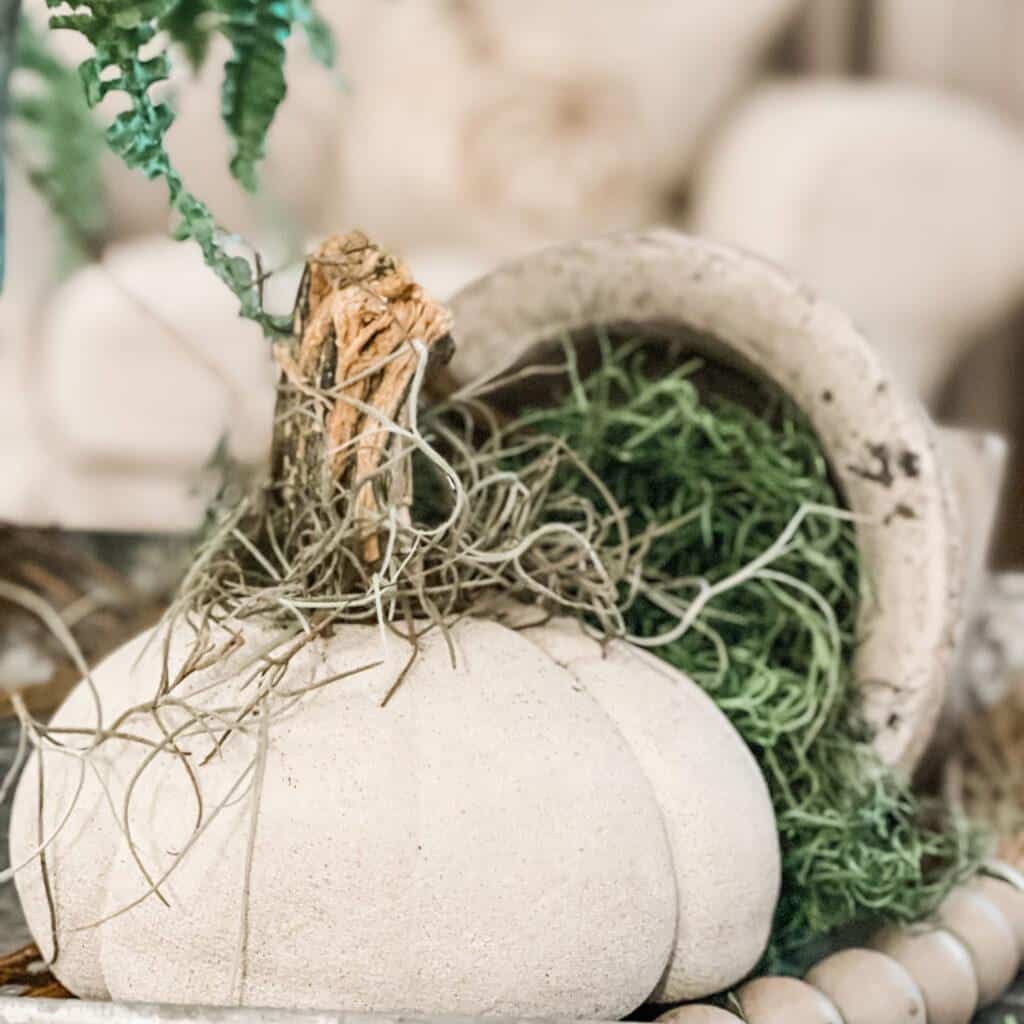
Thirdly, let the concrete set, then remove the plastic pumpkin form.
Tip: I let the concrete sit overnight before trying to remove the plastic. Of course, make sure the concrete is hard and appears dry first. Depending on your location and weather, this may differ. Sometimes our Florida humidity makes the concrete take a bit longer to dry!
Next, remove the tape. Then, carefully peel the plastic back. And voila! You have an amazing pumpkin planter you can enjoy for years to come!
You may want to wipe it off with a damp rag before bringing it inside to style. I also use my concrete pumpkin planter outside. It looks so cute with little mums planted in it for the season!

How do you make a pumpkin flower arrangement?
Now that you’ve created your pumpkin vase to hold your DIY pumpkin flower arrangement, it’s time to create a simple arrangement!
Materials:
- Scissors
- Freshly cut greenery stems (I get mine from my yard or you can buy bunches of greenery at Trader Joe’s.)
- Fall colored flower stems (For this size, I like to get two bunches of inexpensive fall flowers from the grocery store. However, if you add more greenery, you can definitely get away with one bunch of flowers!)
- Scotch tape (Use this if you want to make a grid on top of the vase to hold the flowers; you can see below how I essentially used the flower stems to create my grid.)

DIY Pumpkin Flower Arrangement Step 1: Add greenery stems.
As soon as your concrete pumpkin is dried, out of the plastic form, and dusted off, you’re ready to create your fall floral arrangement. The first thing to remember is that this is a fun and casual arrangement. As a result, you don’t need to worry about perfection. Instead, just have fun creating!
Generally, the first thing I do is add a base of greenery around the edge of my arrangement. Make sure to save some greenery stems to add at the end, too.

DIY Pumpkin Flower Arrangement Step 2: Add flowers in a grid pattern.
Secondly, I add my stems. For this style of arrangement, I create a grid with the stems down in the actual vase. This ensures my center flowers can stand straight and a little taller for a nice, slightly rounded flower arrangement.
To create the grid with stems, I add 4 shorter stems around the edge, crossing the stems. Next, I add alternating stems, in the “windows” of those four stems, continuing to overlap the stems. Essentially, I create a grid that holds the last flowers up.

DIY Pumpkin Flower Arrangement Step 3: Add an unexpected touch.
I purchased these dried seed pods a few years ago in the fresh flower section at Trader Joe’s. They are easy to store along with my faux fall stems and I pull them out each year to add to DIY fall flower arrangements! Adding just a few of these dried seed pods throughout my DIY pumpkin flower arrangement fills in some of the gaps. At the same time, it adds even more dimension, texture, and character to my arrangement. You can find some really great dried pods online: HERE, HERE, and HERE. Store these and use over and over each year! Lastly, you can tuck in a few more clippings of greenery to fill in any spots in your arrangement that seem a little bare or too sparse. In case you need some greenery, I love the fall look of THESE and THESE!
What flowers are popular in October?
Here are some great options in different colors. Remember, fall decorating doesn’t always have to be the traditional warm tones!
- Calla Lilly: white
- Magnolia: white
- Alstroemeria: many colors
- Liatris: purple
- Delphimium: purple, blue
- Camellia: red, pink, white
- Roses: many colors
- Sunflowers: yellow and brown
- Orchids: many colors
- Hydrangea: pink, purple, blue, soft green
- Freesia: yellow, white
- Billy Ball Flowers: golden yellow
- Tweedia: soft blue

What flowers do you decorate with in the fall?
Honestly, you’ll find me grabbing any kind of inexpensive bunch from the grocery store. Undoubtedly, I’m a neutral-loving home decor person. However, fall is the season where I most enjoy adding traditional seasonal colors to my home and my favorite way to do this is with flowers! I specifically look for a bunch of mums or even fall-colored stock flowers. For late August and September, I am often drawn to sunflowers. Regardless of the actual type of bloom, I typically pick up a bunch of flowers with the warmer tones.
You can find all of my favorite ways to decorate with inexpensive grocery store flowers over on THIS POST! I love fall flowers and they add just the right touch of fall color to our home!

How do you arrange fake fall flowers?
That is such a great question! Faux florals have come so far in the past few years and there are many great options for fake fall flower arrangements. With faux florals, I use the exact some process for the arrangement:
- Add a base of greenery around the edge.
- Alternate flower stems in a tiered style, creating a grid with the stems as I go.
- Use unique elements, such as dried seed pods, for texture and character.
- Fill in any sparse places with more greenery.
In fact, I often mix fresh and faux florals. You can use your favorite faux flowers with some freshly cut branches from your yard and create a beautiful arrangement. The fresh branches trick the eye into “assuming” that the flowers are real. At the very least, they still look beautiful and add fall color to your home decor.
Here are some great options for faux fall floral stems:
- This pre-made bouquet could be added to a vase or cut the stems apart to arrange yourself.
- There is a lot of great texture and color in this bunch!
- Chrysanthemum balls like these are easy to work into an arrangement!
- This dried bunch would be so easy to put into a favorite vase or pitcher!
- These cute stems are great filler and the little pumpkins add a fun touch too!

How can I decorate my house for fall cheap?
You can save a lot of money by creating this DIY concrete pumpkin vase that you can enjoy all season and use year after year! I love when I can create something that can be used for more than one holiday, too. In this case, you can use the jack o lantern side for Halloween and just turn it around to a plain pumpkin for Thanksgiving!
In addition, inexpensive grocery store flowers don’t have to look cheap and plain!
Check out THIS POST for ideas on how to make your inexpensive fall flowers look amazing!
Also, check out THIS POST for my favorite thrifted vessels and how I pair them with cheap flowers for beautiful centerpieces!

How do you make a fall table centerpiece?
As you can see, my favorite way is to add some pretty fall flowers to a pumpkin and create my own DIY pumpkin flower arrangement! With this easy DIY, you can create your own concrete pumpkin vase to use year after year. At the same time, this simple floral method is something you can use for your flowers no matter the season!
Are you inspired to make a DIY pumpkin?
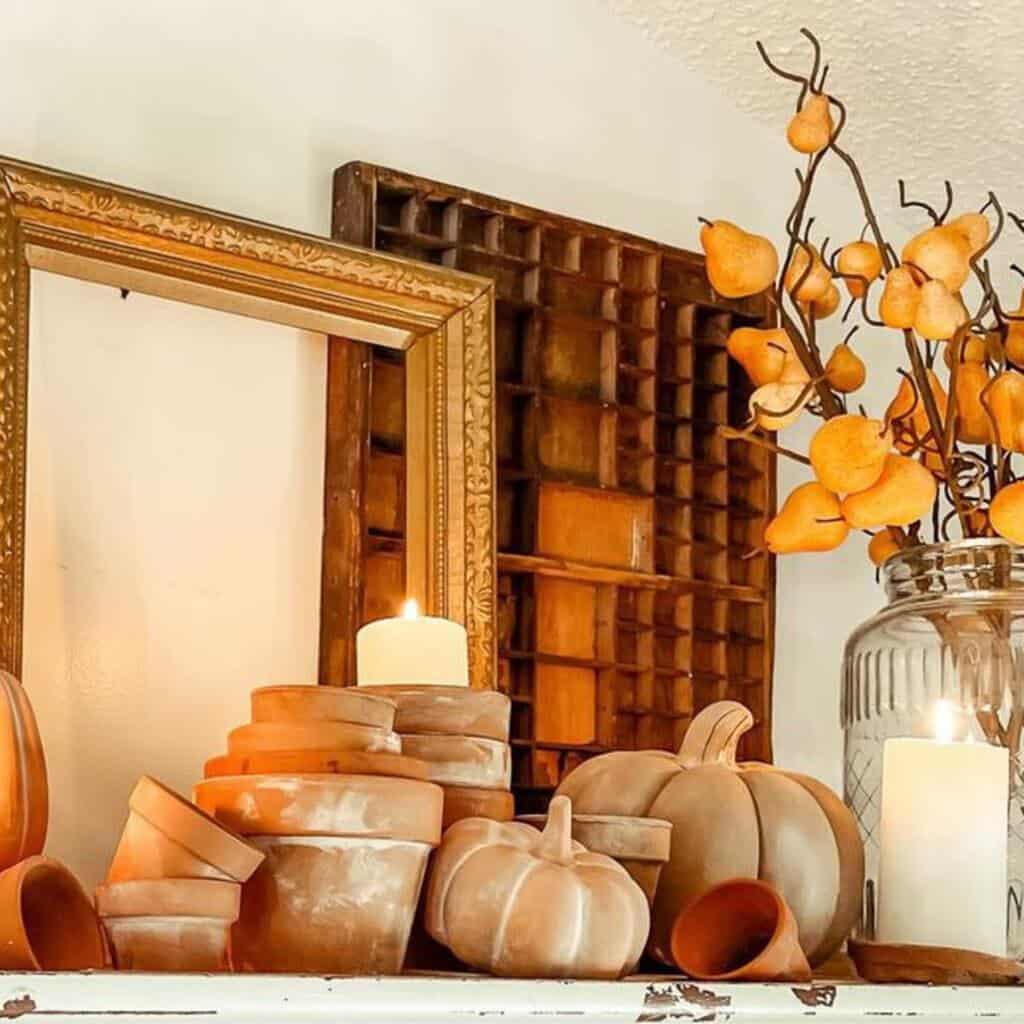
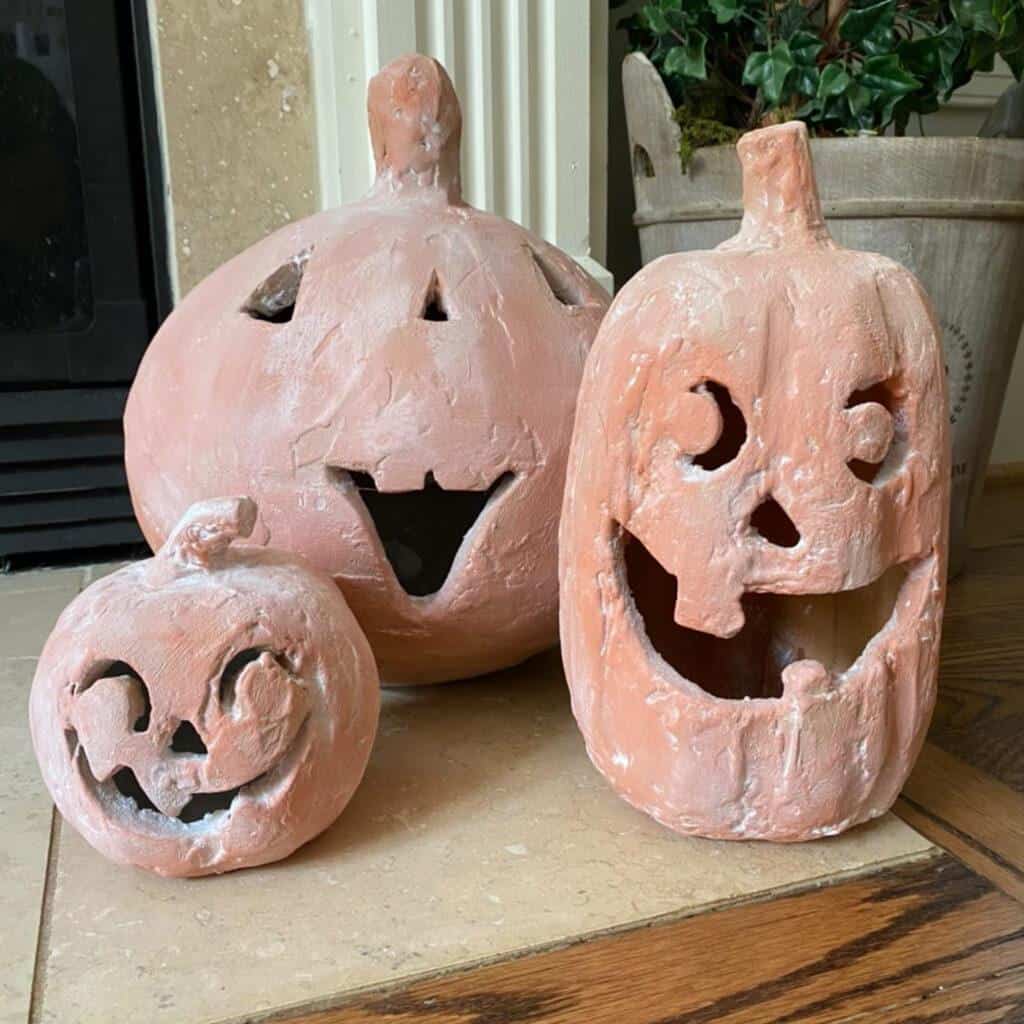
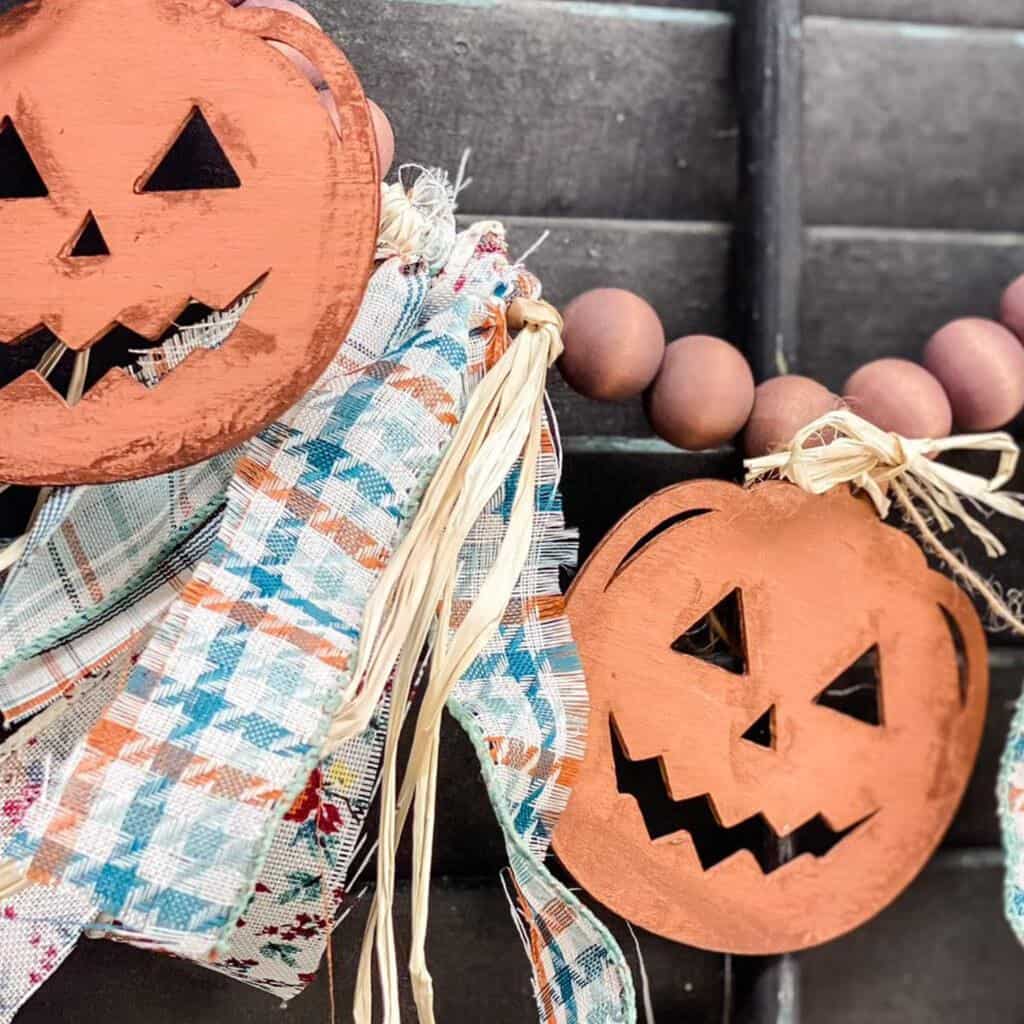
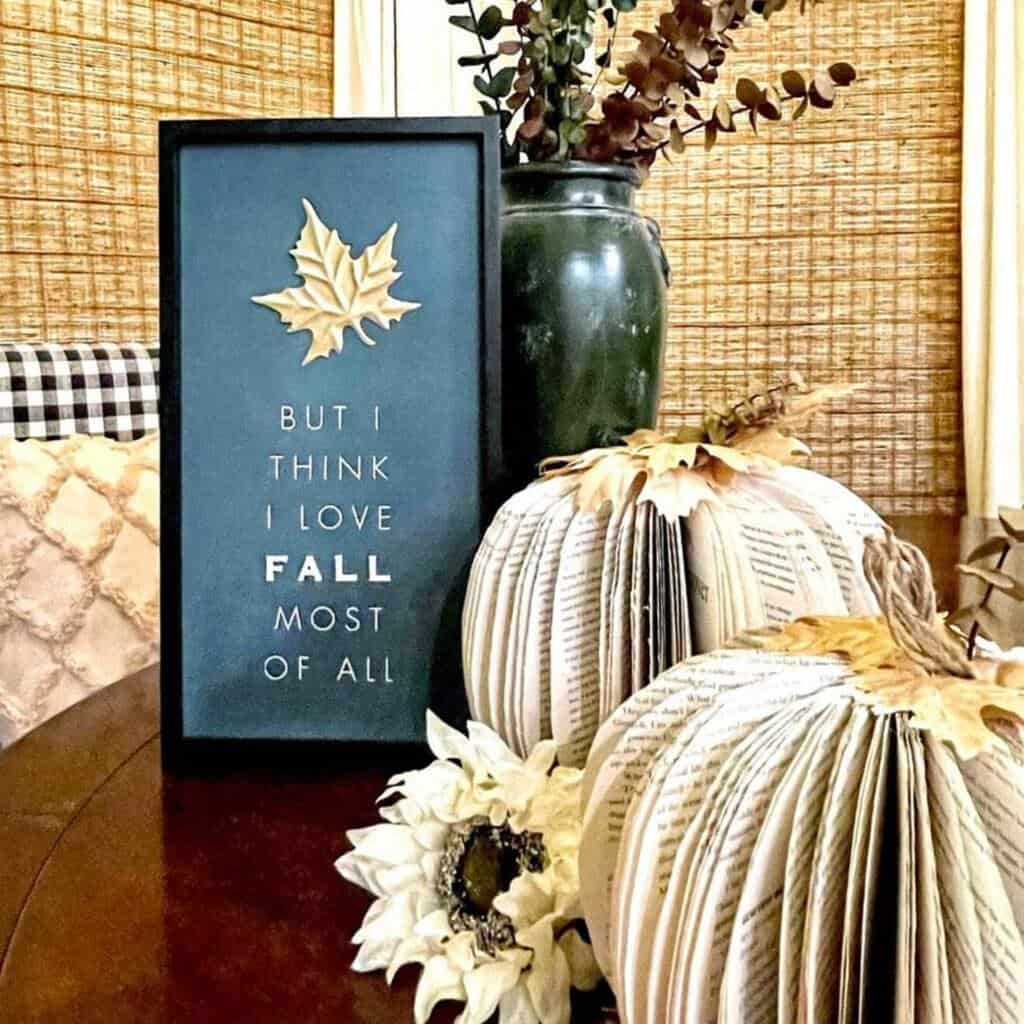
I hope so! There are so many wonderful DIY pumpkin ideas in this blog hop. You can find everything from cute jack-o-lanterns to beautiful and whimsical DIY ideas, too!
If you enjoy making your DIY concrete pumpkin planter, you may want to try the candleholders too. They are just so cute and really fun to use. You can find the easy, step-by-step instructions to them over on THIS POST.
Next, click on over to Jessica at Itty Bitty Farmhouse and see her pumpkin DIY idea. You’re going to love this!
Thanks again for stopping by today! Make sure and add these ideas to your Pinterest board so you can find them easily in future years too. Pumpkins and flowers never go out of style!


Blessings,


(As an Amazon Associate I earn from qualifying purchases. Posts on Robyn’s French Nest may contain affiliate links. You can see our full disclosure details here.)
Gallery
I love your concrete planter! It looks fab with your floral arrangement. I may have to try making one. Happy fall, Robyn!! Pinned
Such a great project and one that lasts for years!
What a pretty display for fall! The flowers look so lovely in the neutral concrete planter!
This project turned out so beautiful! Your home looks stunning btw!
Such a great idea to use a plastic jack 0 lantern as the cement form, and it looks great with flowers!
Love this project and your instructions were so thorough! I am definitely going to have to give it a try. I also appreciated that you gave so many ideas for creating the flower arrangement! That is something I am really lacking in knowledge. It was fabulous hopping along with you!
So beautiful Robyn, I love the texture of the concrete against the fresh flowers. I will have to try this one, I have not made concrete pumpkins before. Thank you so much for joining in on the fun today.
Robyn, I love your adorable concrete pumpkin planter and Fall bouquet! Thanks for sharing tips on creating the planter, as well as, beautiful floral arrangements.
Such a beautiful fall floral arrangement. I appreciate the list of fall flowers to consider! Thanks for being a part of this blog hop…I am inspired by all of you! ~Missy
Robyn this is such a lovely fall floral arrangement. Beautiful done! It’s been great to ‘hop with you’ ! Susan
Robyn,
This is so cute. I’d like to share a link on my Sunday, Dirt road Adventures.